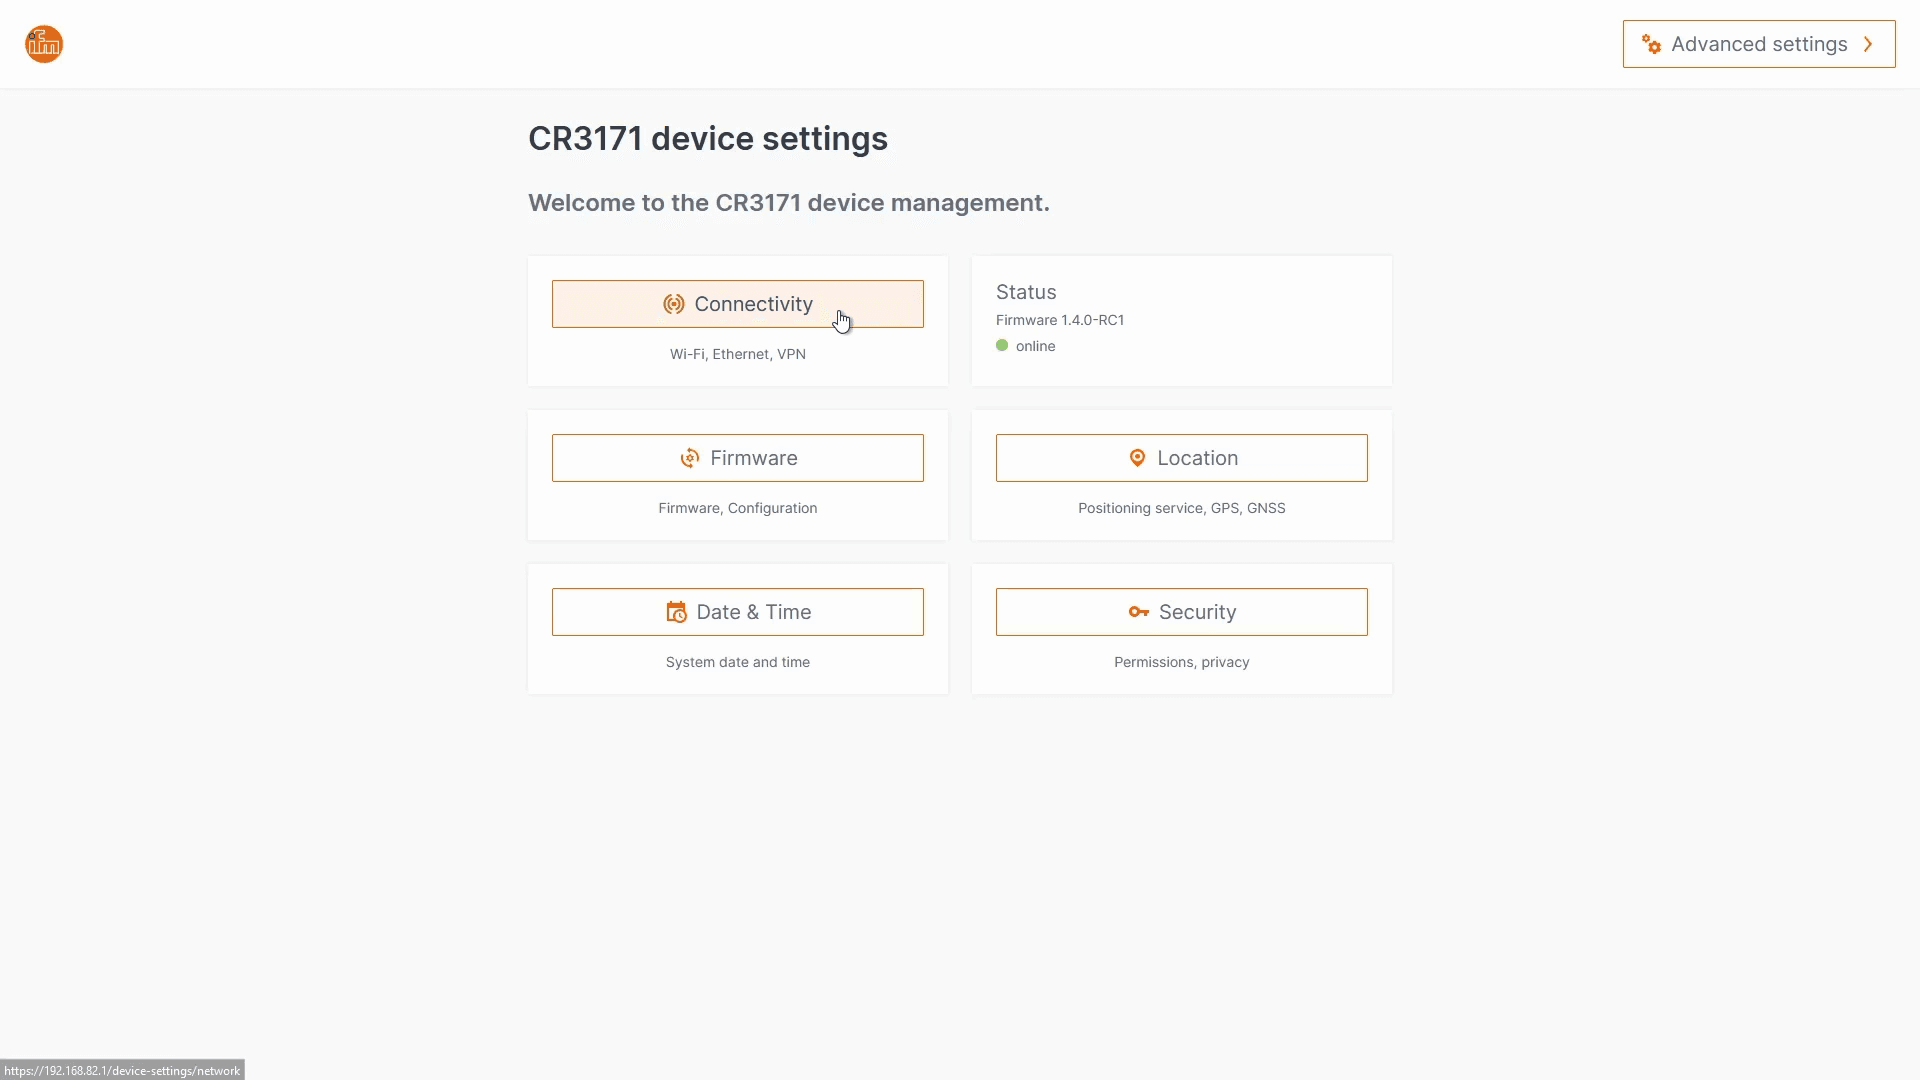
Add machine to Gatemanager
How to add a machine to the Gatemanager
✅ Prerequisites
Administrator access to the mobile IoT Suite with the rights to activate a remote access session. Have access to one of the ifm GateManagers, this probably depends on your region. You're logged into the mobile IoT Suite. You're familiar with the terms GateManager, SiteManagerand LinkManager, if not please visit the Glossary for more explanation of these terms.
Prepare the Connection
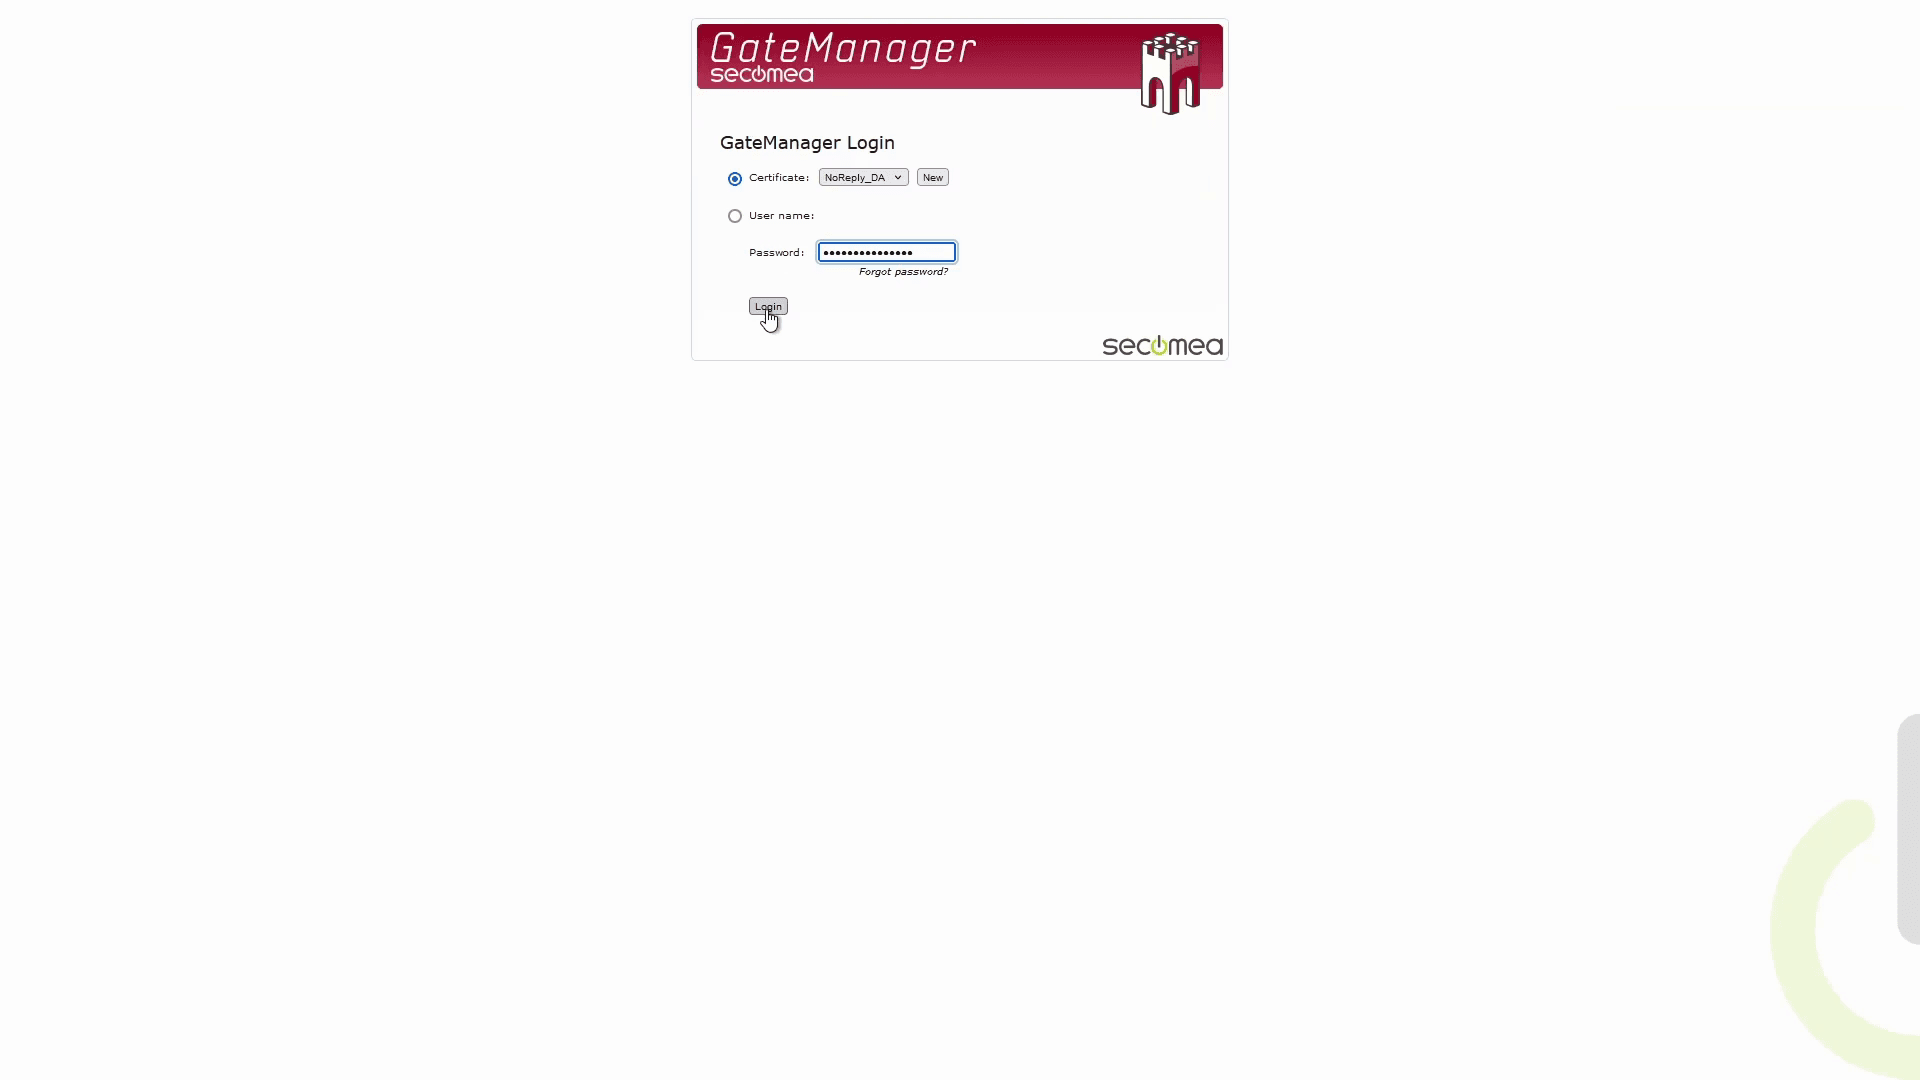
Login to GateManager
Access GateManager using your certificate and password as the domain administrator.
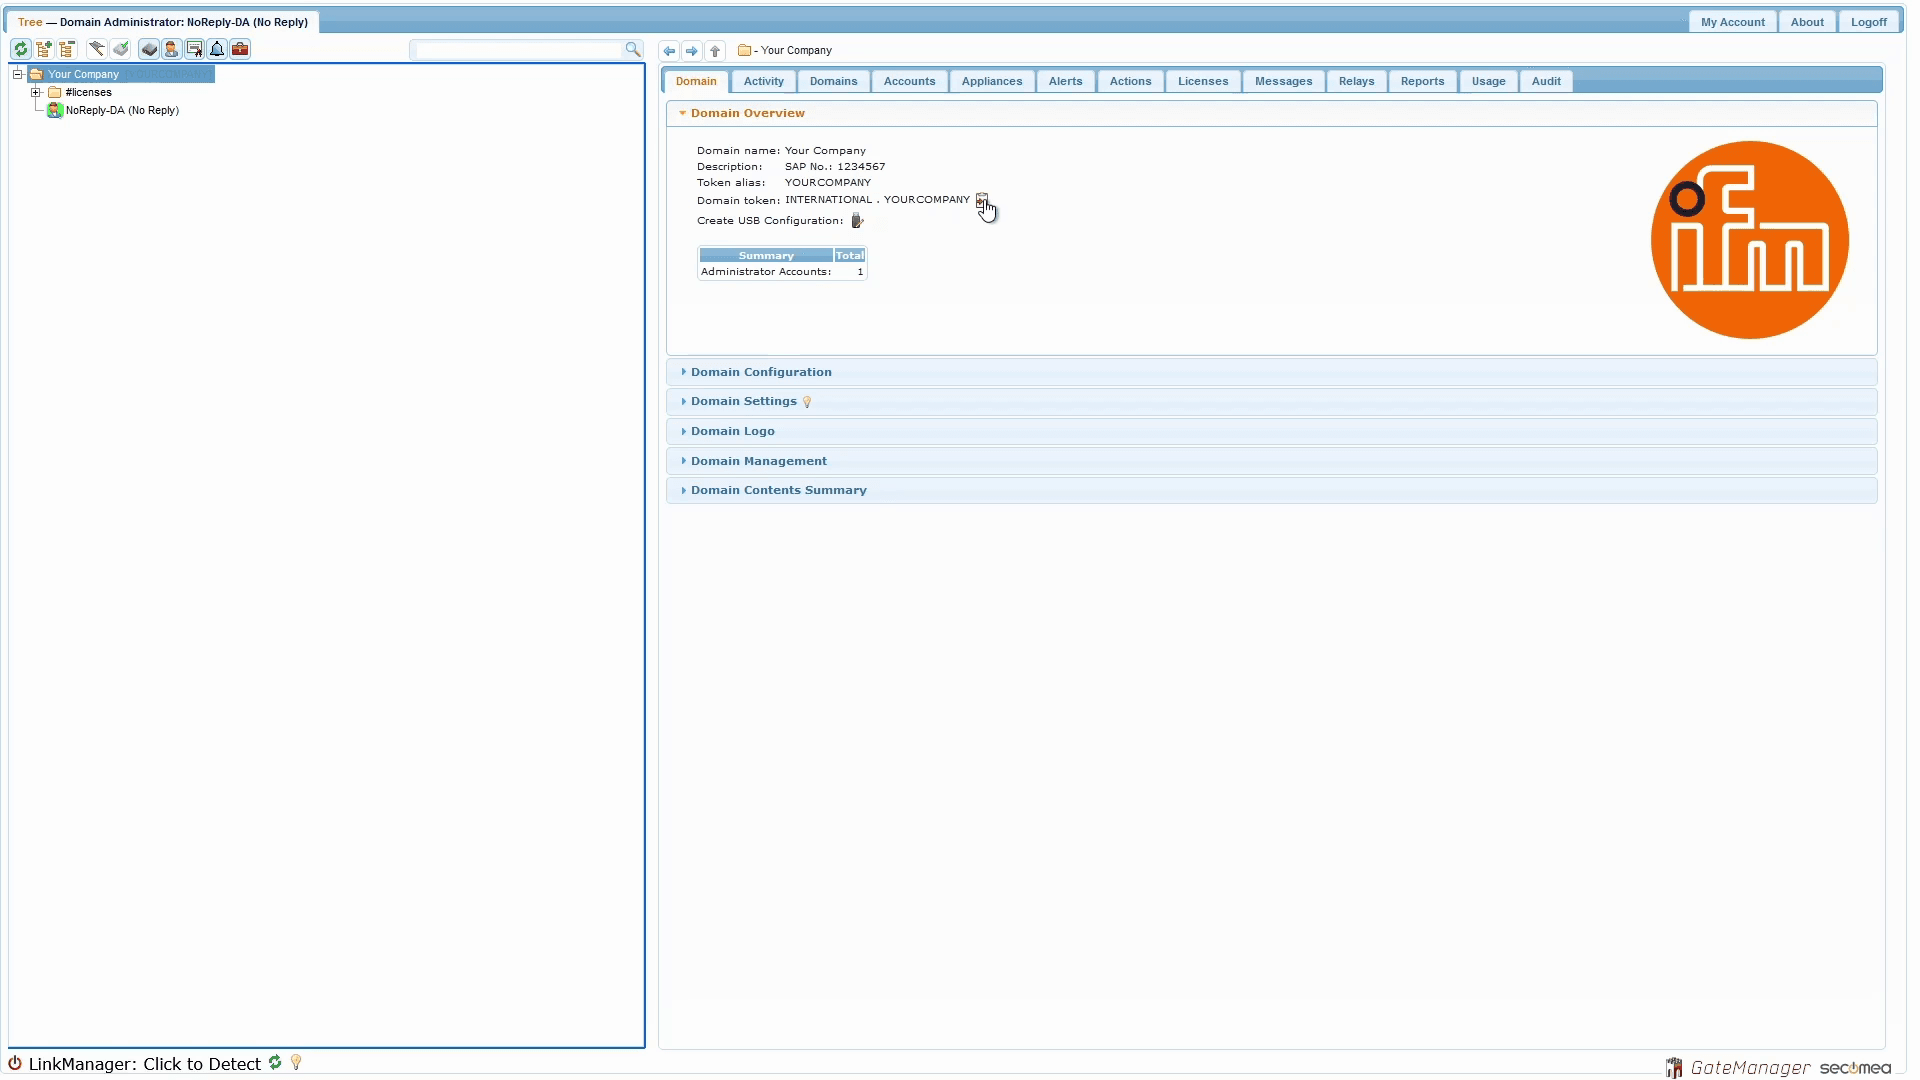
Copy Domain Token
Copy the Domain tokento the clipboard by clicking the clipboard with red arrowicon.
Connect to the Gateway, CR3171
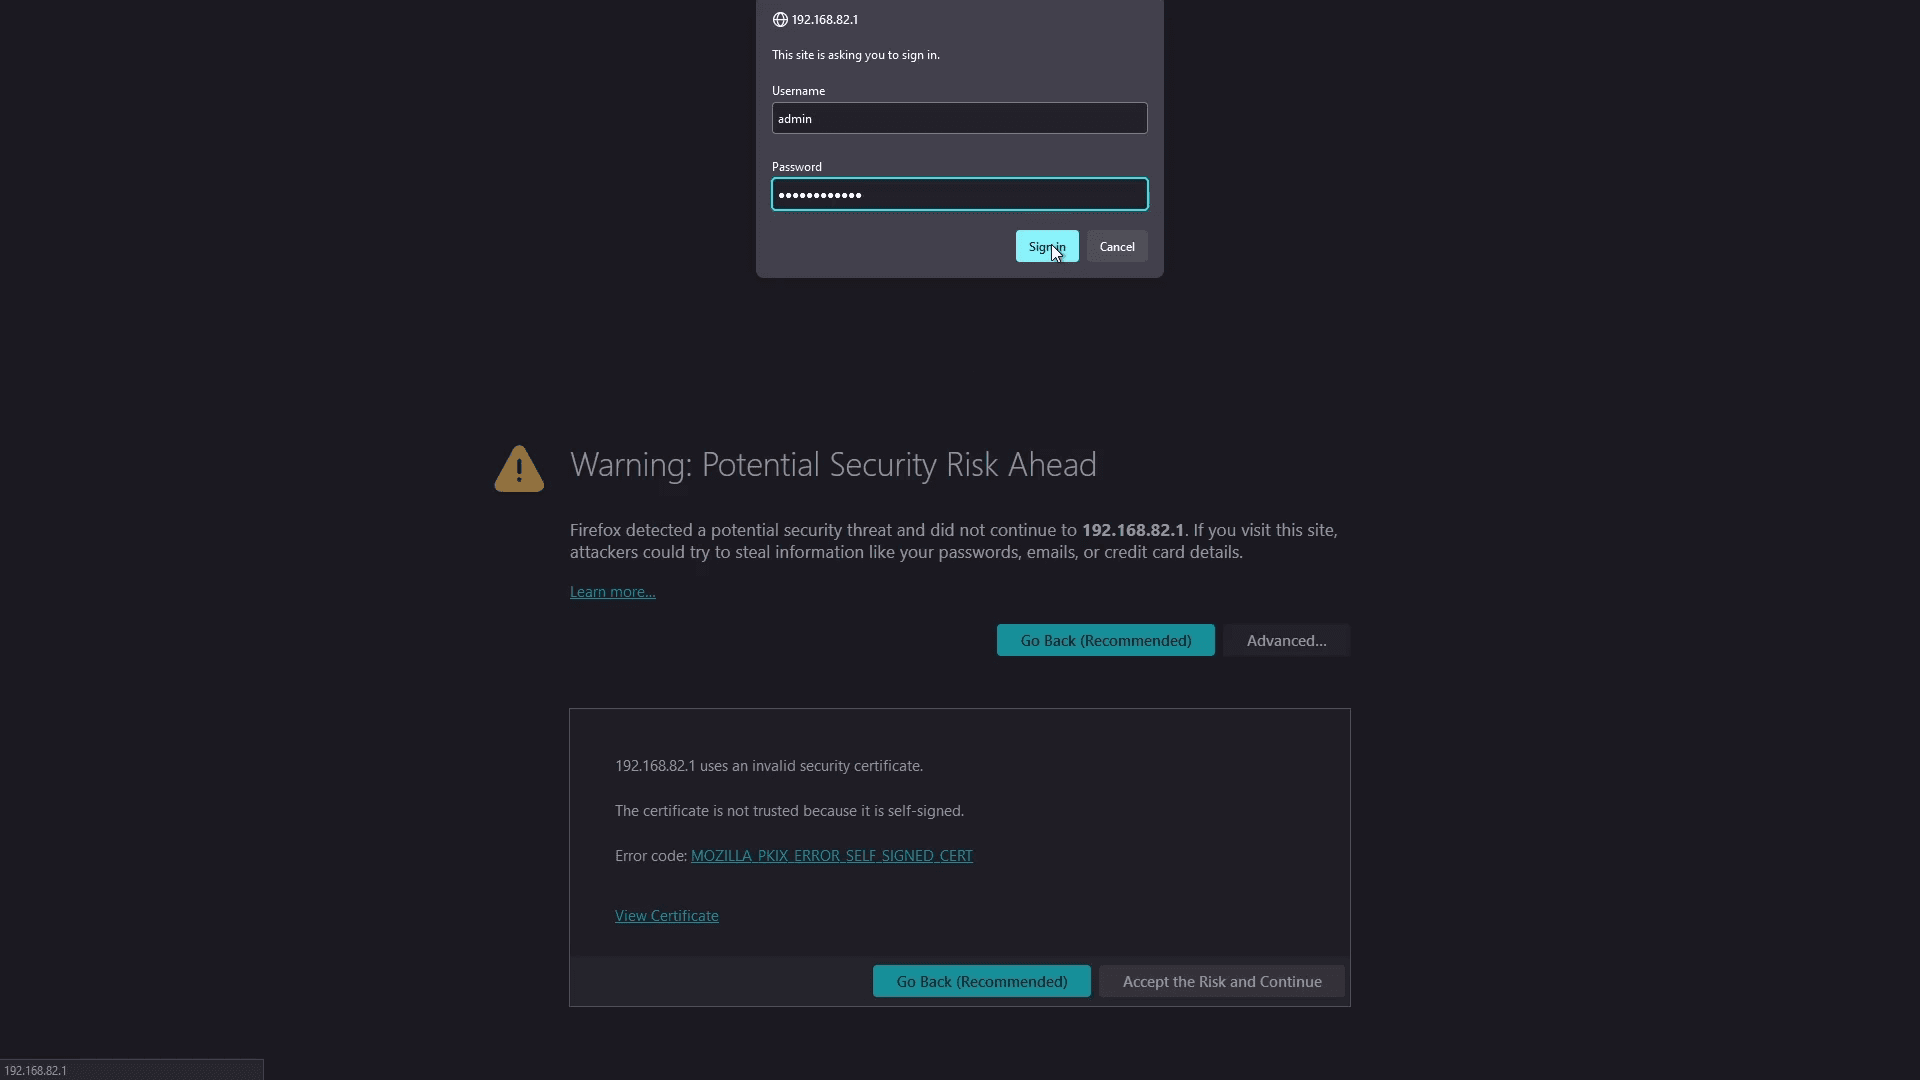
Open the gateway WebUI
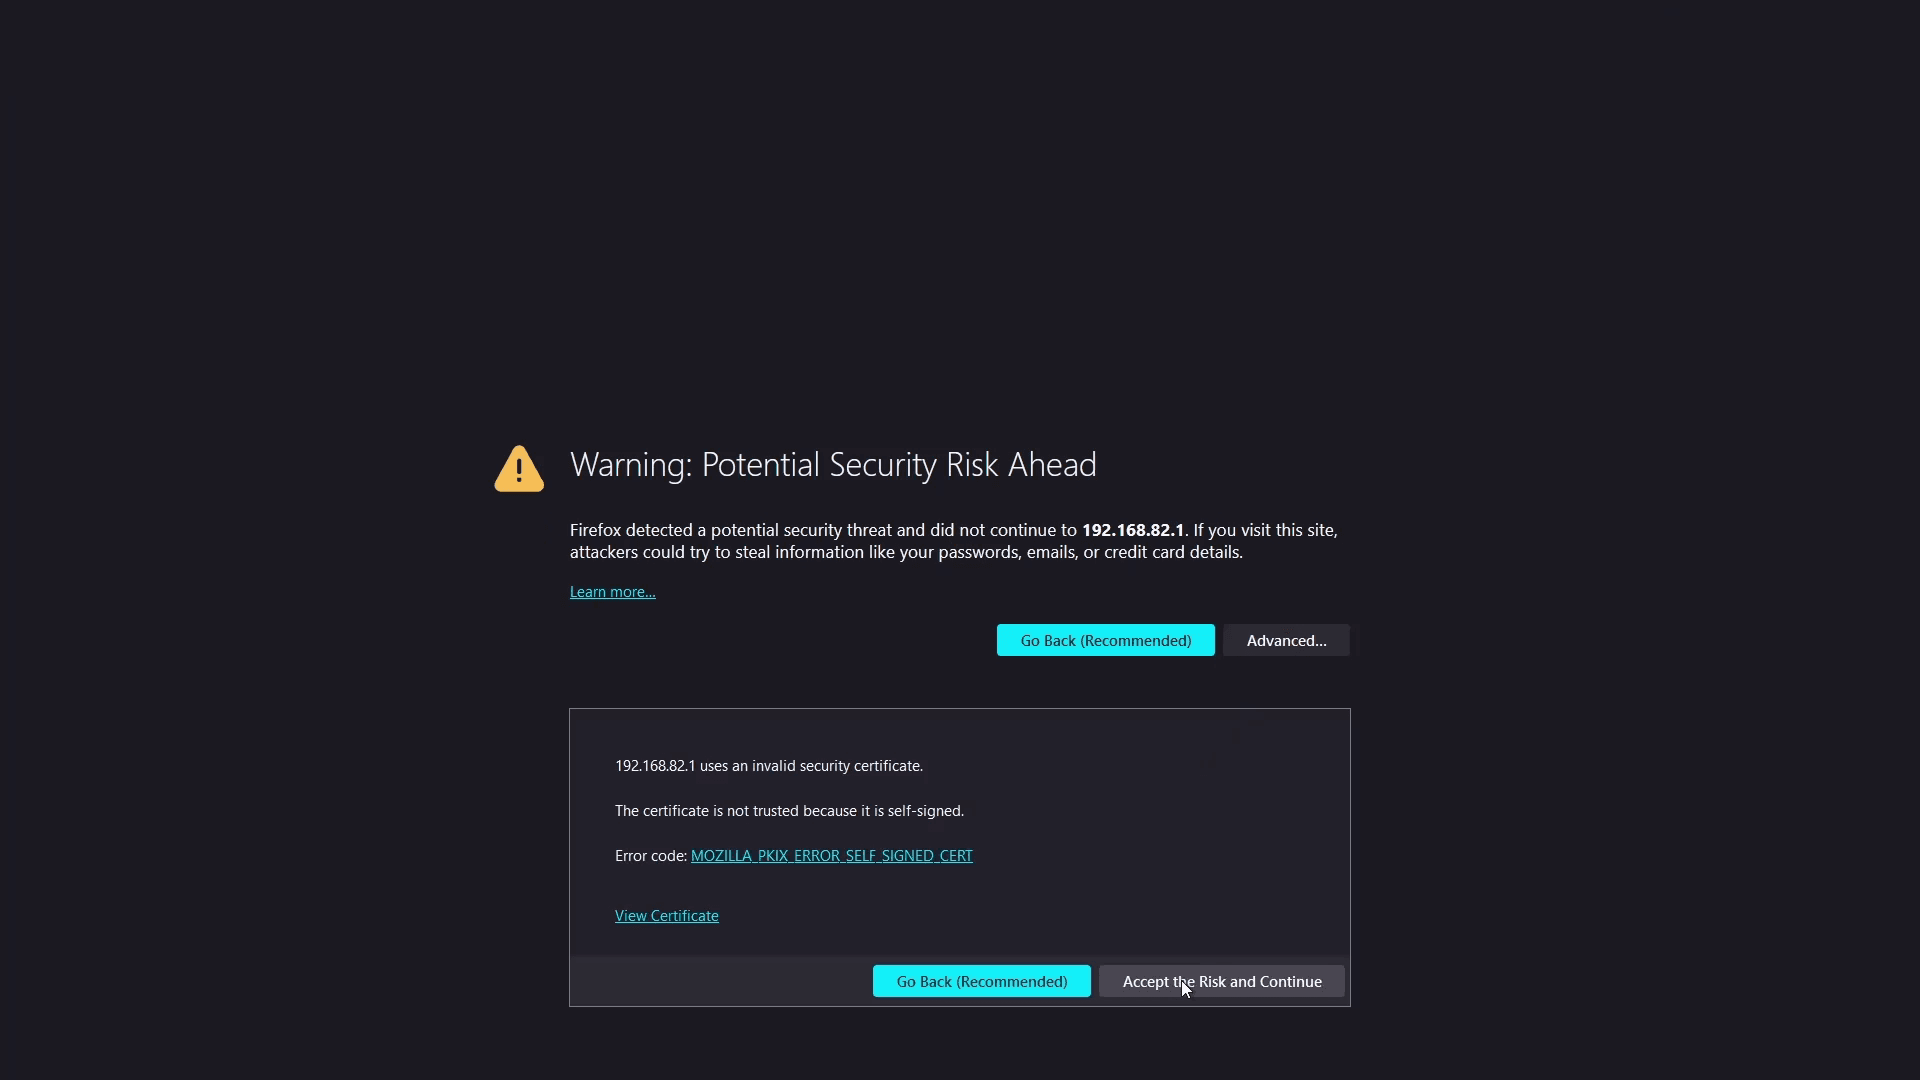
Enter Credentials
username = adminpassword = <<ETH-MAC>> addressof the connected device
Configure Connectivity
Now navigate to Connectivity > Secomea Site Manager embedded > General preferences.
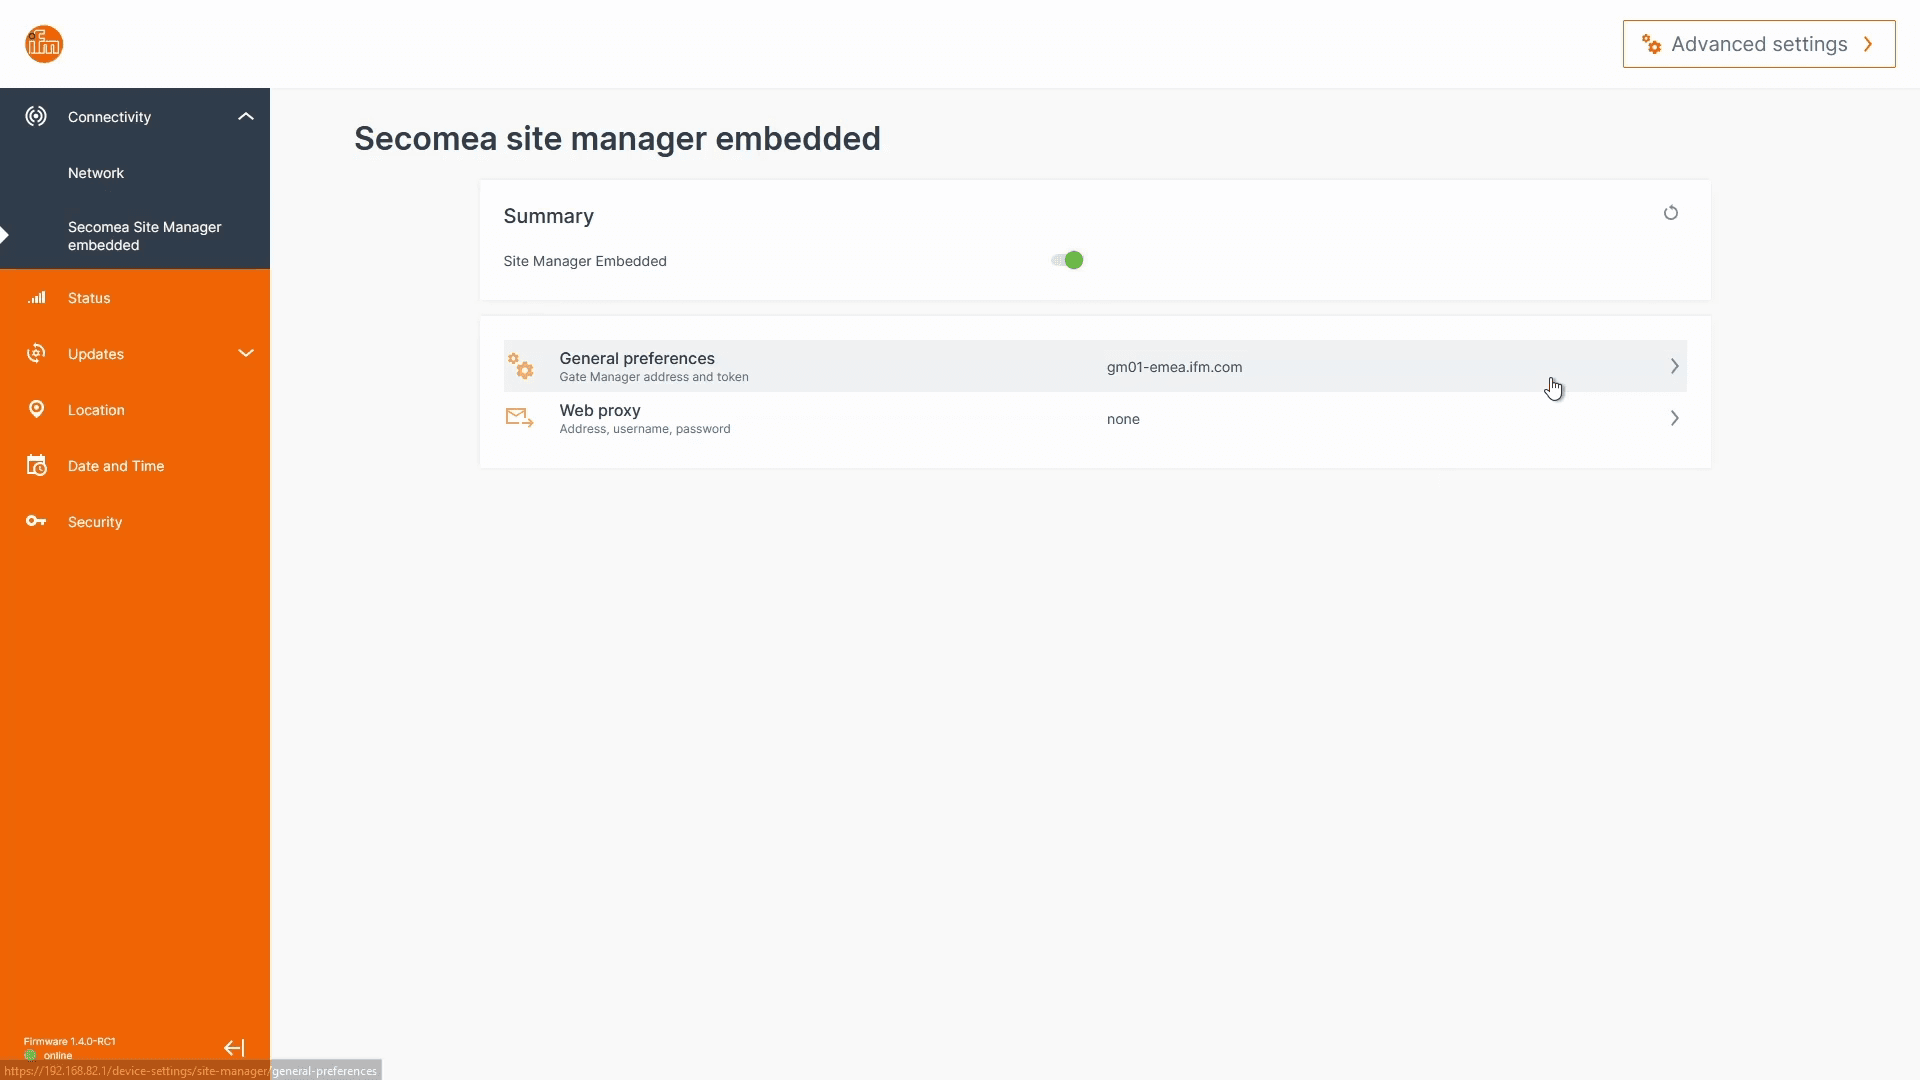
Enter the previously copied domain token into the Domain token * field. Make sure that the correct GateManager address is filled-out.

Apply the changes and switch back to the GateManager.
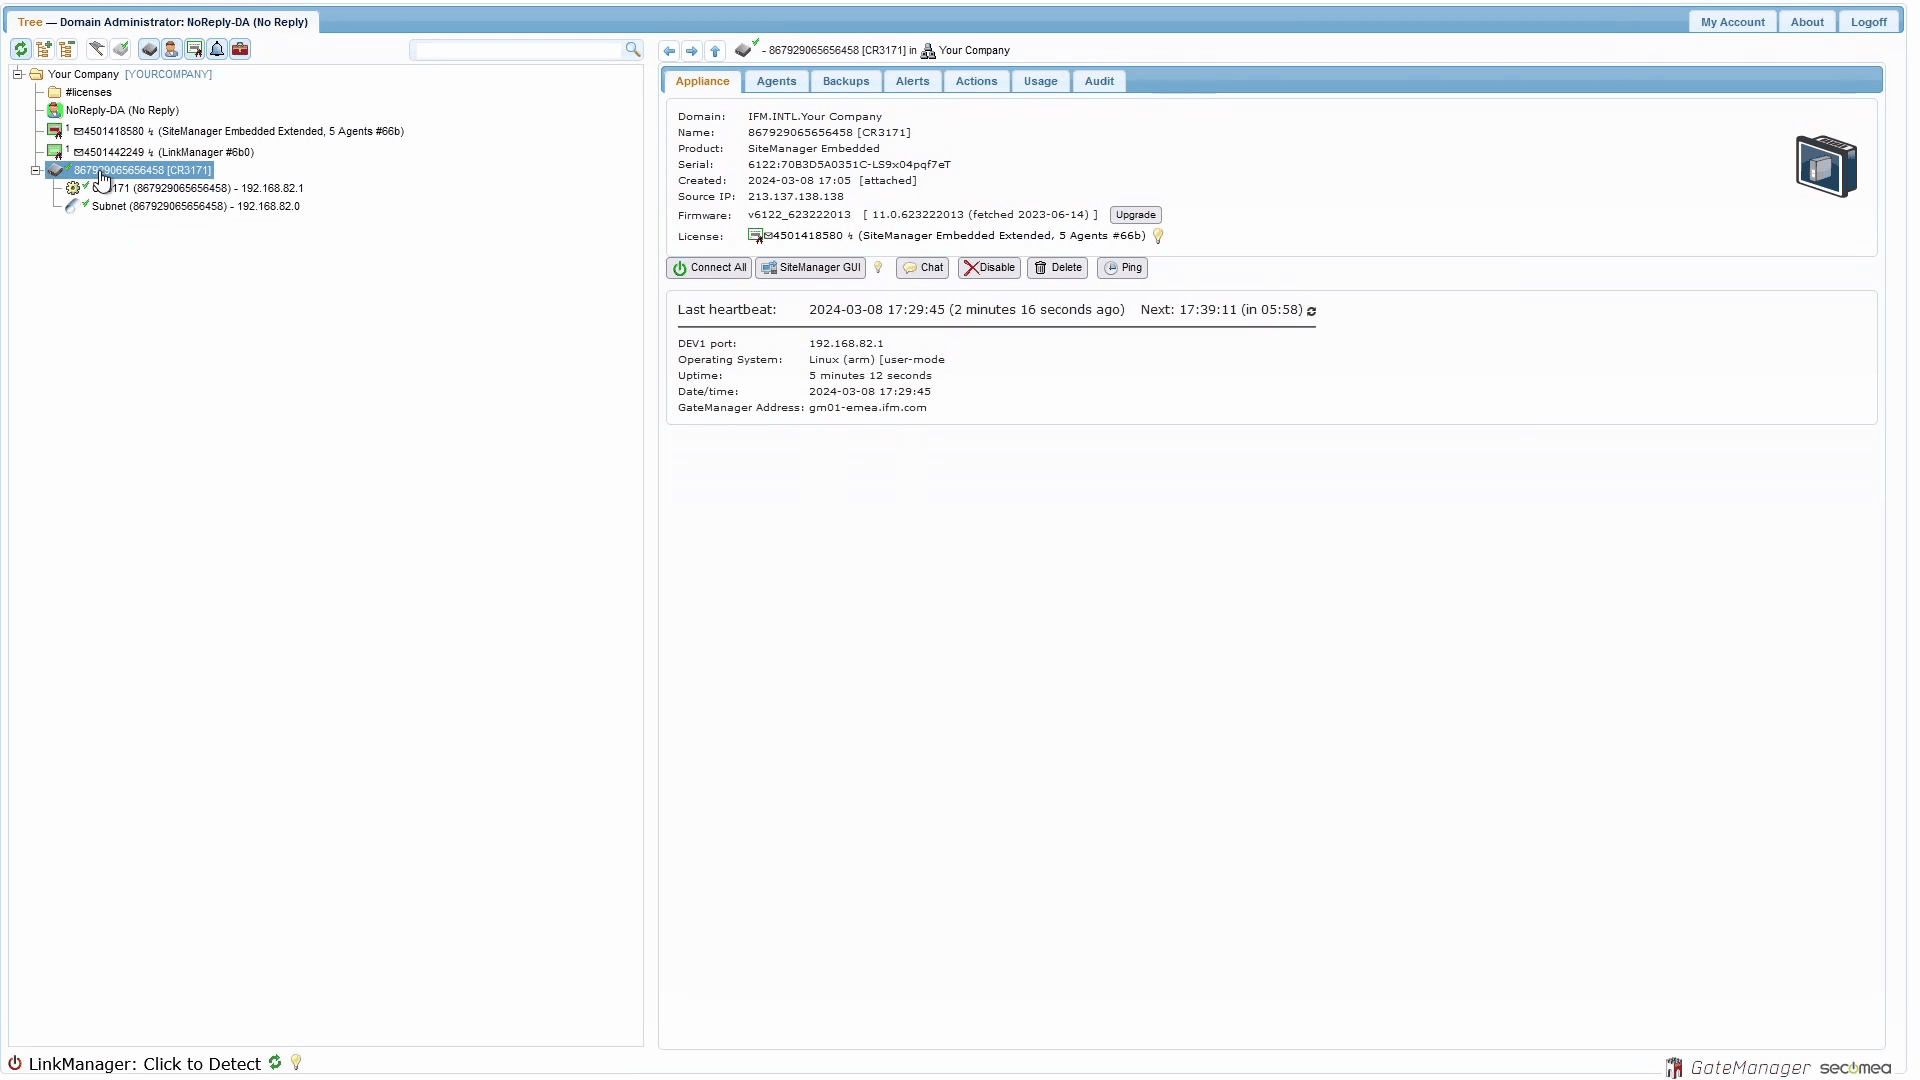
Wait for to appear in GateManager
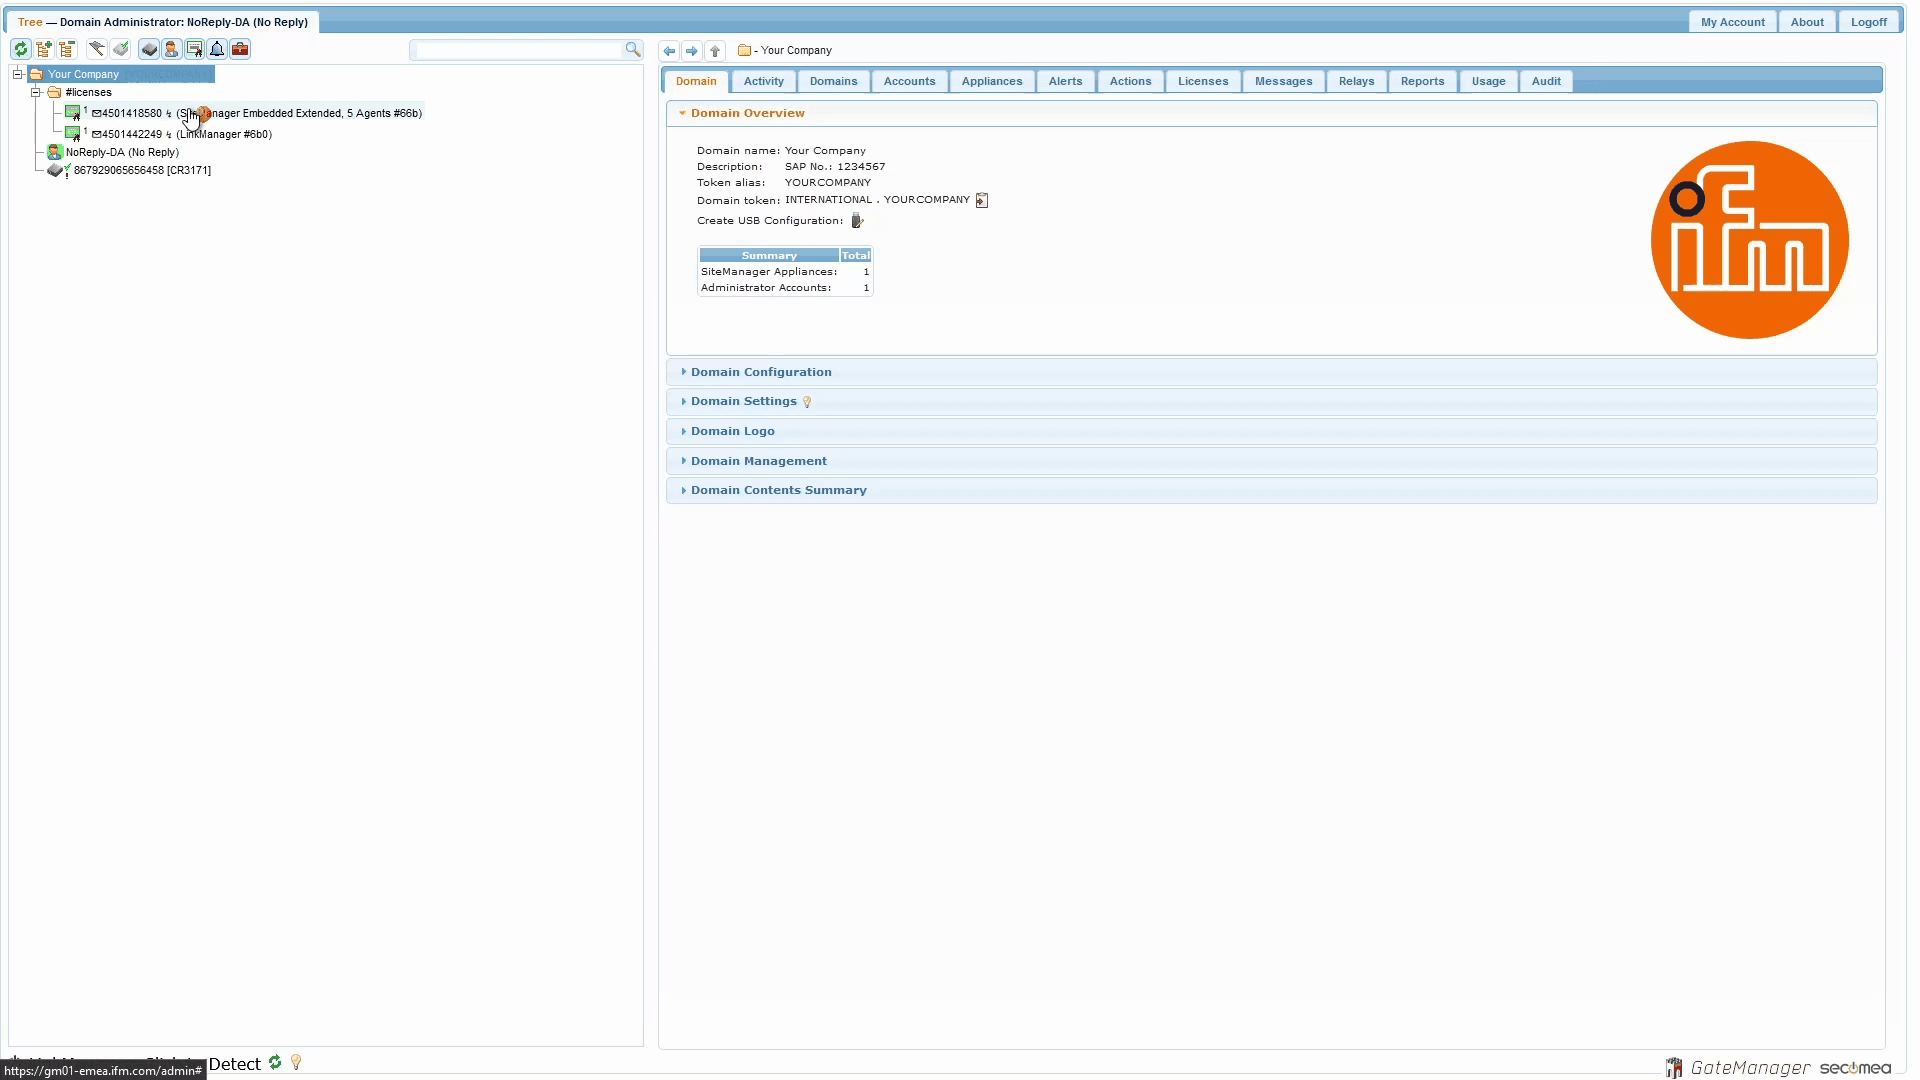
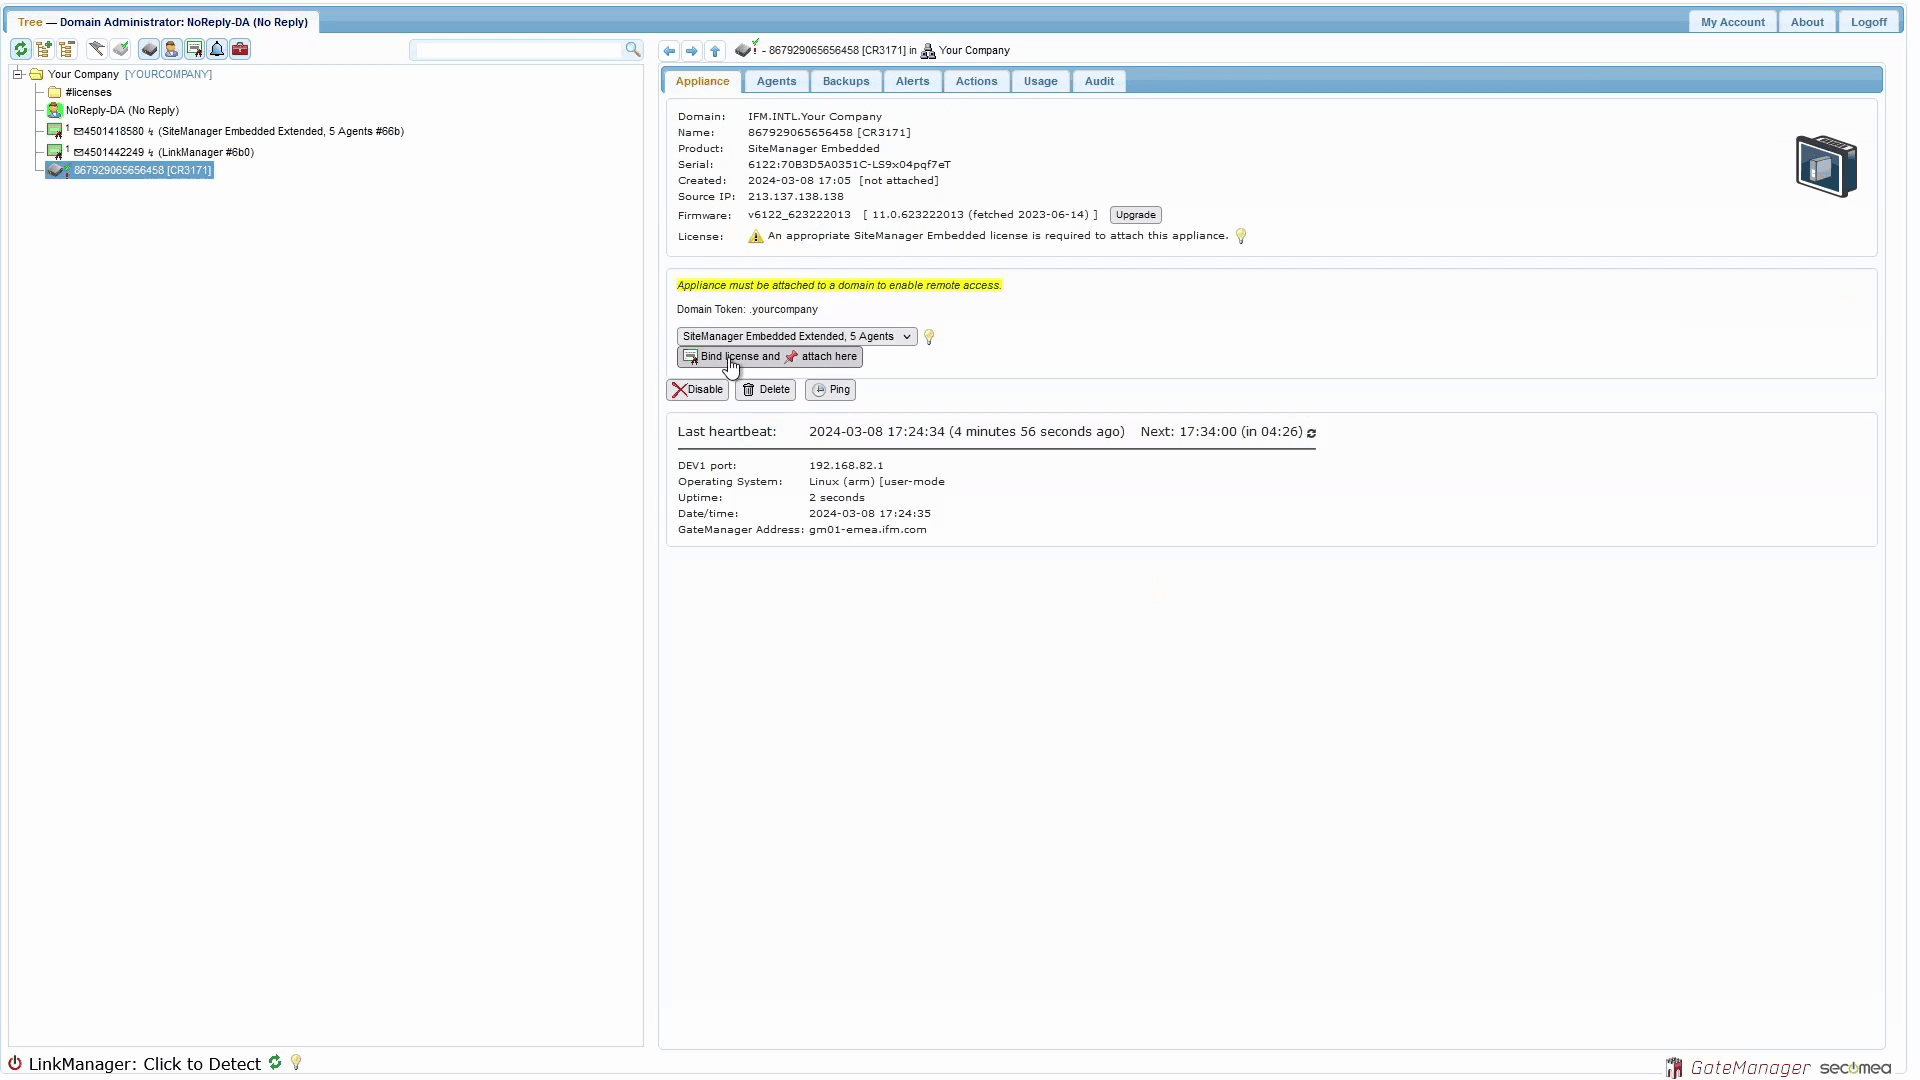
Move Licenses
Appliance
❗ Additional licenses
#license
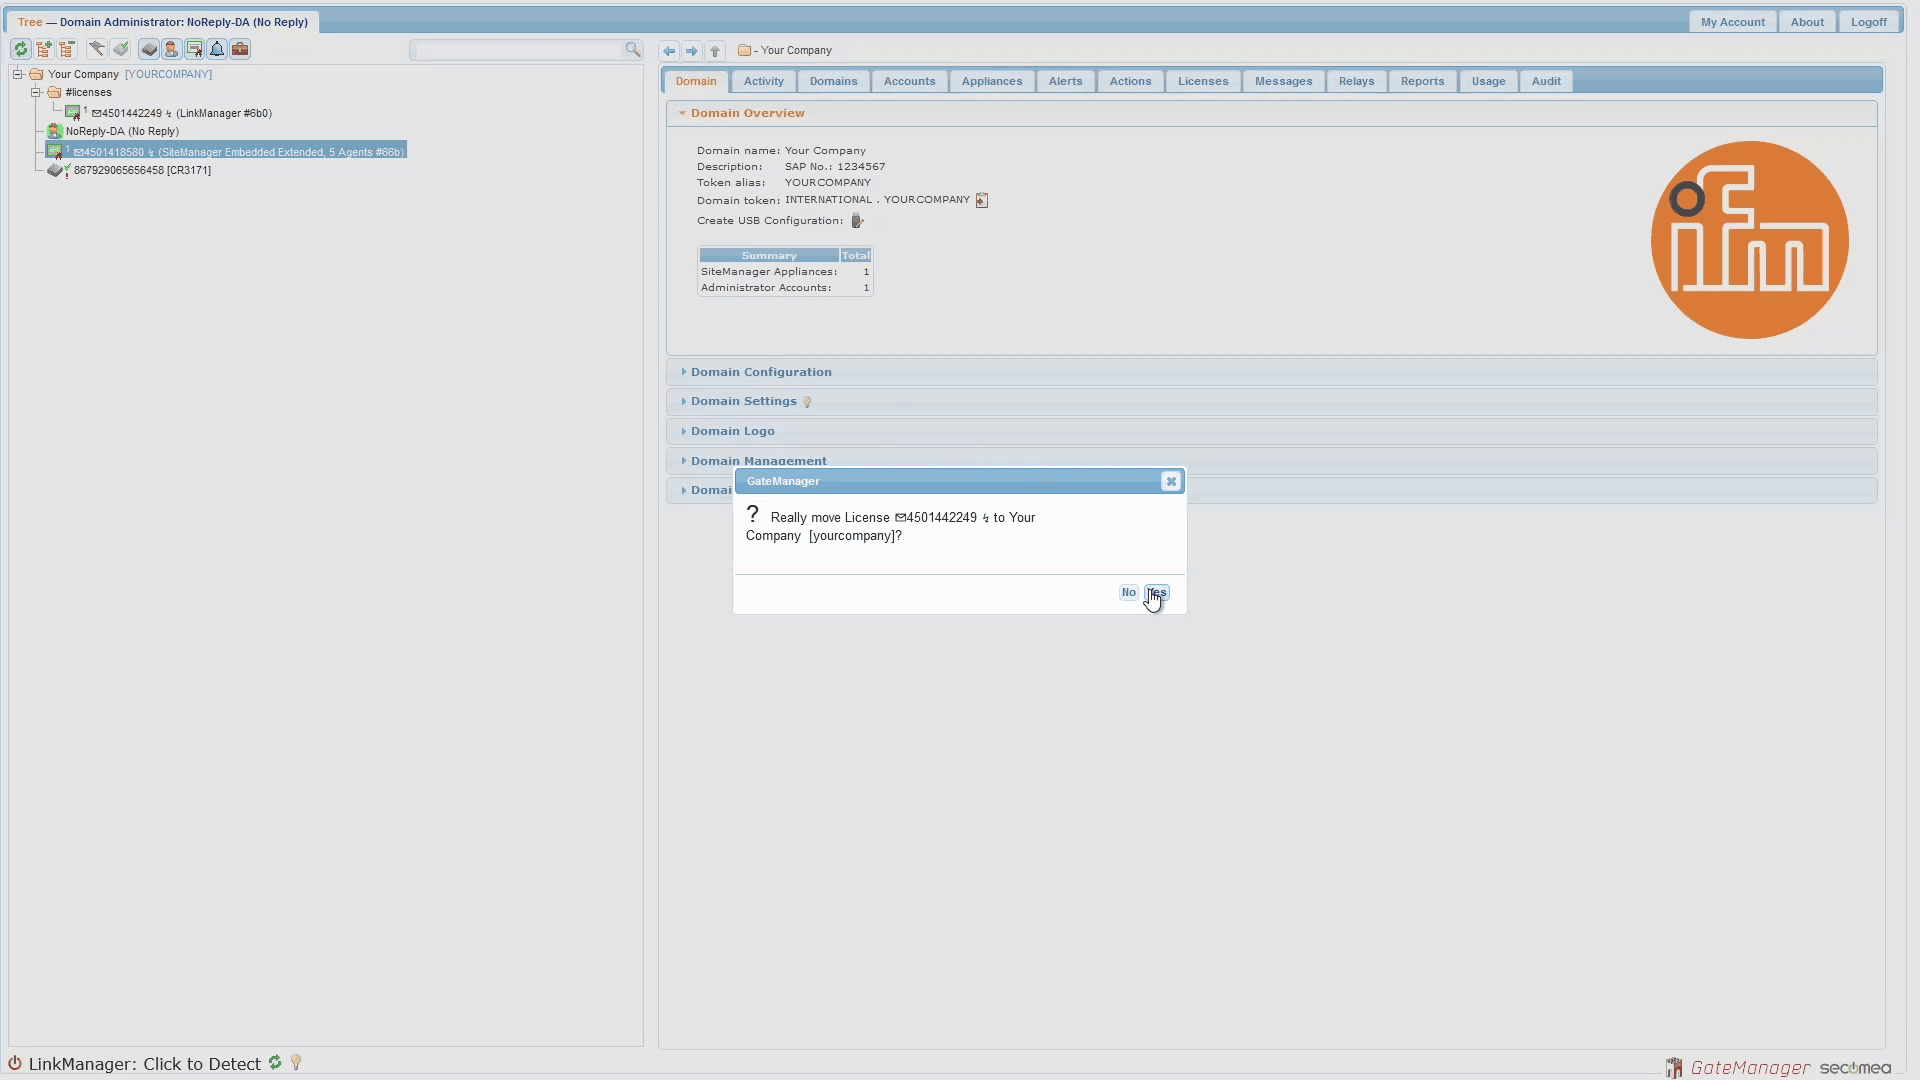
Bind Licenses
Select the CR3171 marked with the green ✔ and the red ❗ by clicking on it. Click on the Bind license and 📌 attach here button. Confirm the license binding to the appliance.
Wait for Agents
Desktop PC
"Desktop PC"
Subnet
"Subnet"
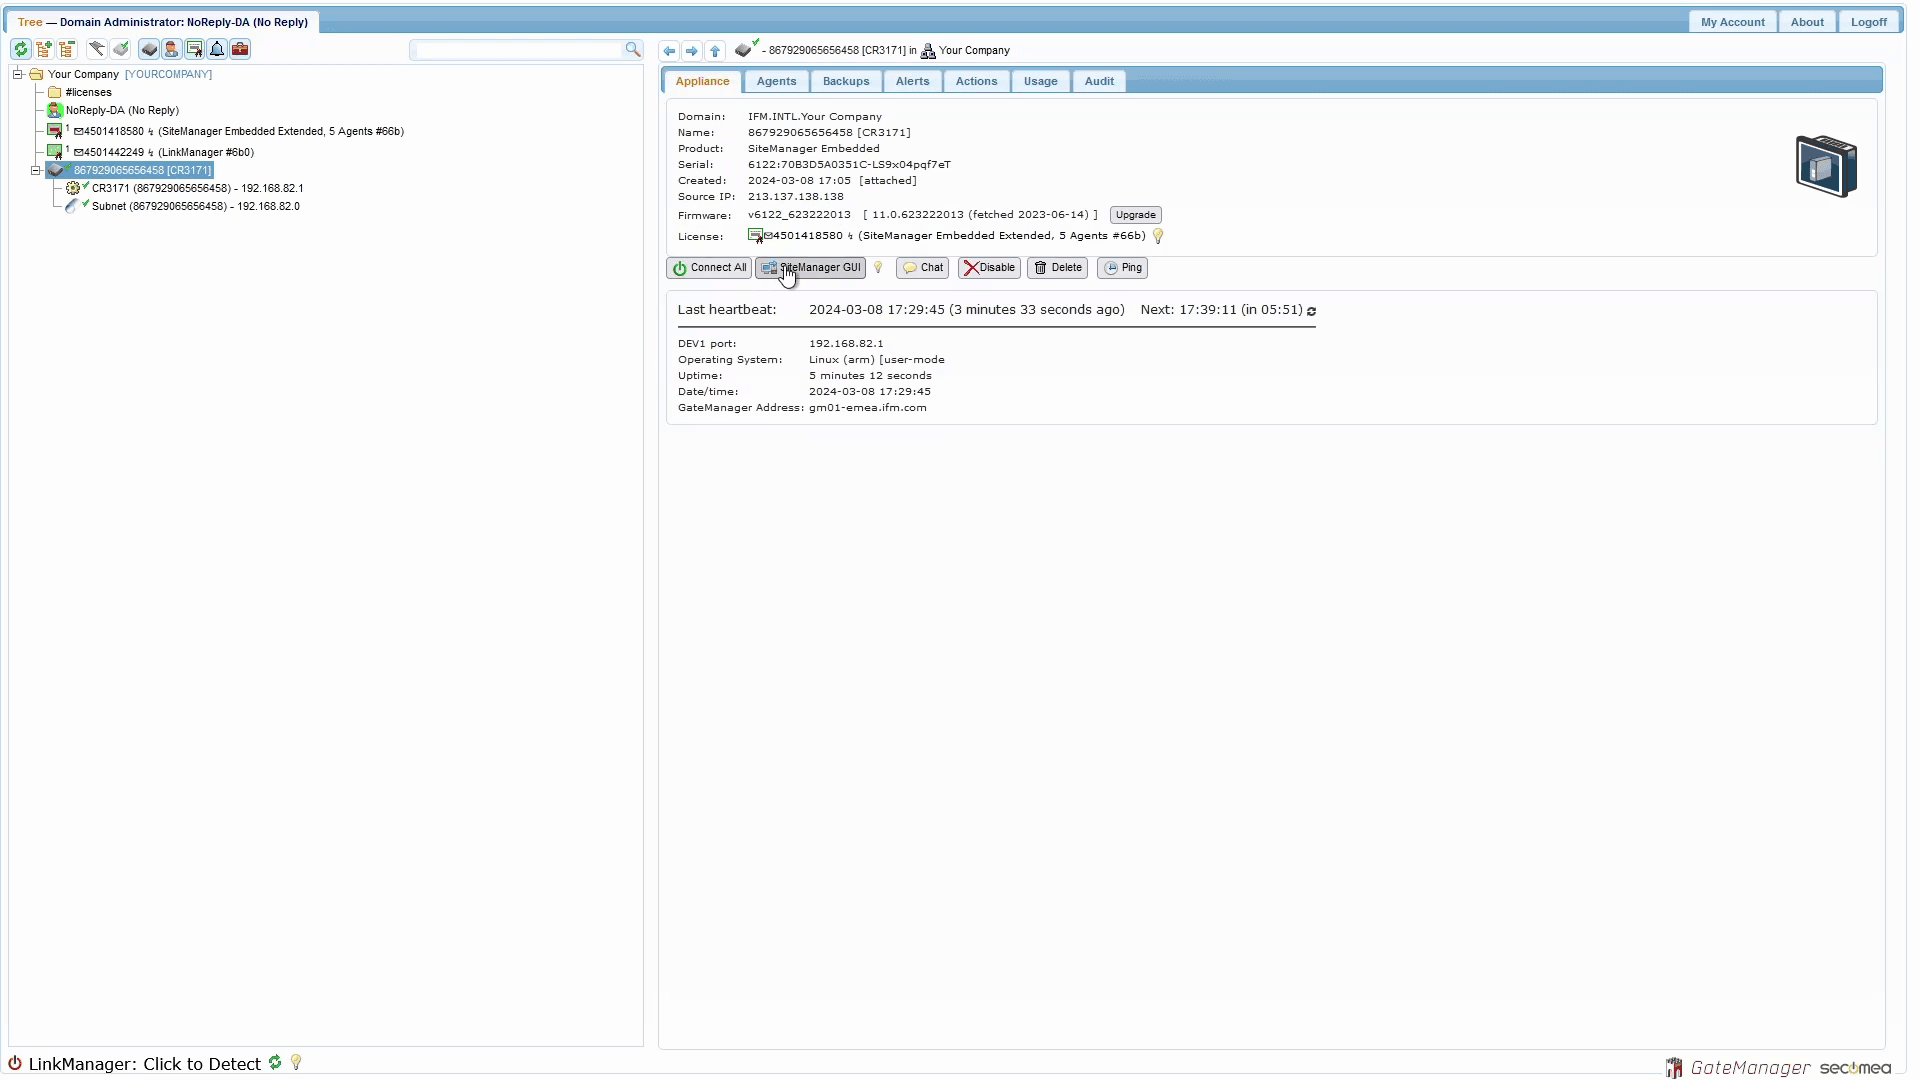
Configure the SiteManager
Select the gateway by clicking on it and push the SiteManager button.
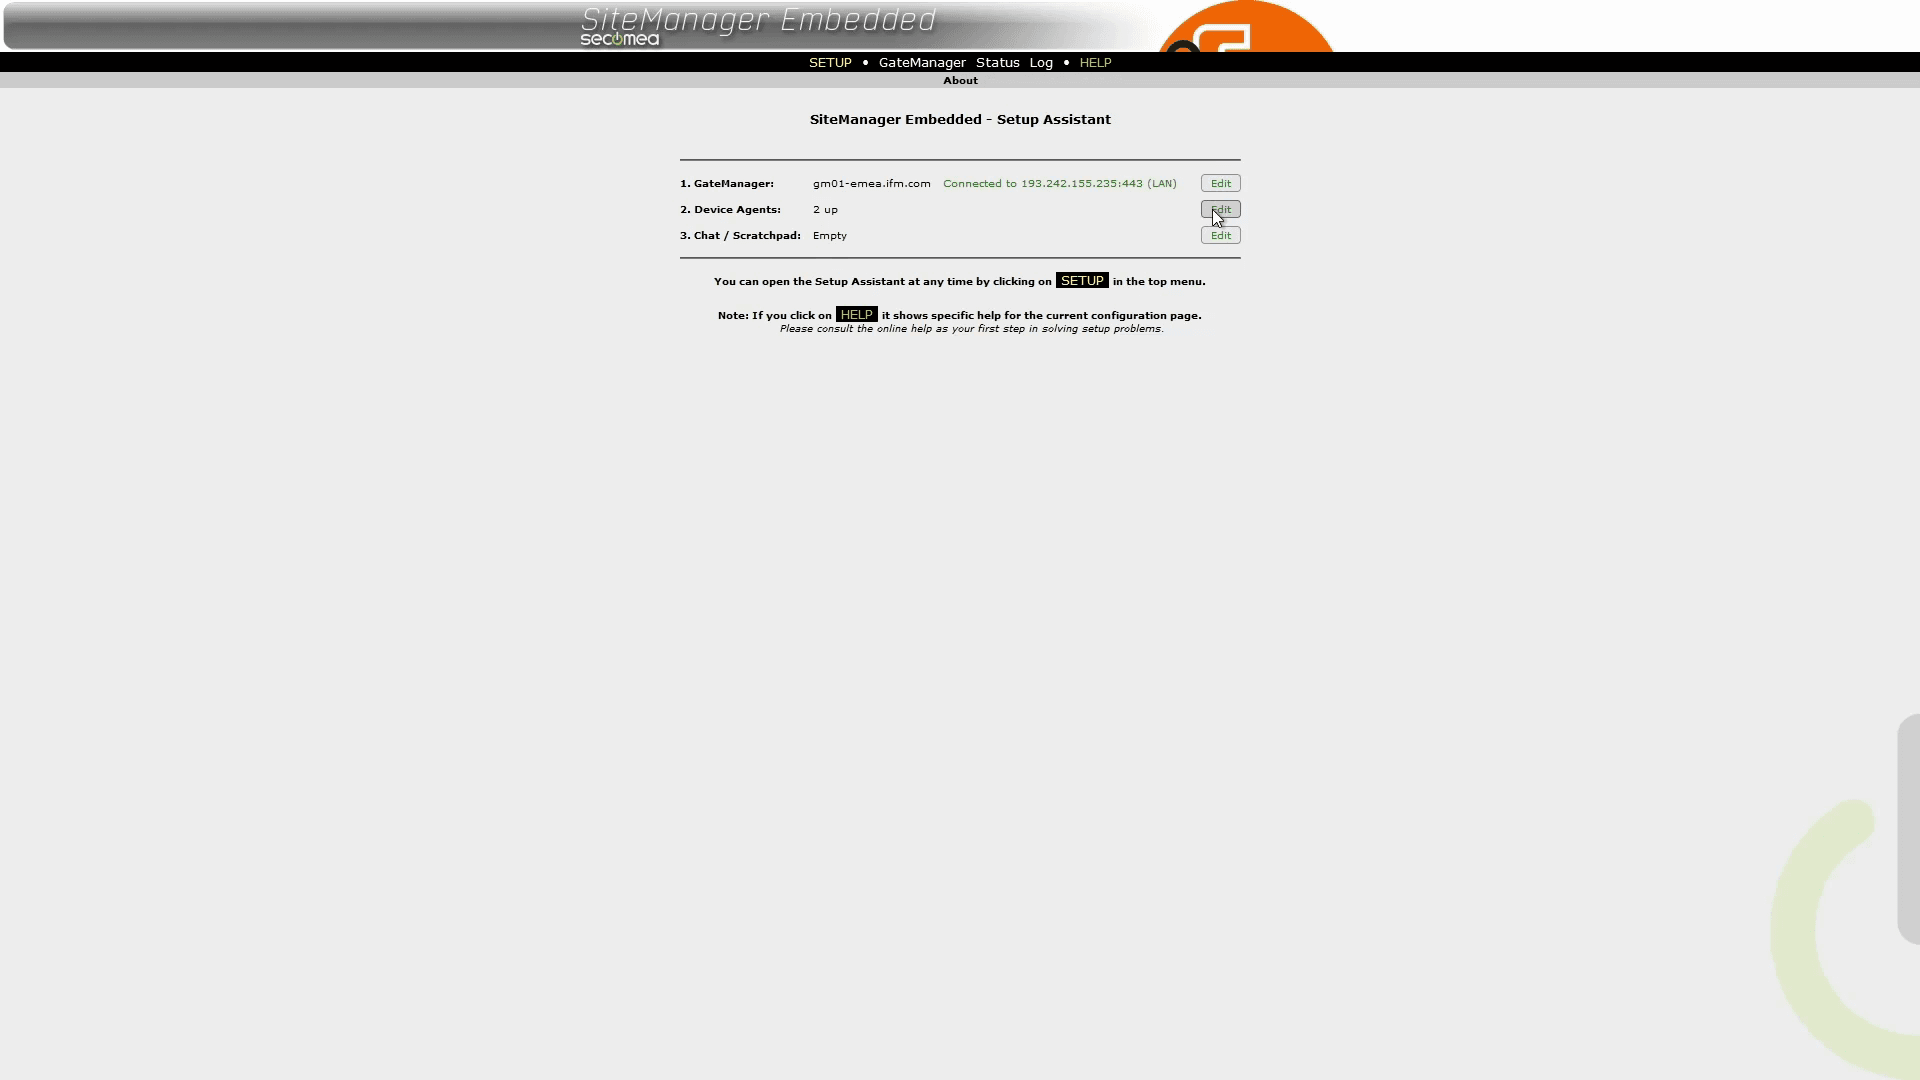
Setup Assistant
"SiteManager Embedded - Setup Assistant"
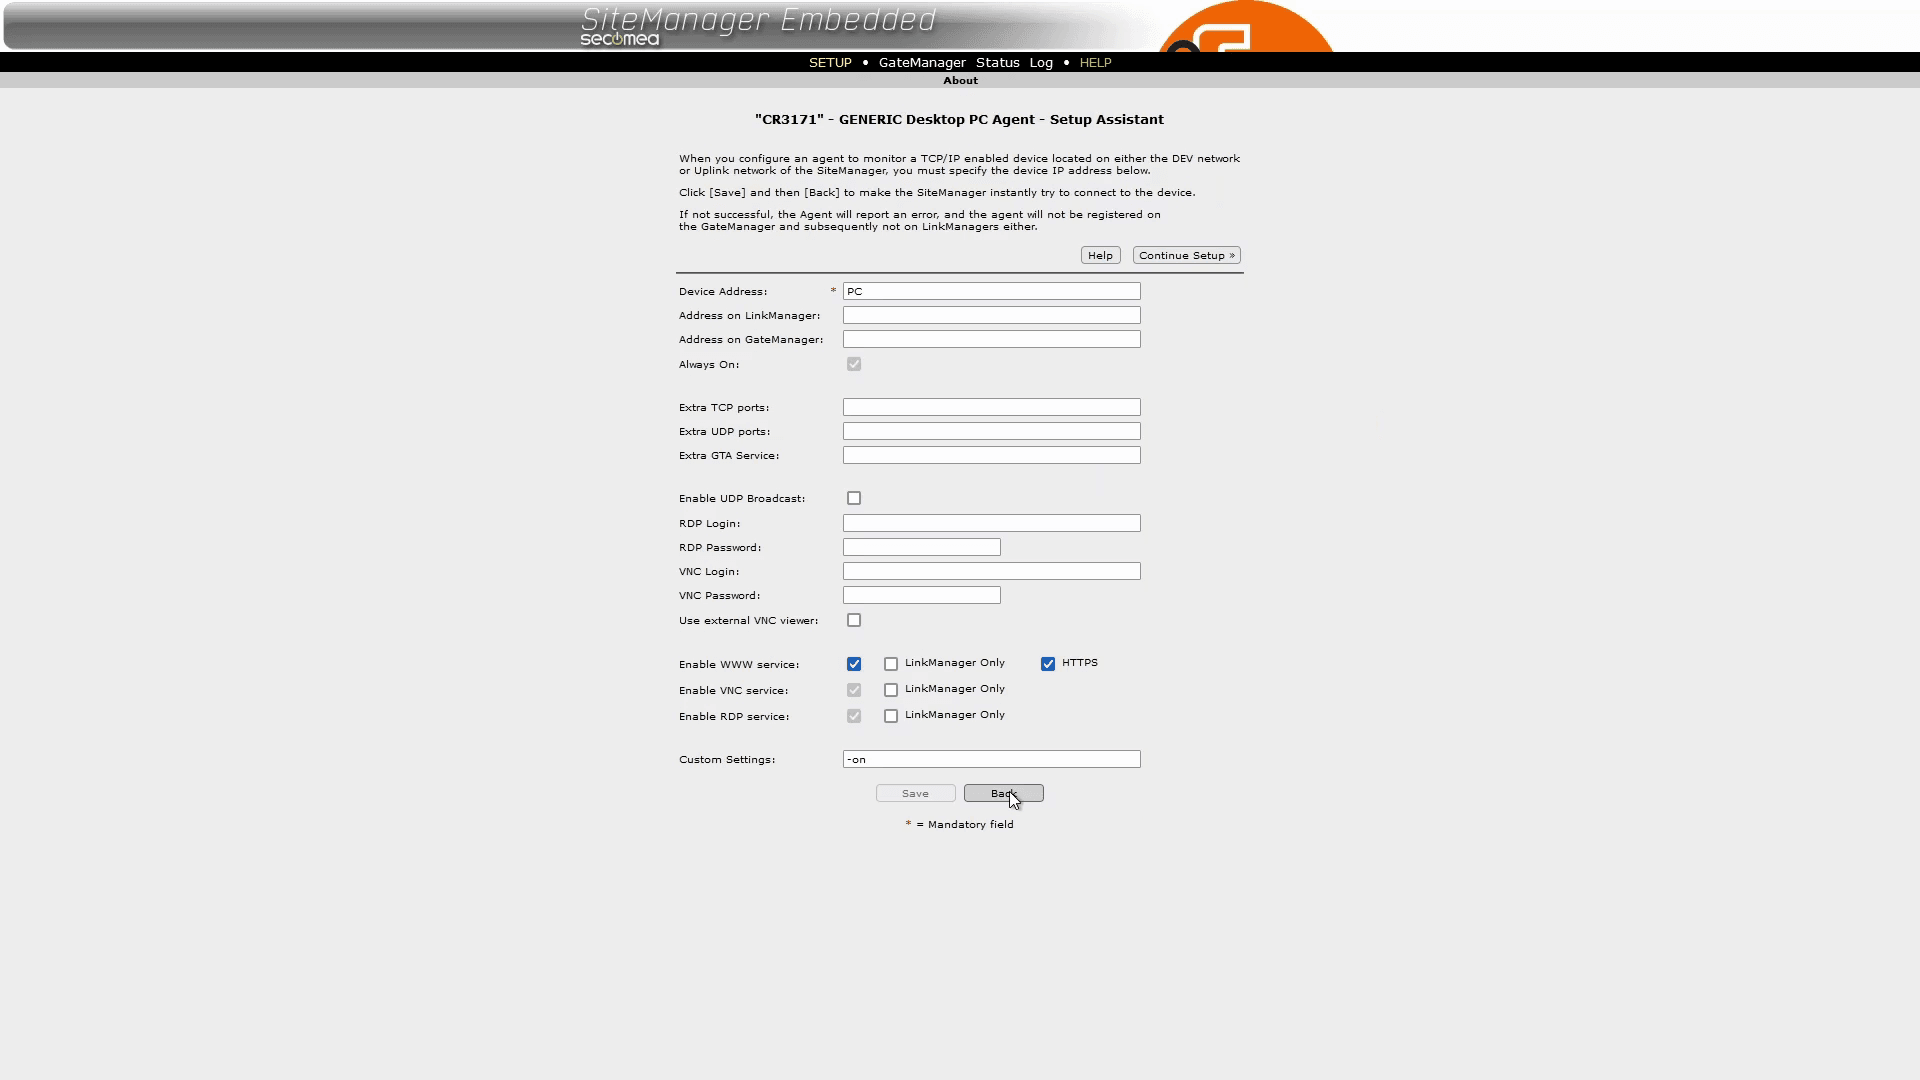
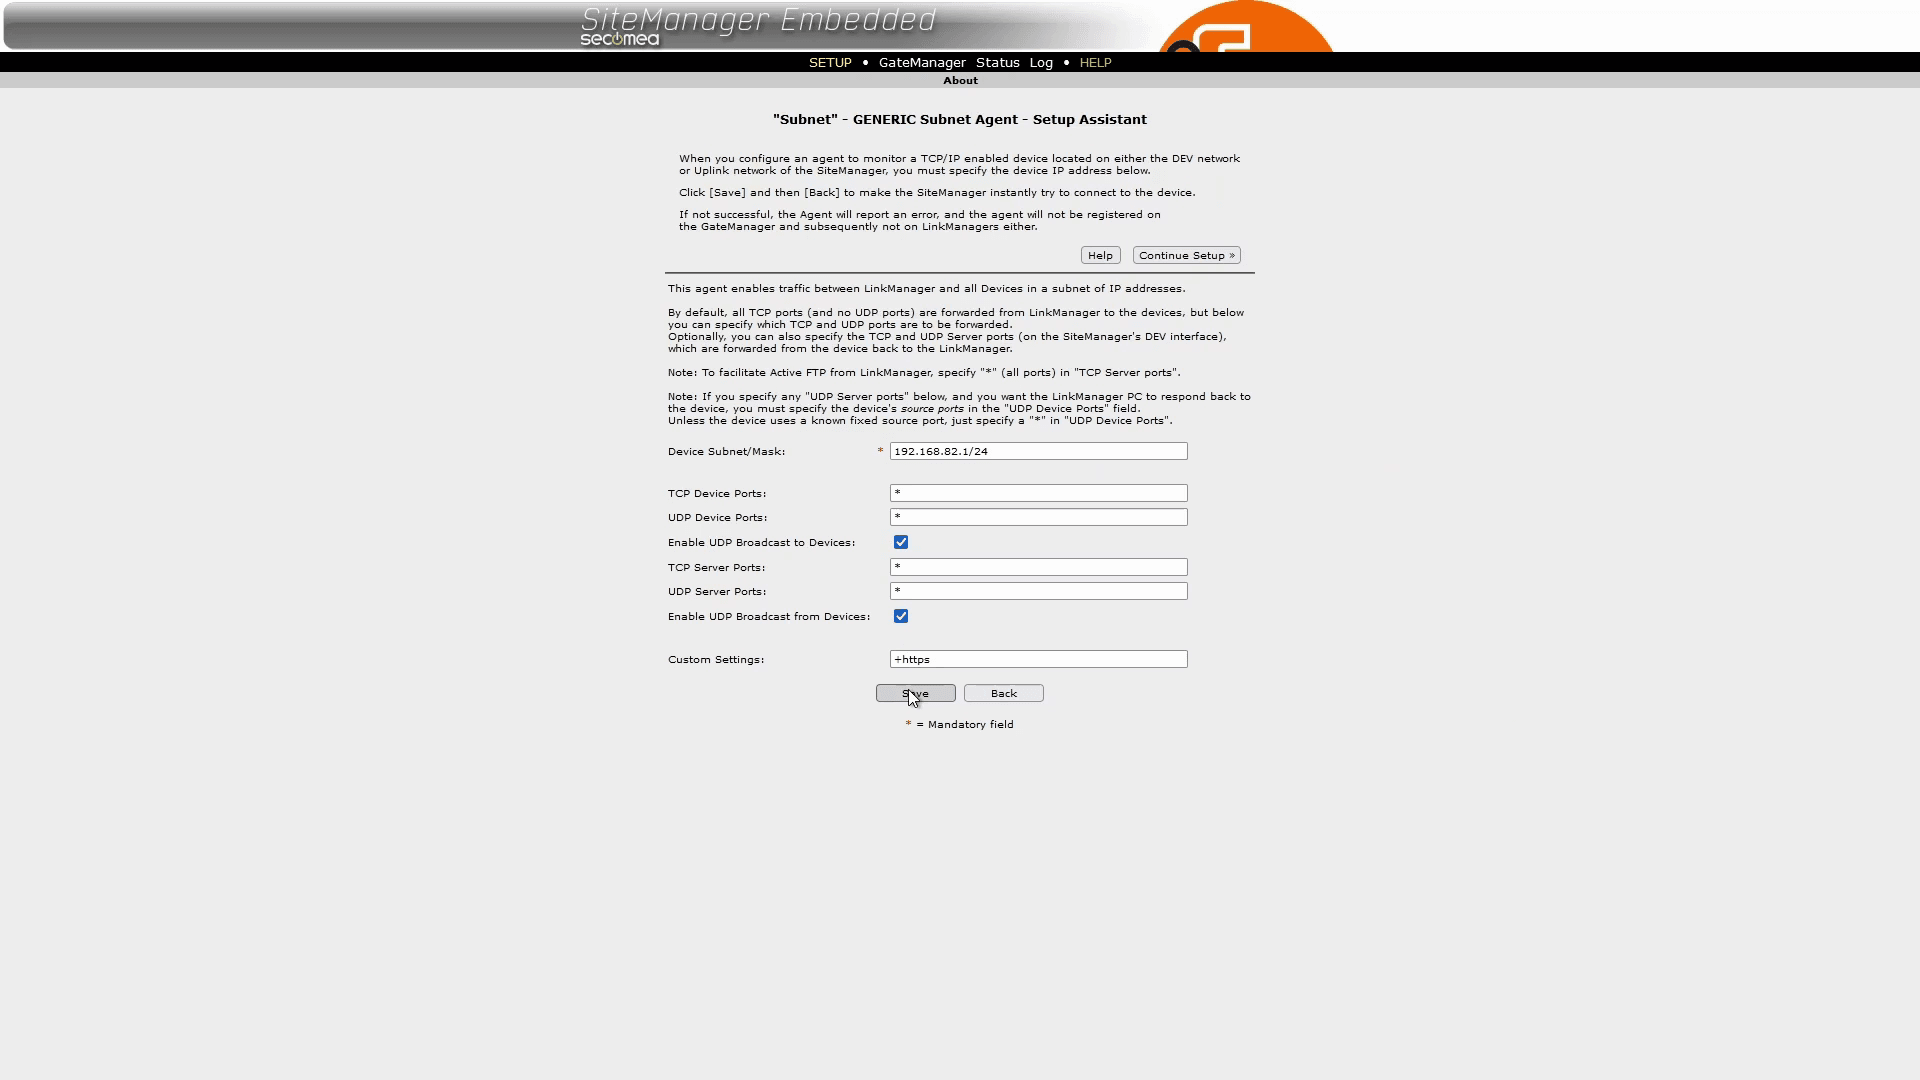
Edit Device Agents
Press the Editbutton opposite the 2. Device Agents:label.
Check the settings of each agent by clicking on the Editor "Finger on list"icon.
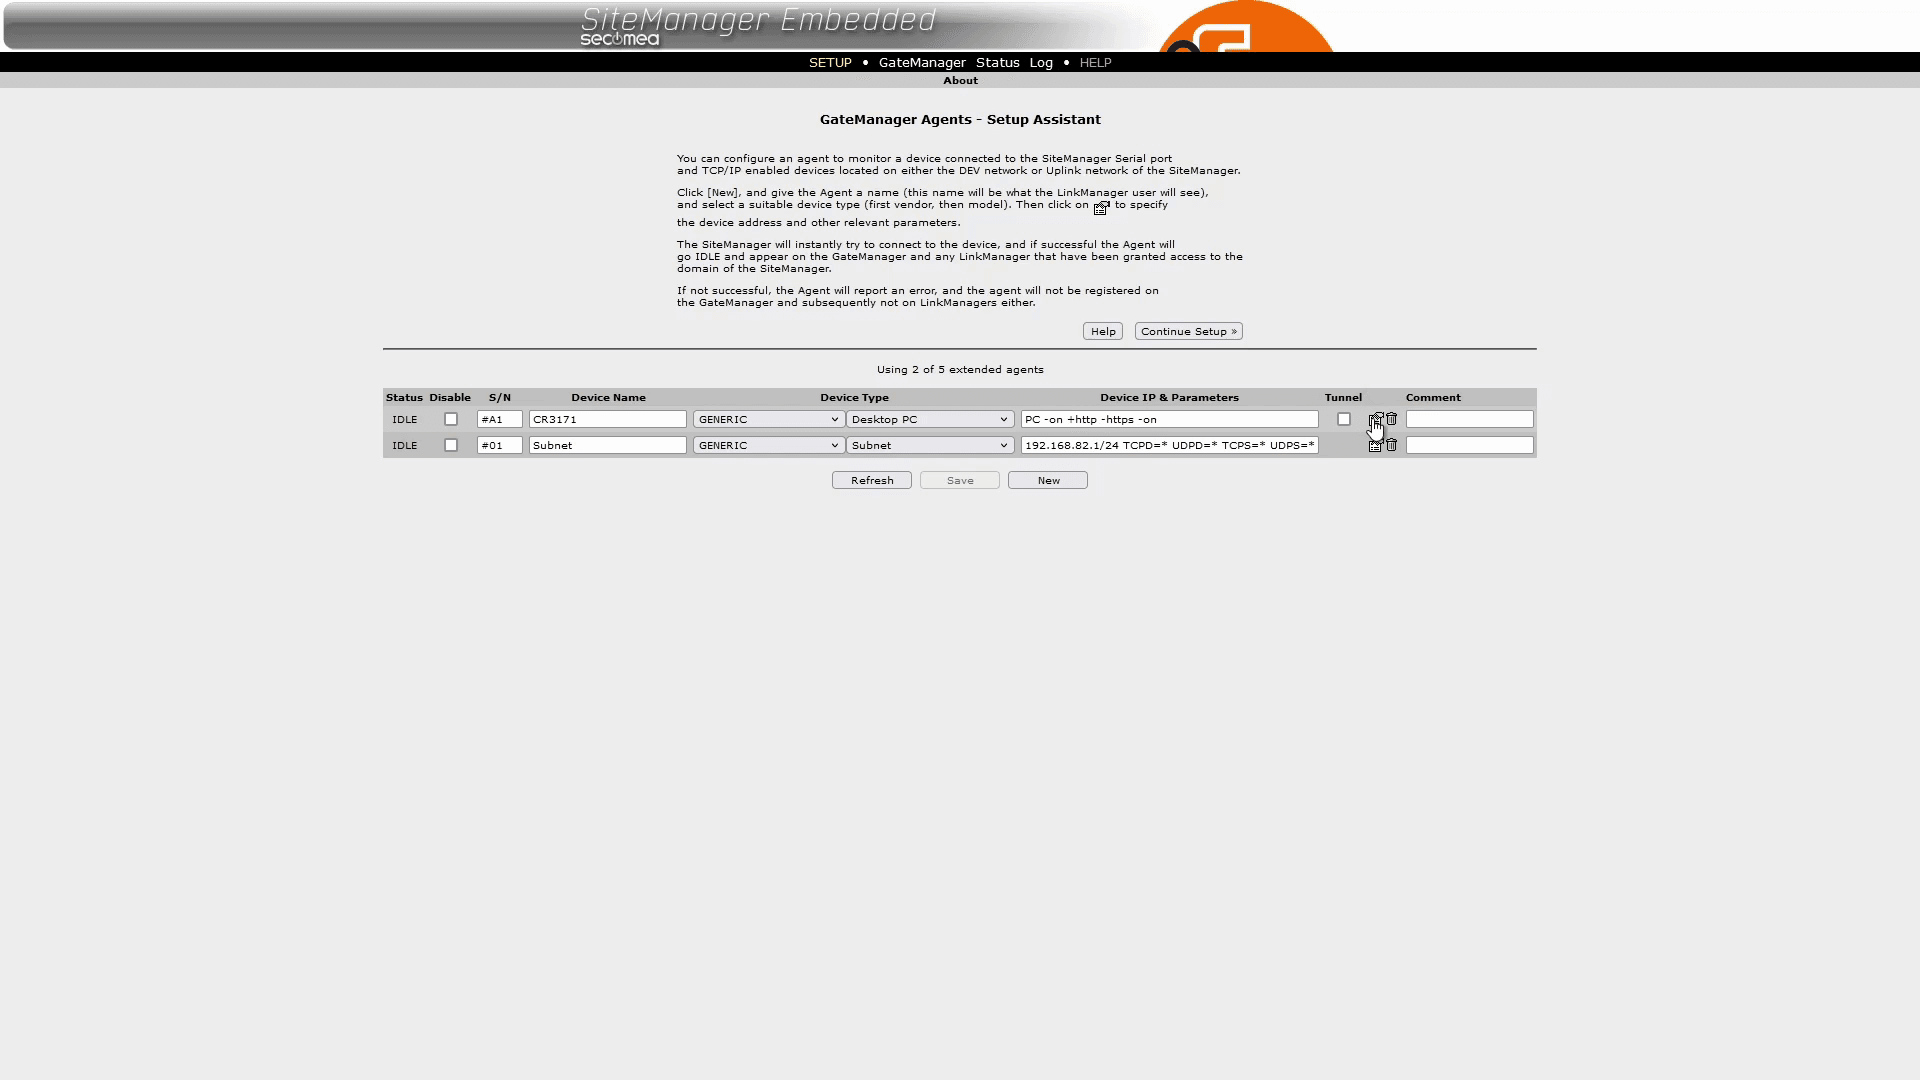
Verify Agent Settings
Ensure that both agents have the correct settings as shown in the screenshots.
Type "Desktop PC"
Type "Subnet"
Close the setup window
Summary
Key Steps Overview:
Preparation:
Confirm that the gateway is assigned to a customer and has an active contract in the mobileIoT Suite.
Access GateManager:
Log into GateManager as a domain administrator, and copy the domain token for later use.
Local Gateway Connection:
Connect to the gateway locally, access its WebUI, and log in using the device's credentials.
Configure Connectivity:
Input the domain token into the gateway's configuration settings to establish a connection with GateManager.
License Management:
Transfer necessary licenses (SiteManager and LinkManager) to the appropriate domain and bind them to the gateway.
Agent Configuration:
Wait for the gateway to become visible in GateManager, where two agents—Desktop PC and Subnet—will appear. Verify their settings and adjust as needed to enable remote access to both the gateway and connected devices.