How to: Collect data from the CANbus
Getting Started with CAN-Monitor
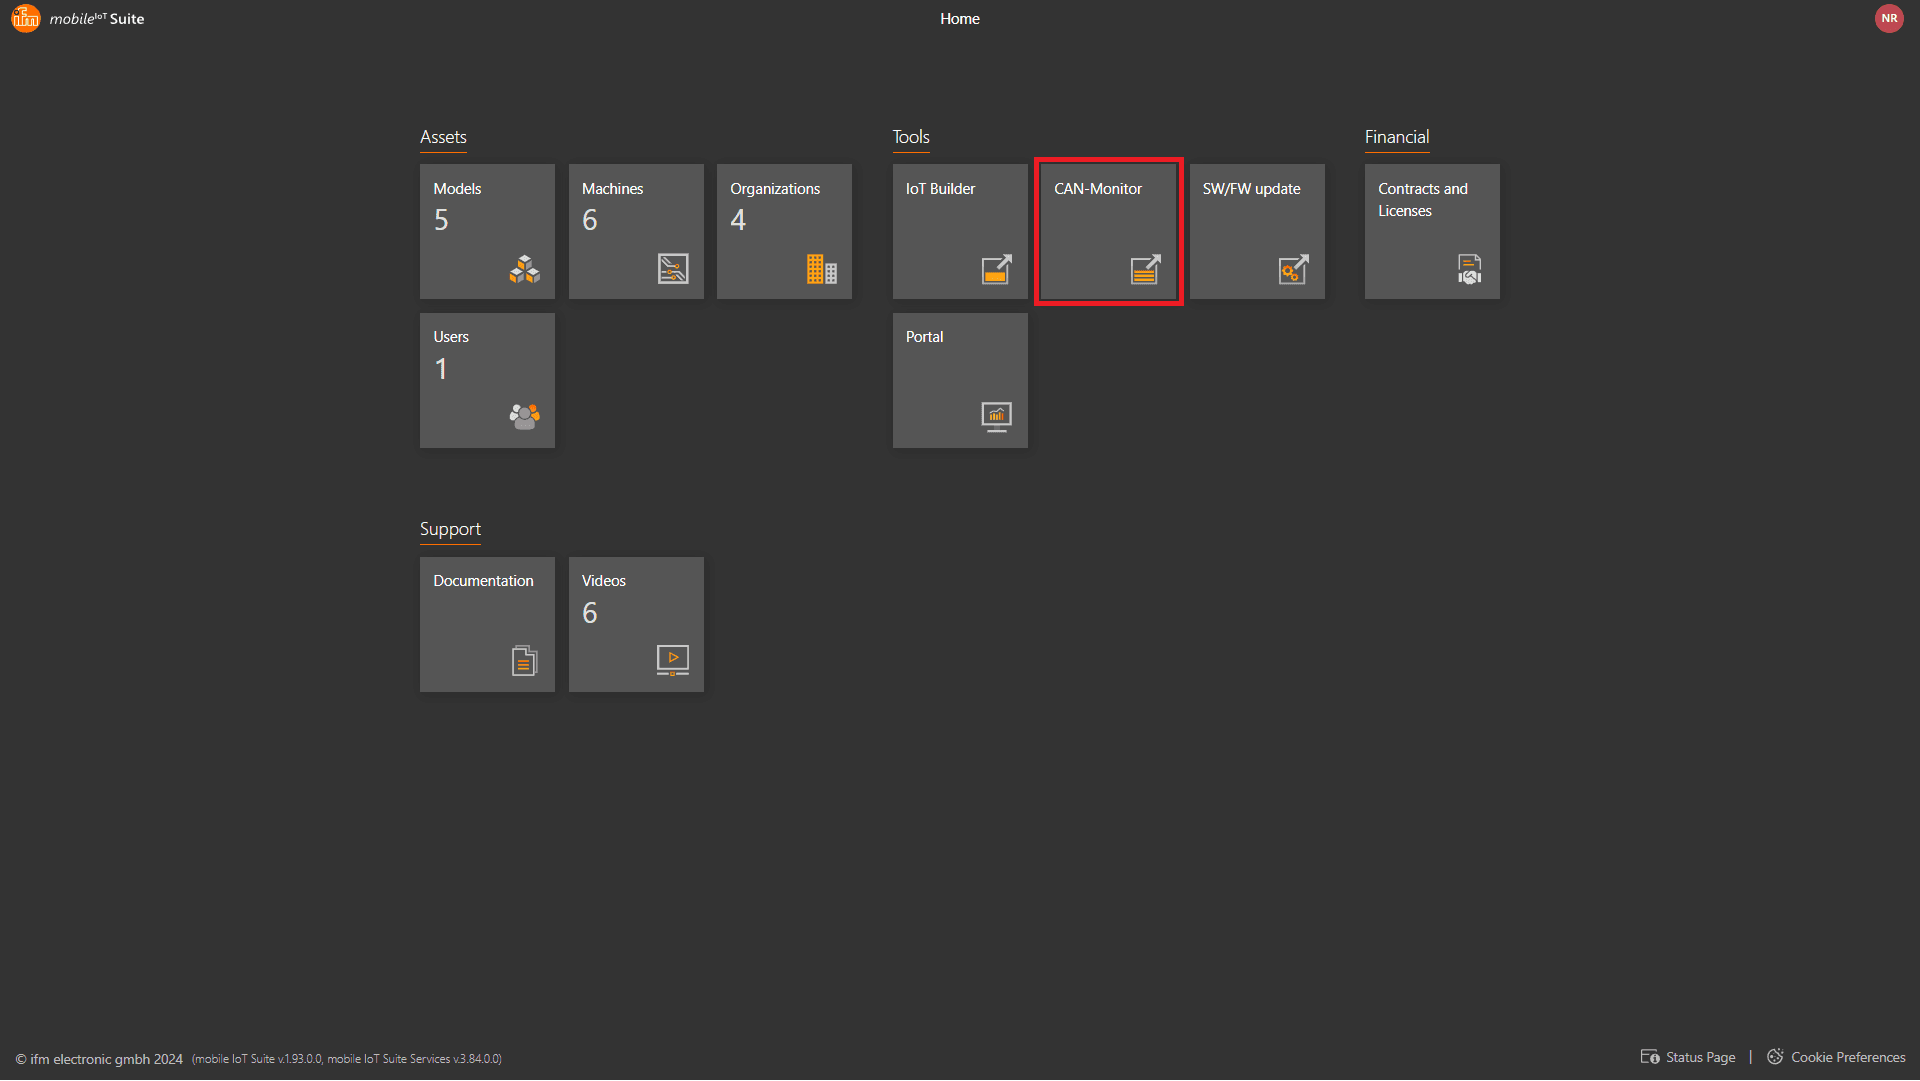
Step 1: Access the CAN-Monitor Tool
To begin, click on "CAN-Monitor" to open the tool.
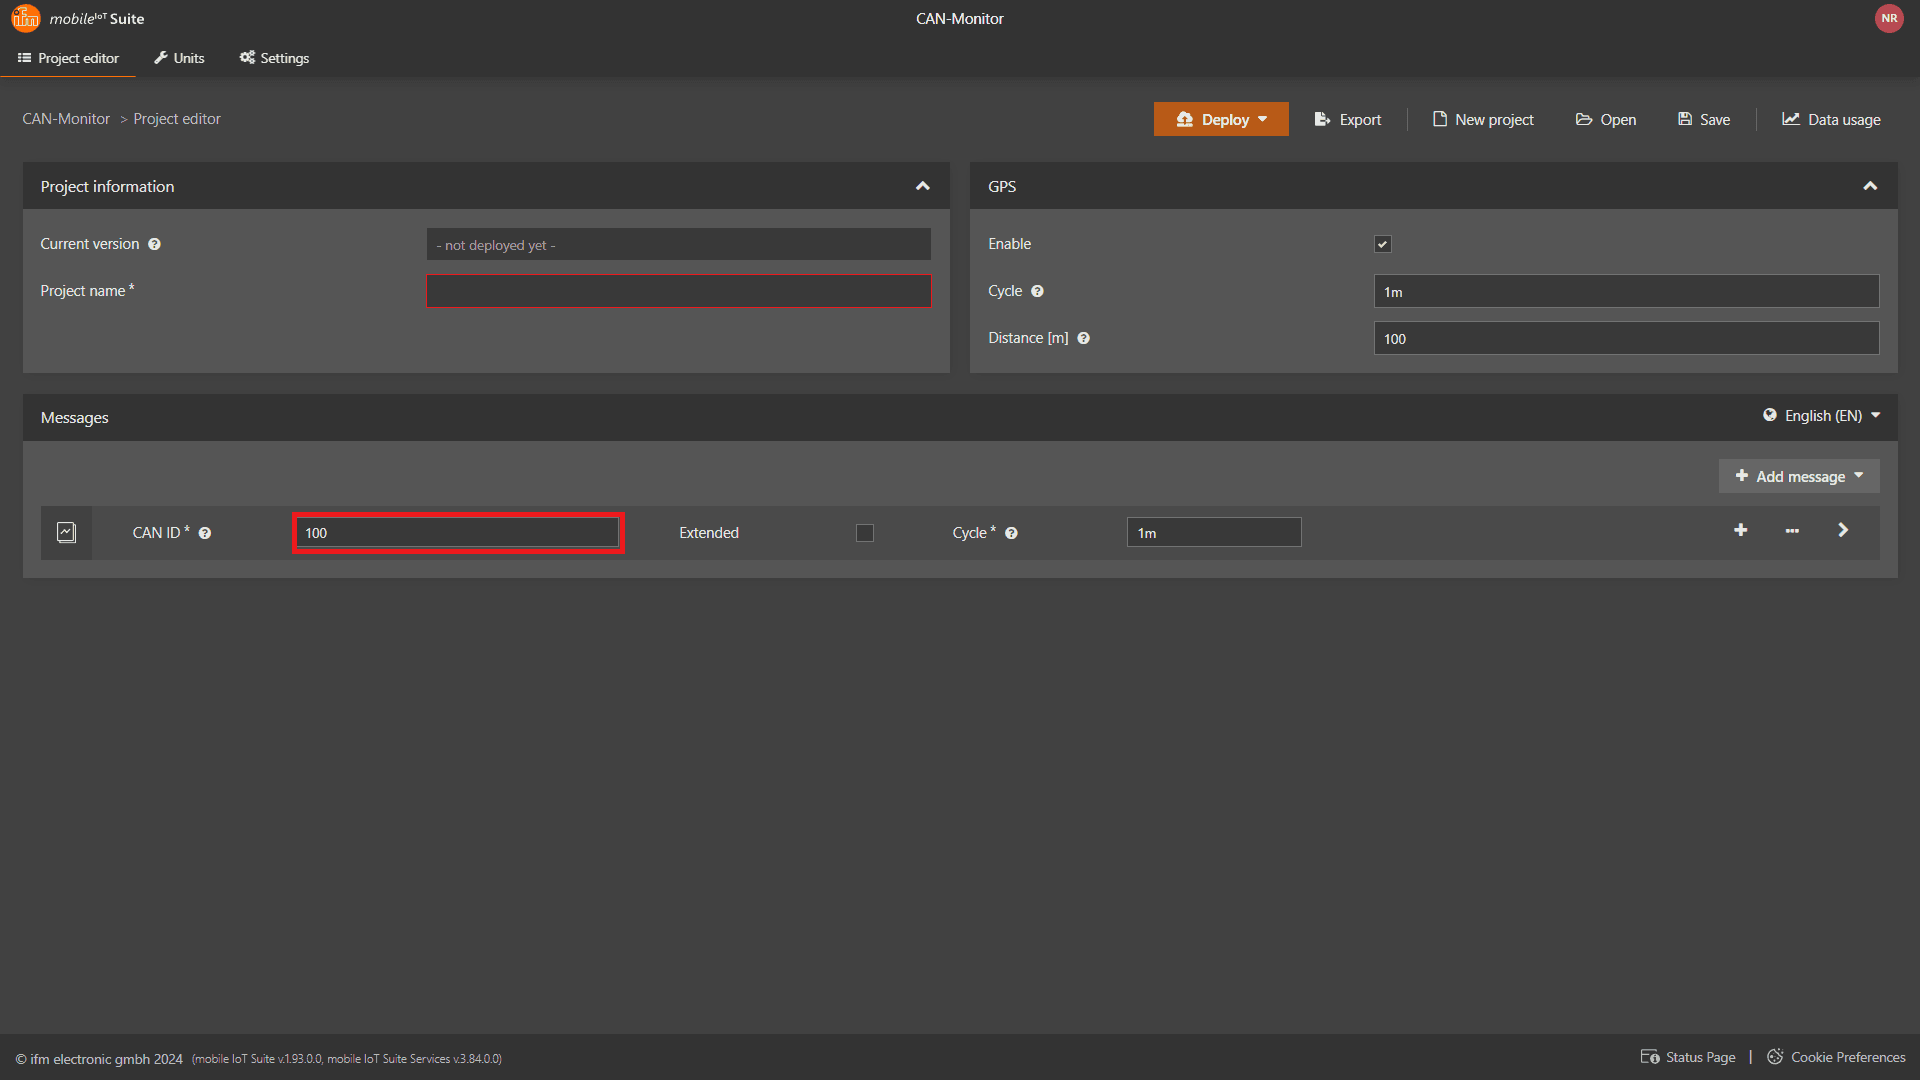
Next, click on "Add Message" to create a user-defined CAN message.

Step 2: Define Message Details
Correct CAN ID: Specify the CAN identifier (either 11-bit or 29-bit). Cycle Time: Define the interval for data checks.
Example of a CAN Message
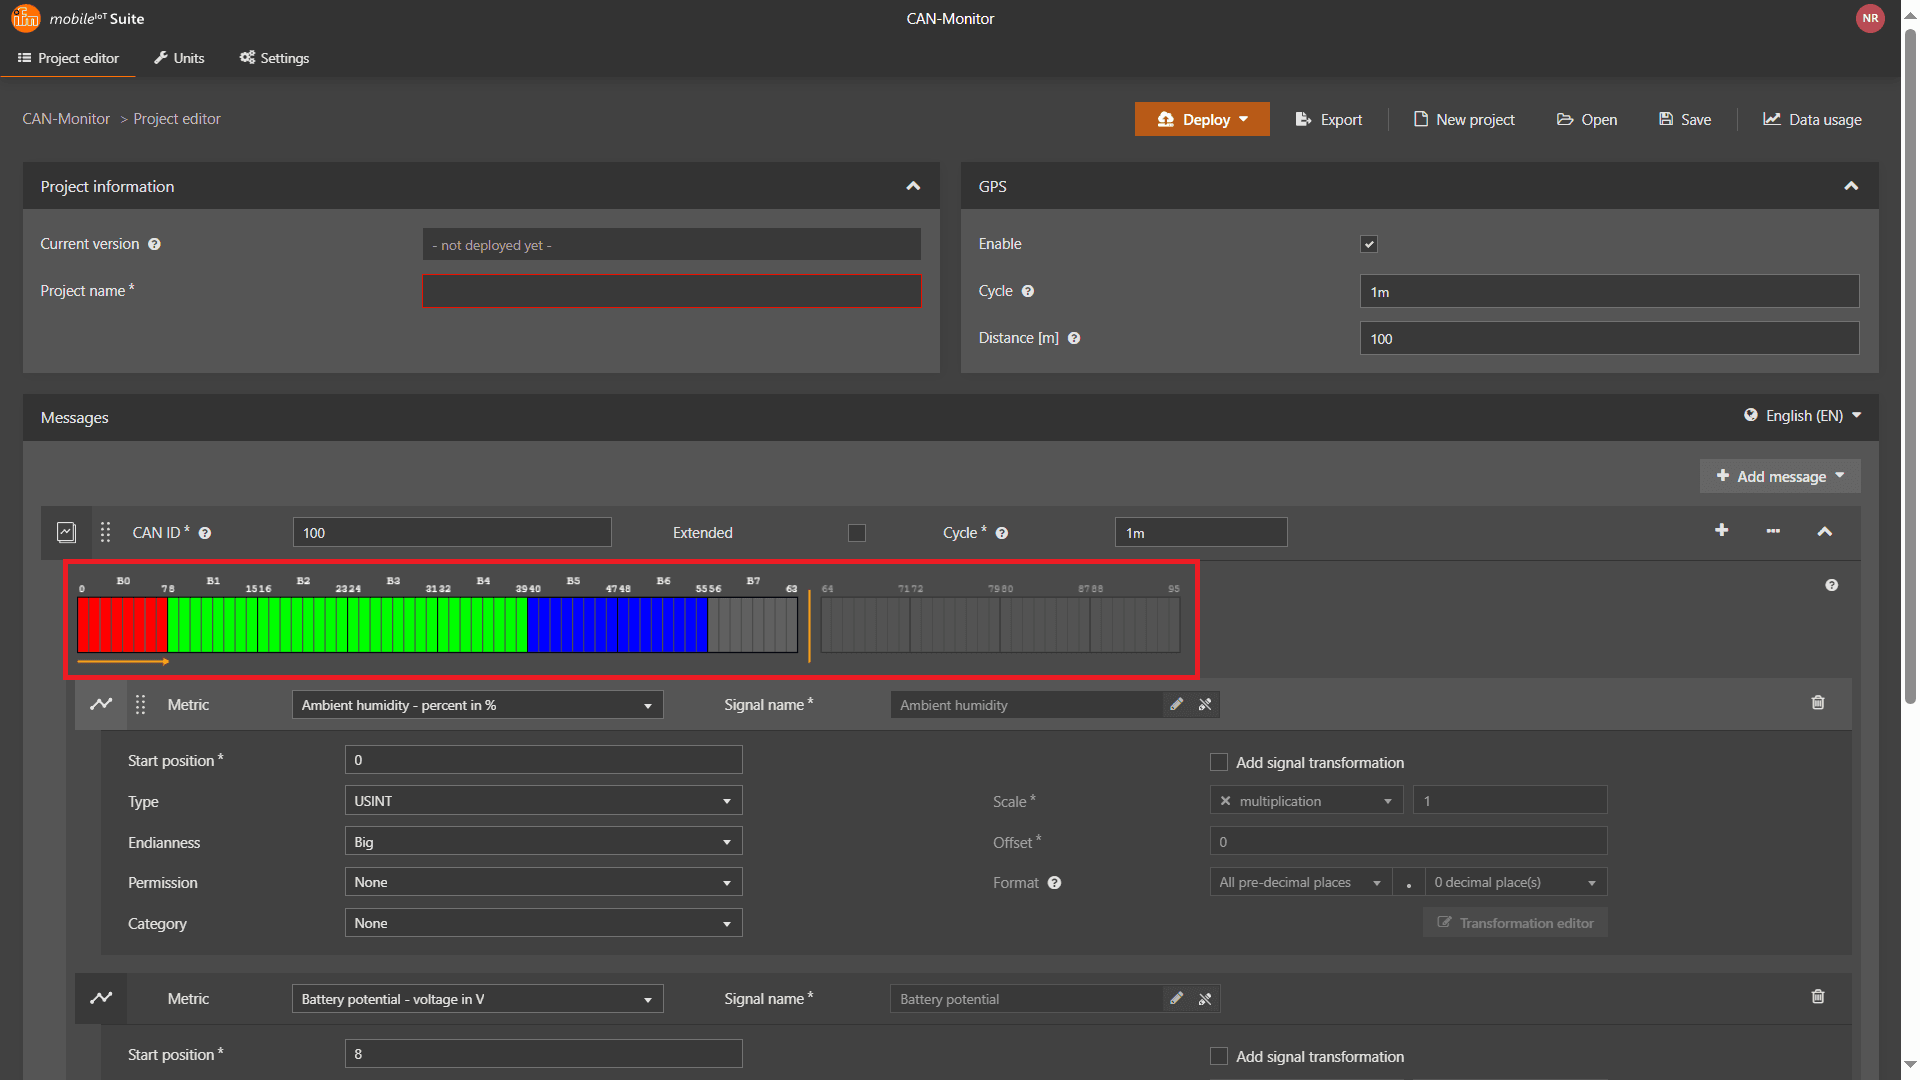
Adding New Signals
Use the Wizard (recommended for easier signal creation). Standardized Metric : Select from predefined metrics. Custom Metric : Define your metric from scratch.
Case 1: Wizard + Standardized Metric
Choose a predefined metric from the list. Enter a Signal Name (preset or user-defined). Type: Specify the data type. Start Position: Define where the signal starts in the message (automatically set to the next free bit). Endianness: Choose "Big" (most significant byte first) or "Little" (least significant byte first). Permission Level: Set visibility based on organization type. Delta Function: Enable up/down counting, or select "none" (default). Activate advanced settings. Multiply or divide the signal value. Set an offset. Specify the number of decimal places.
Case 2: Wizard + Custom Metric
Enter a Signal Name . Select a Unit for the signal. Type: Specify the data type. Start Position : Define the starting bit. Endianness: Choose "Big" or "Little." Permission Level : Set variable visibility. Delta Function : Enable or disable delta functionality.Activate advanced settings. Multiply/divide the signal value. Set an offset. Define the number of decimal places.