Models
✅ Prerequisites
Administrator access to the mobile IoT Suite with the rights to add and manage models. You're logged into the mobile IoT Suite.
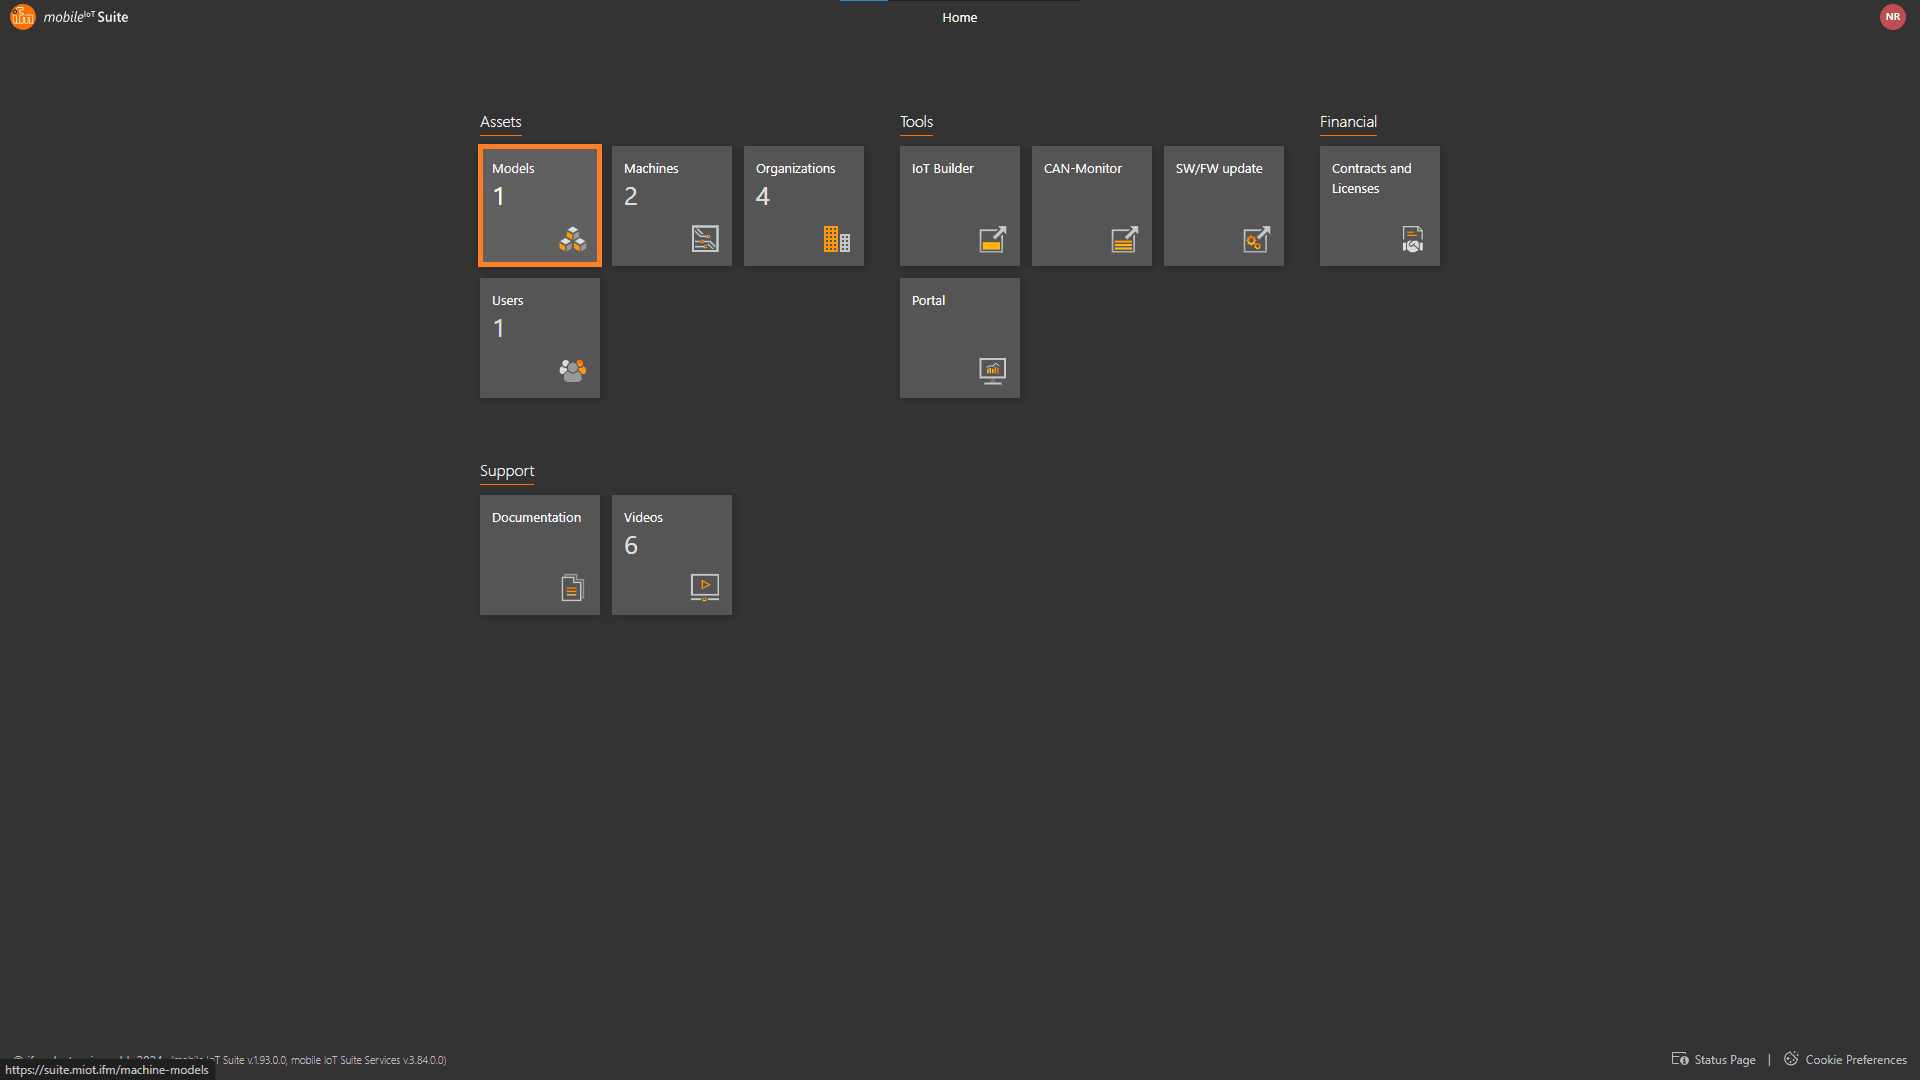
Navigate to the Models Section
Once logged in, go to the Models section from the main menu.
This will display the list of existing models in your organization.
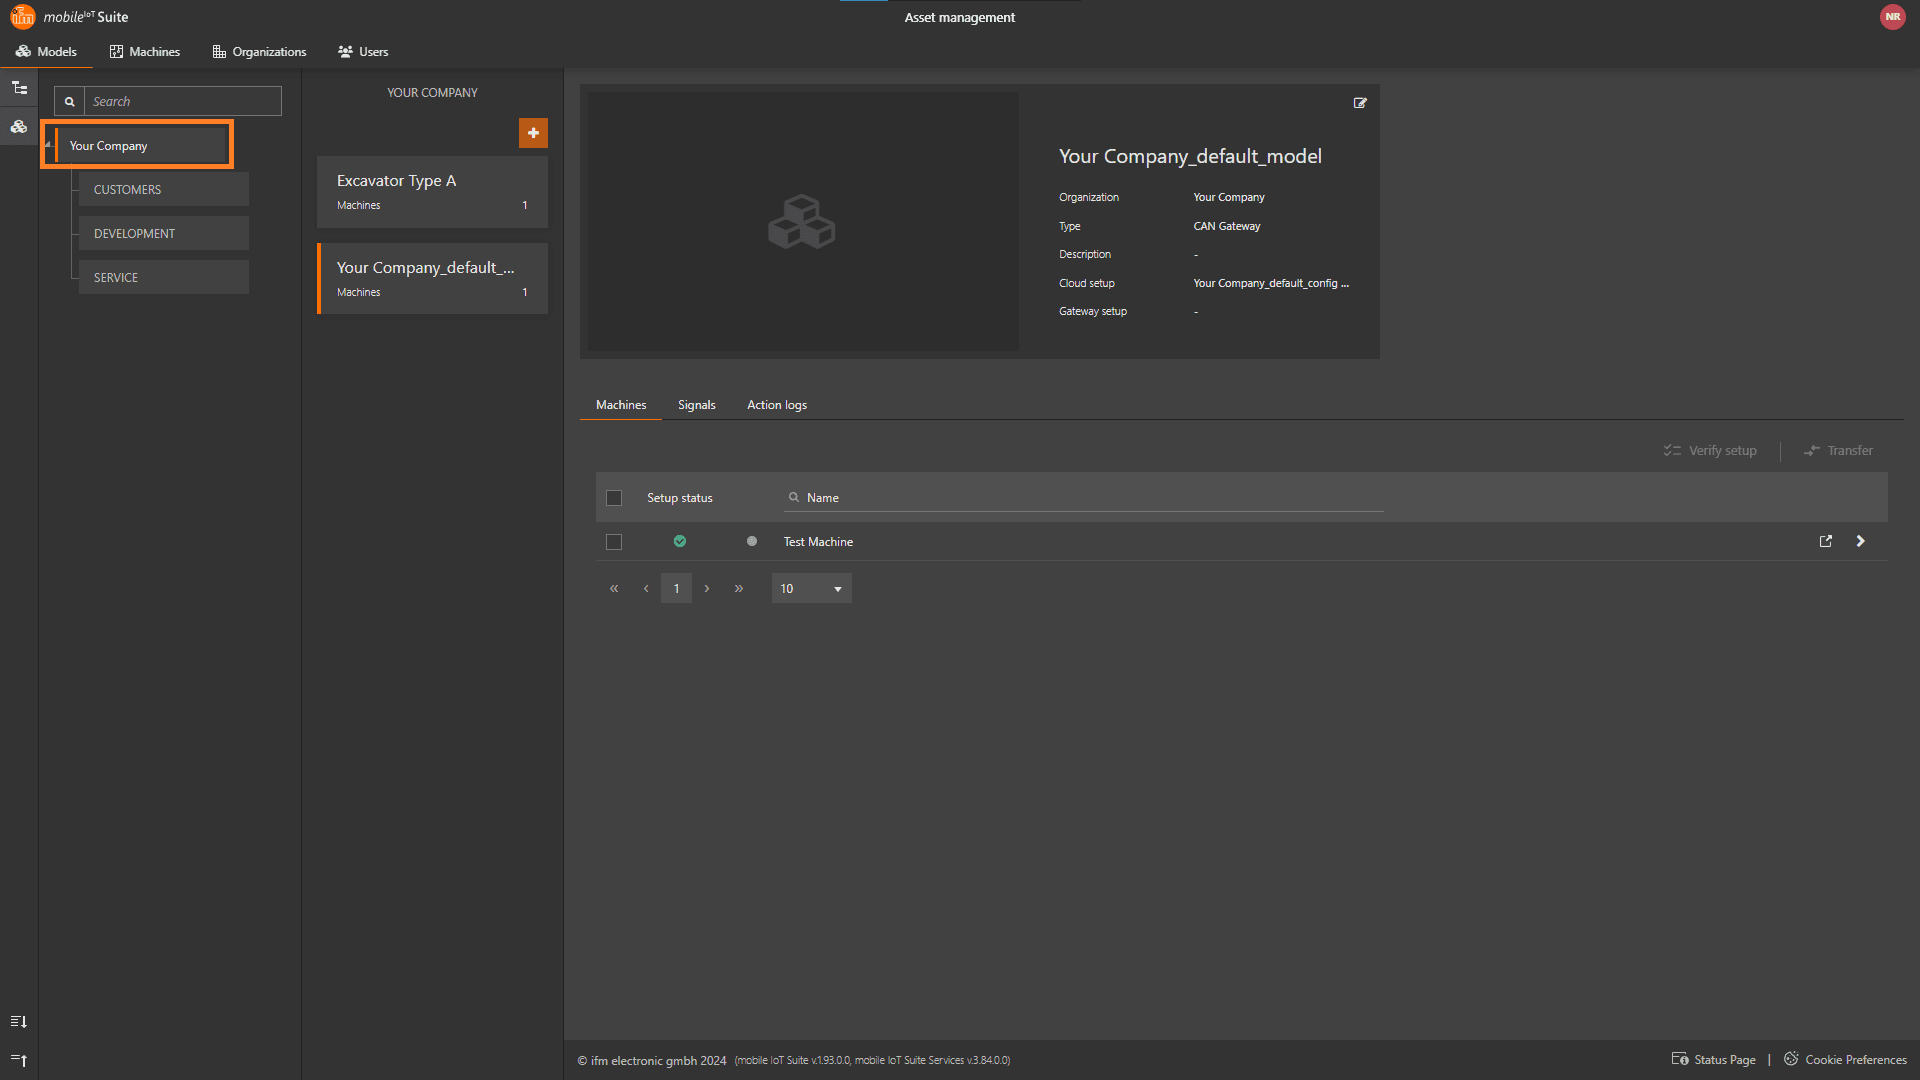
Selecting the Organization Unit
Choose the organization unit where you want to add the model. It's recommended to add a new model at the top level organization.
Add model
Initiate Model Creation
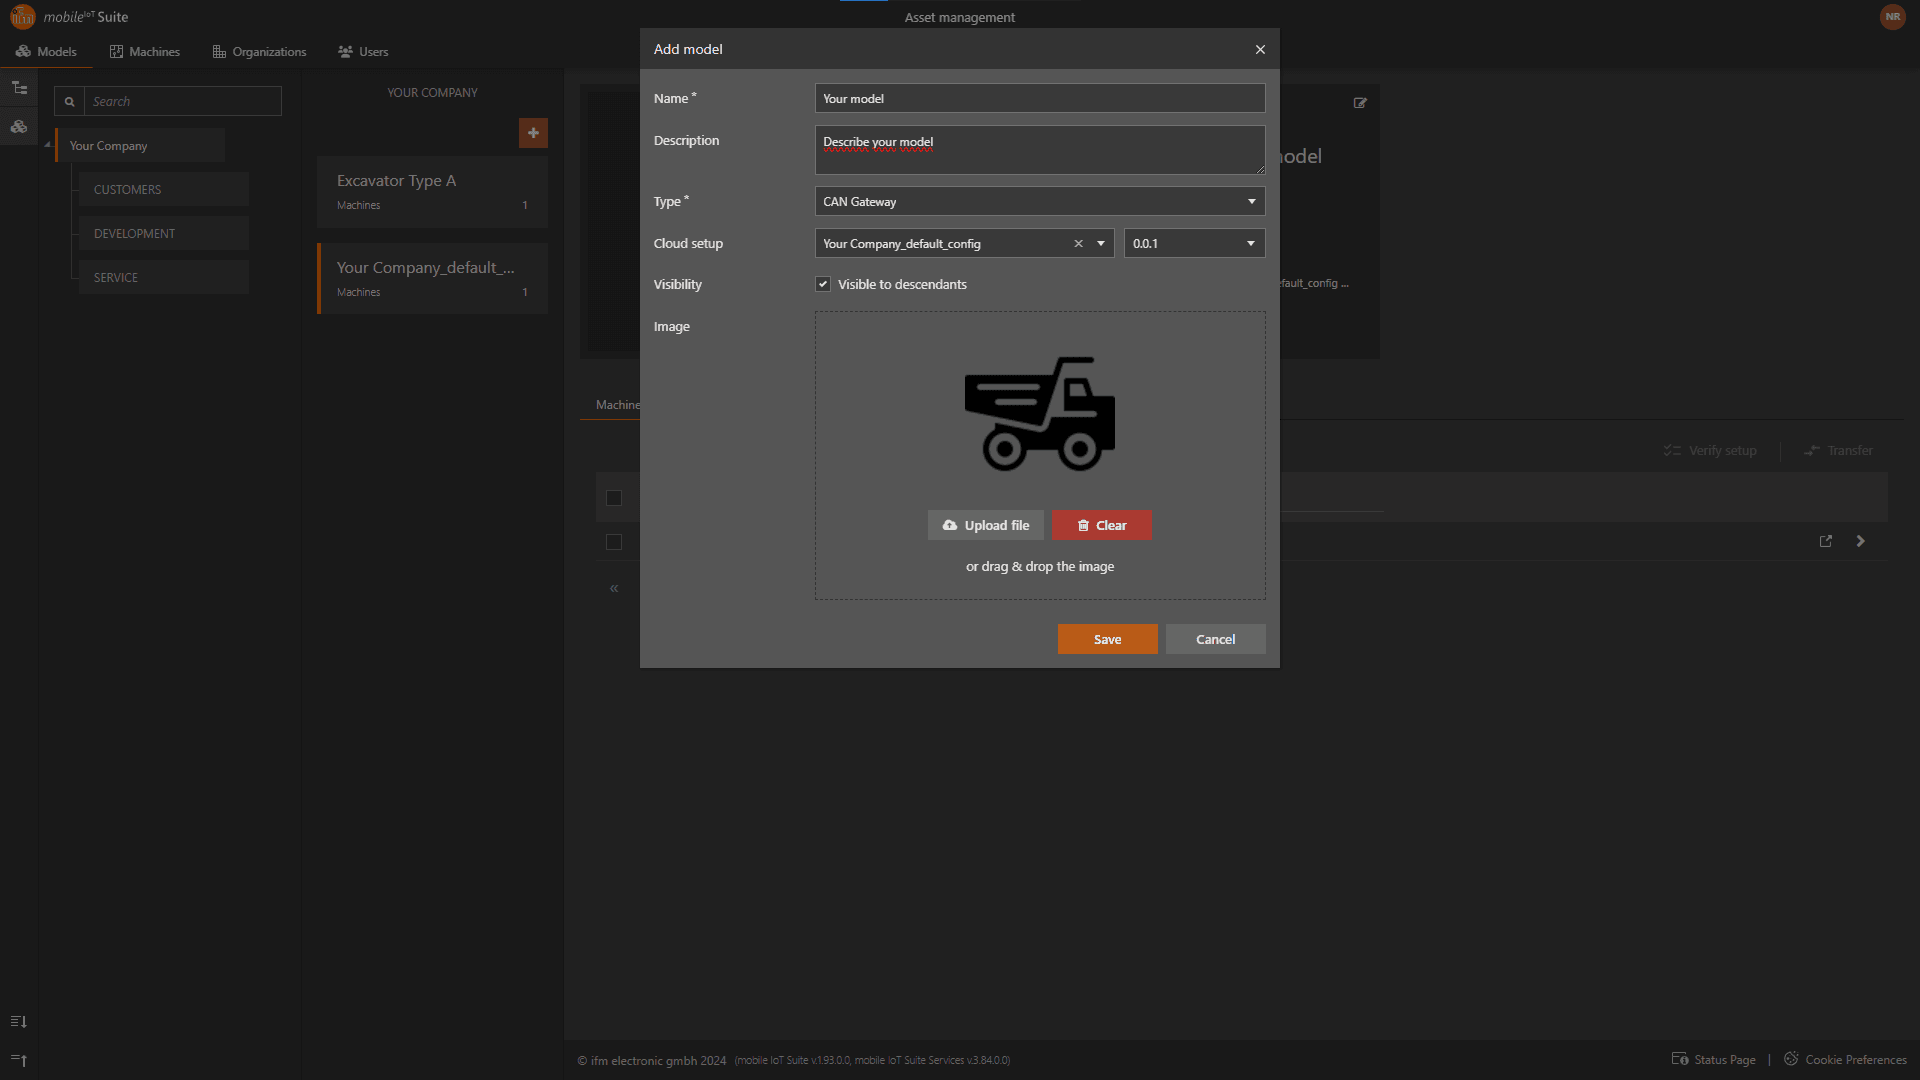
Click the + Add User button to open the "Add Model" pop-up.

Model Information
Give the model a name for display in the model overview.
Provide a description to make model management easier.
Select the default setup for the new model. Choose the appropriate cloud setup if you have multiple options.
Decide if the model should be visible to org units below your organization.
Add a picture to identify the model and its associated machines at a glance.
Model Created
Model Features
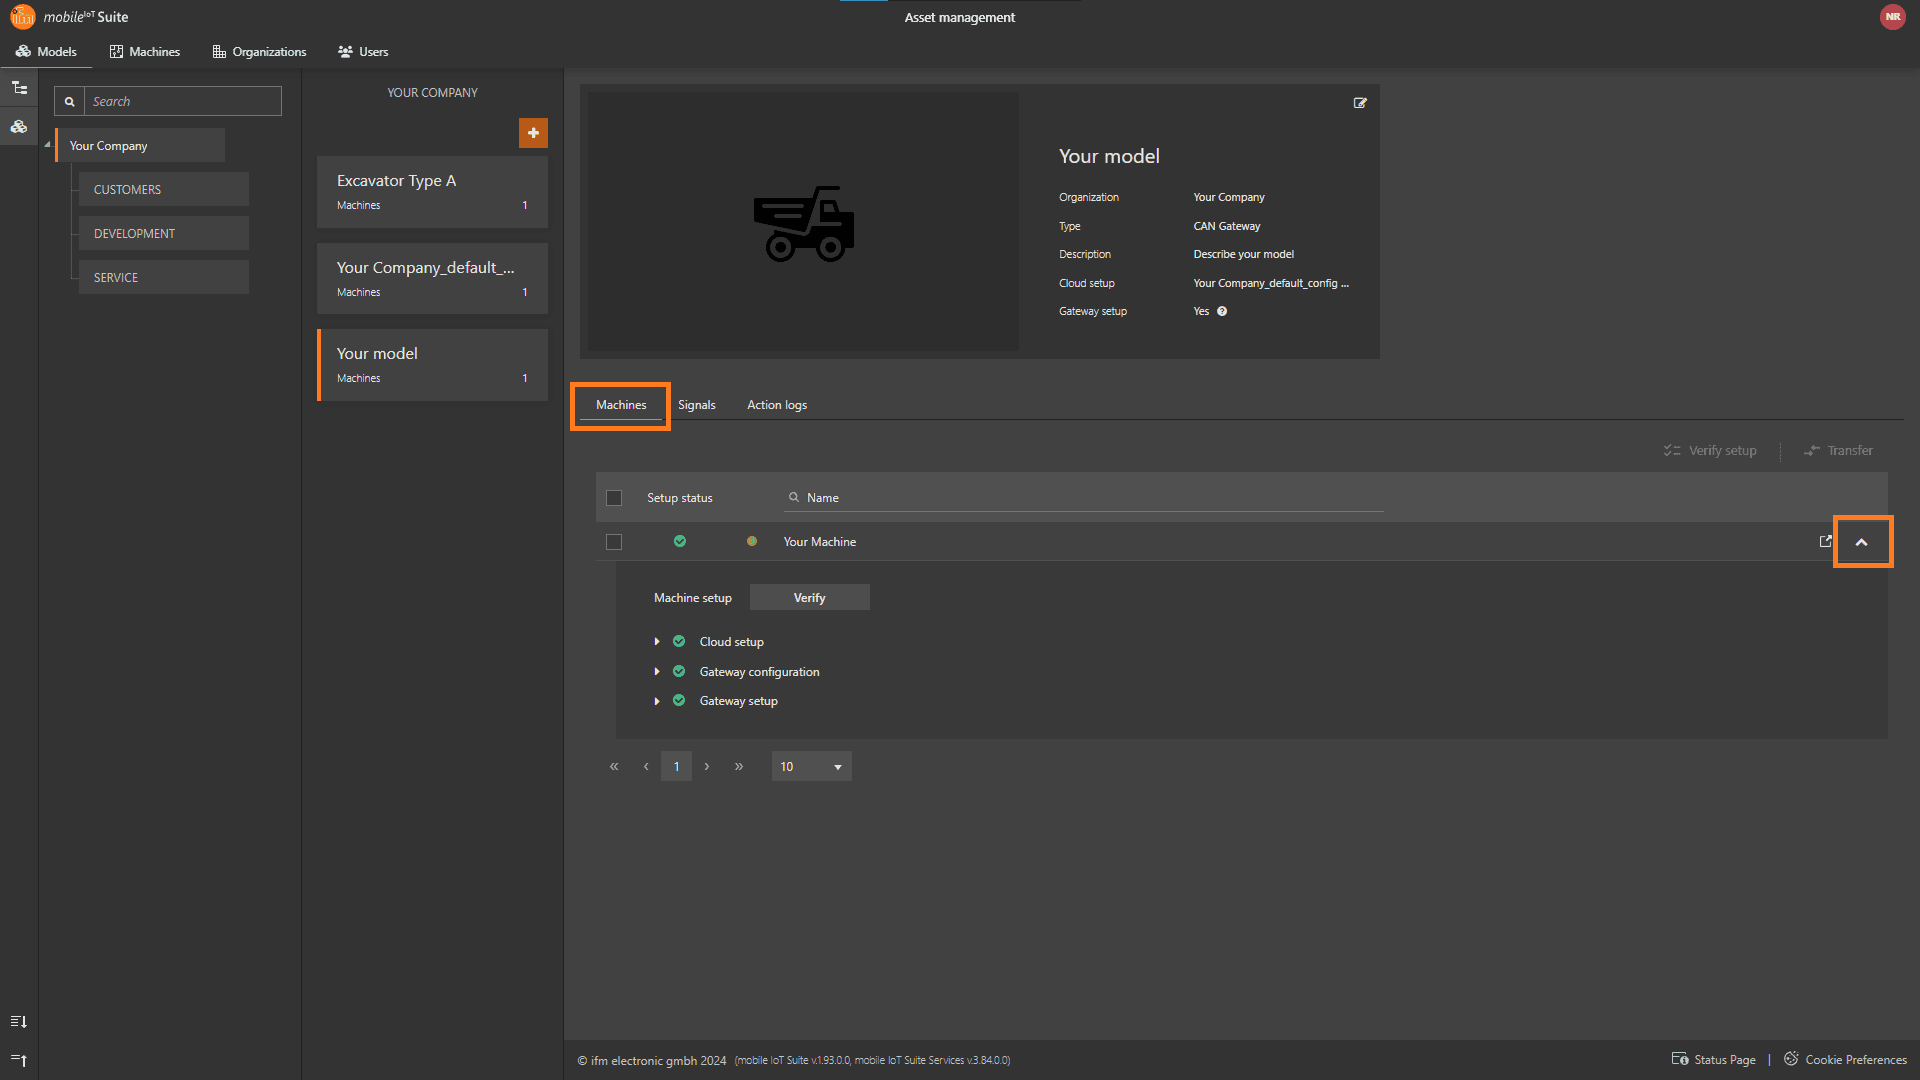
Machines
Select the "Machines" tab.
Expand your machine to check its status and settings.
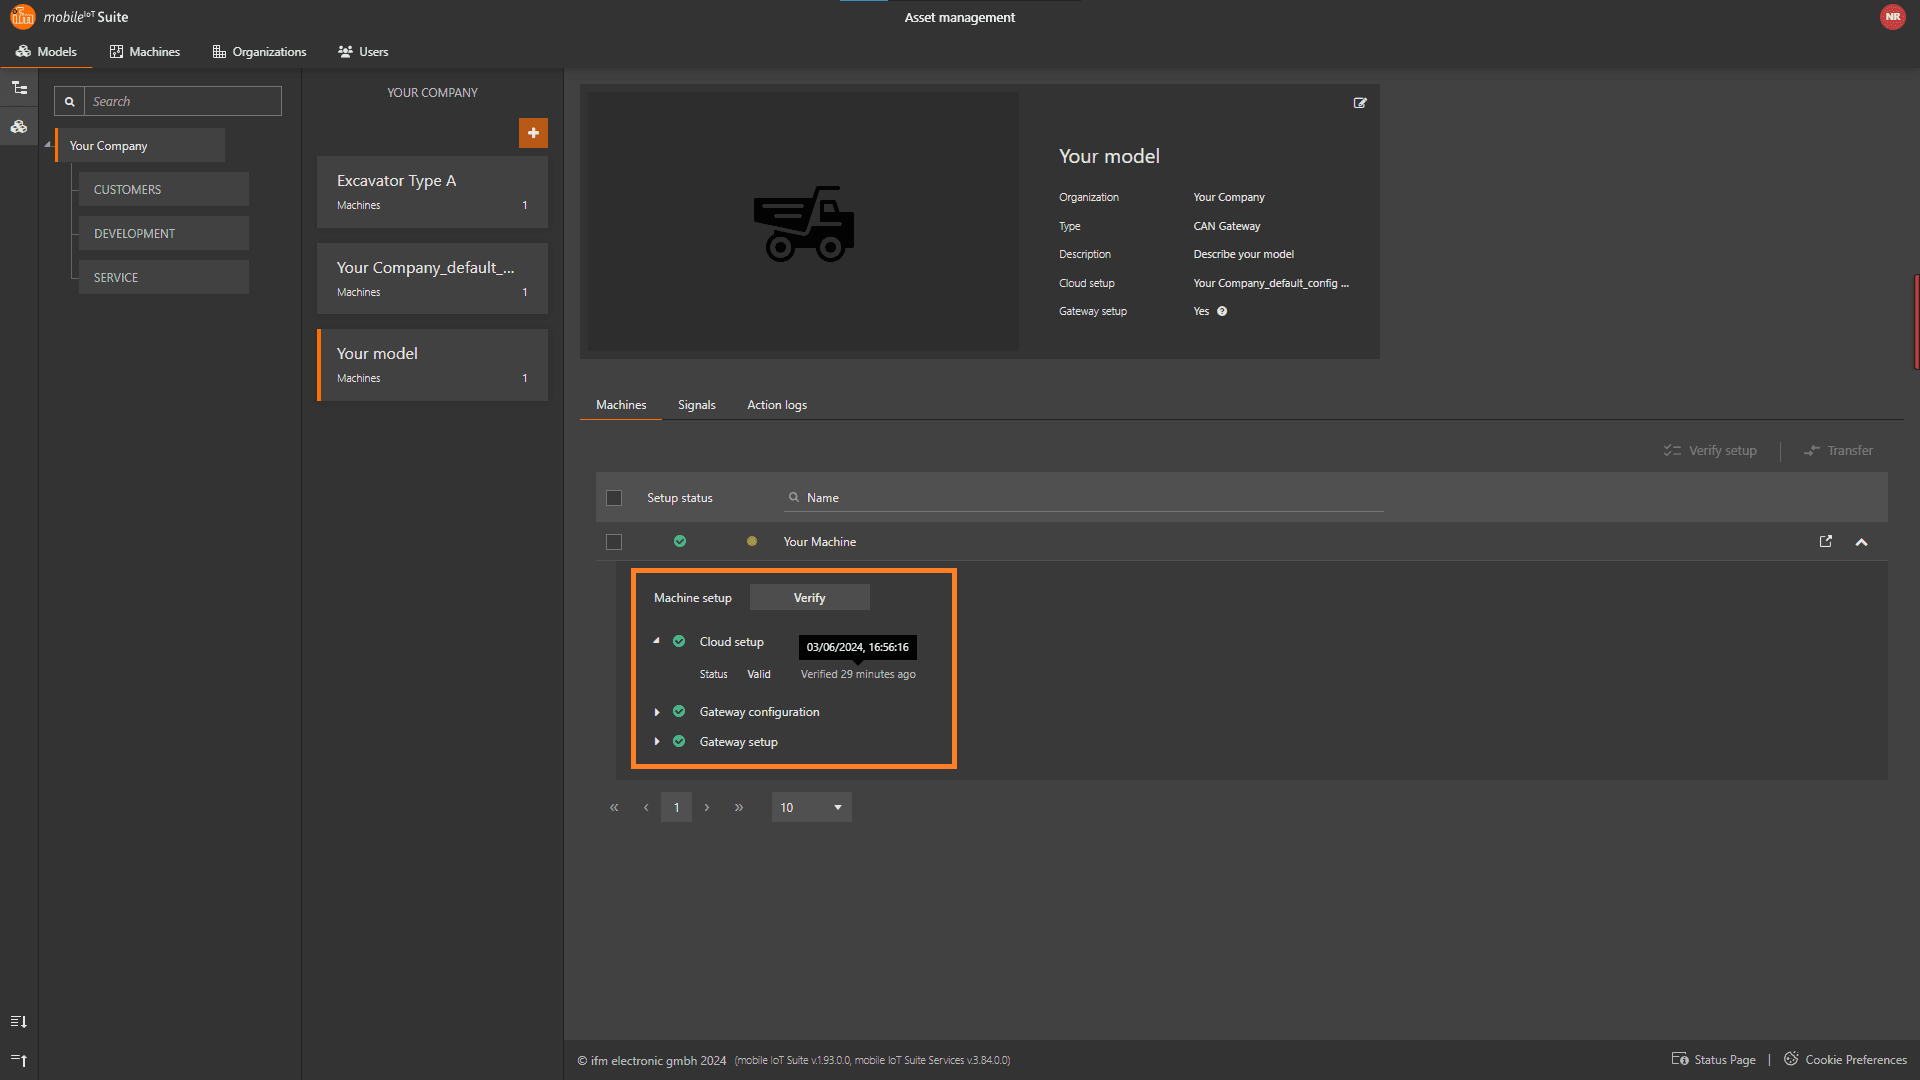
Use the "Verify" button to validate settings instantly.
View detailed status by expanding setups and configurations. Hover over to see the timestamp of the last validation.
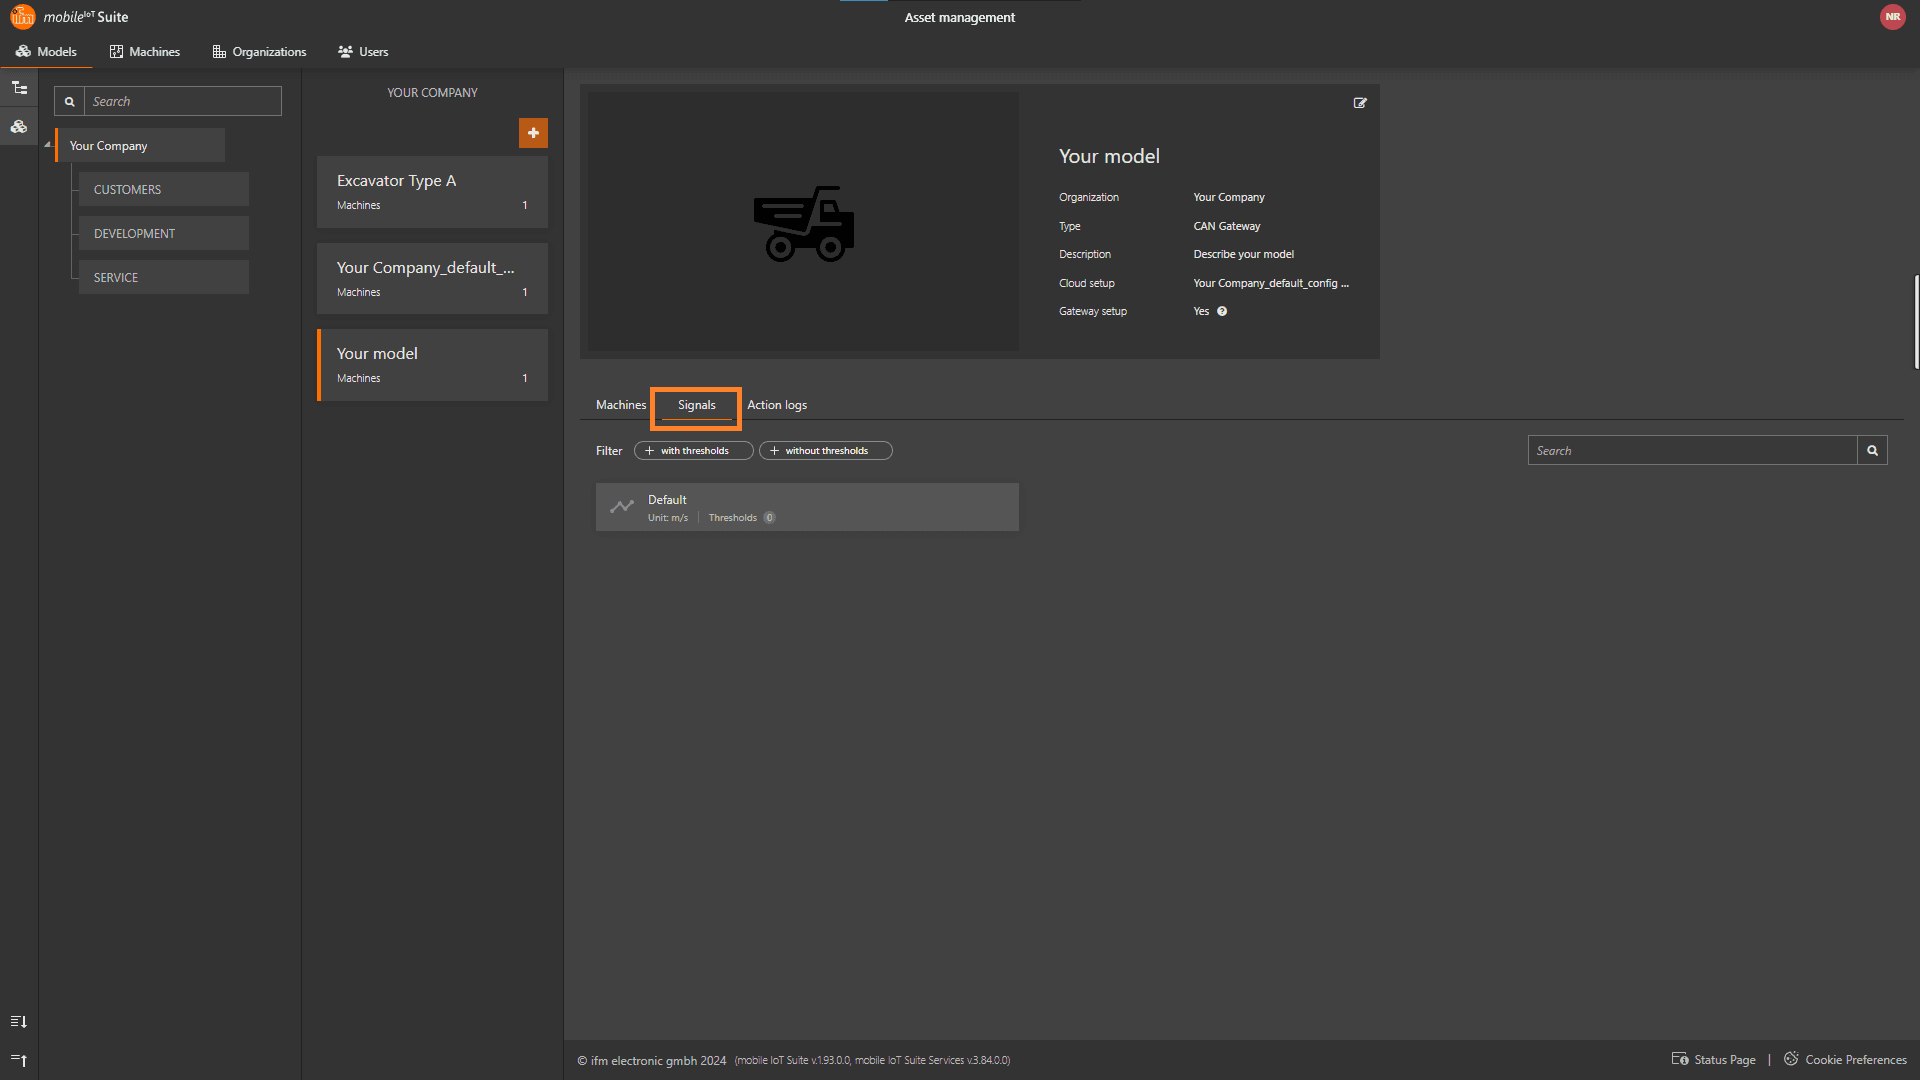
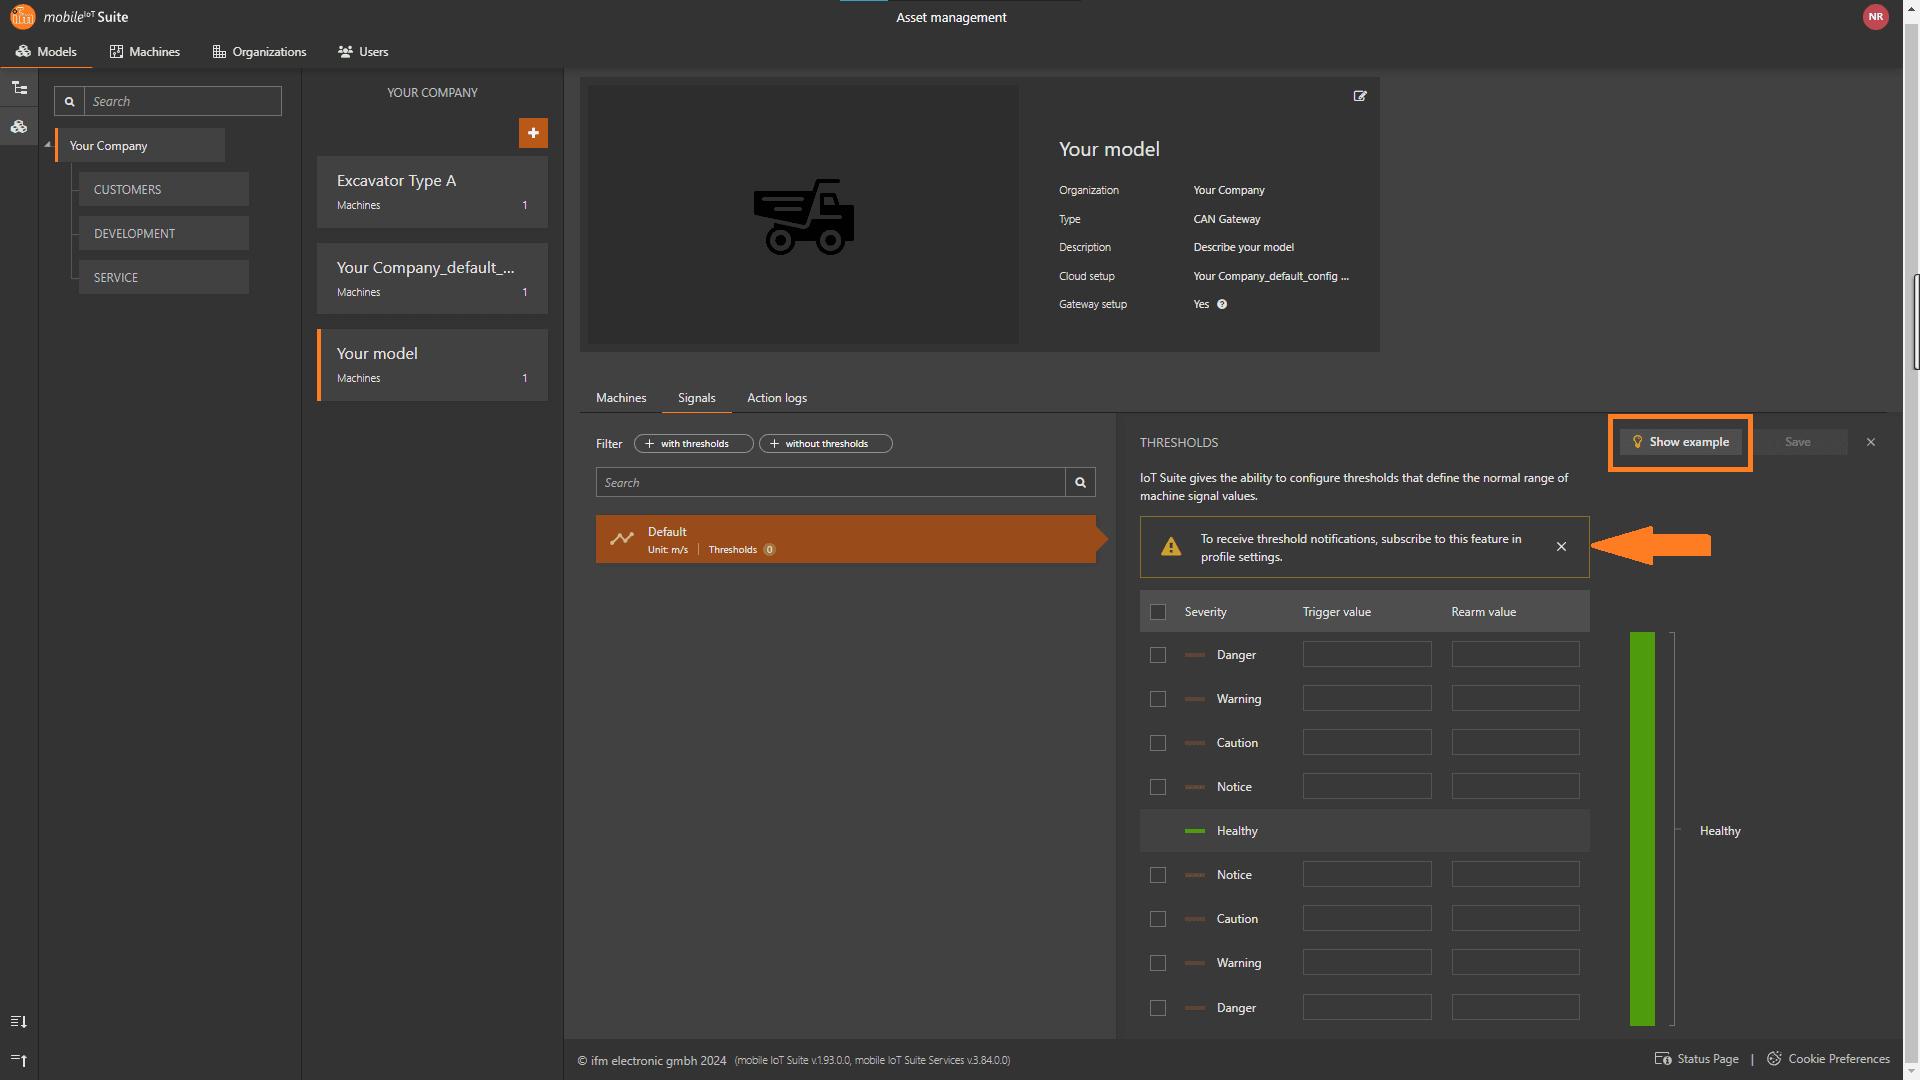
Signals
Navigate to the "Signals" register.
Set separate thresholds for each signal. Open threshold adjustments in the signal.
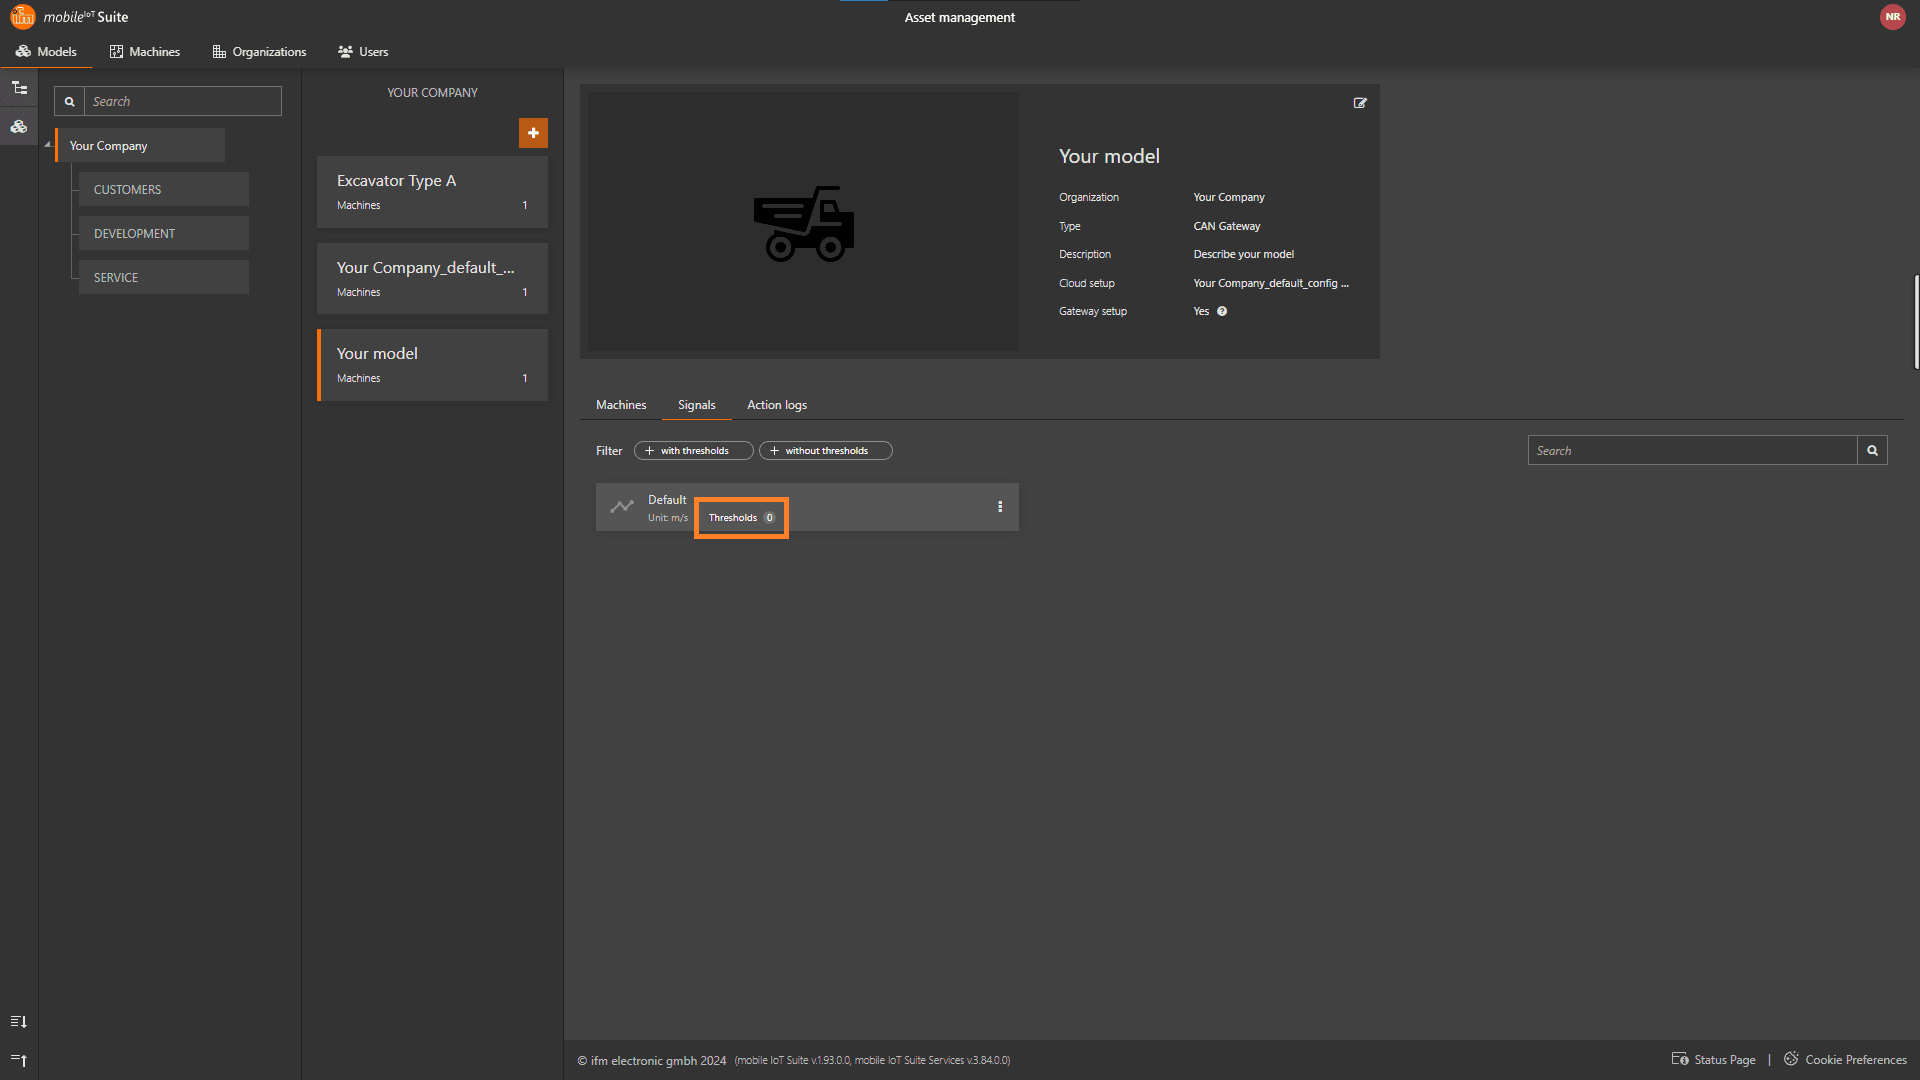
Activate notifications in your profile settings to receive threshold alerts. Save your settings afterward.
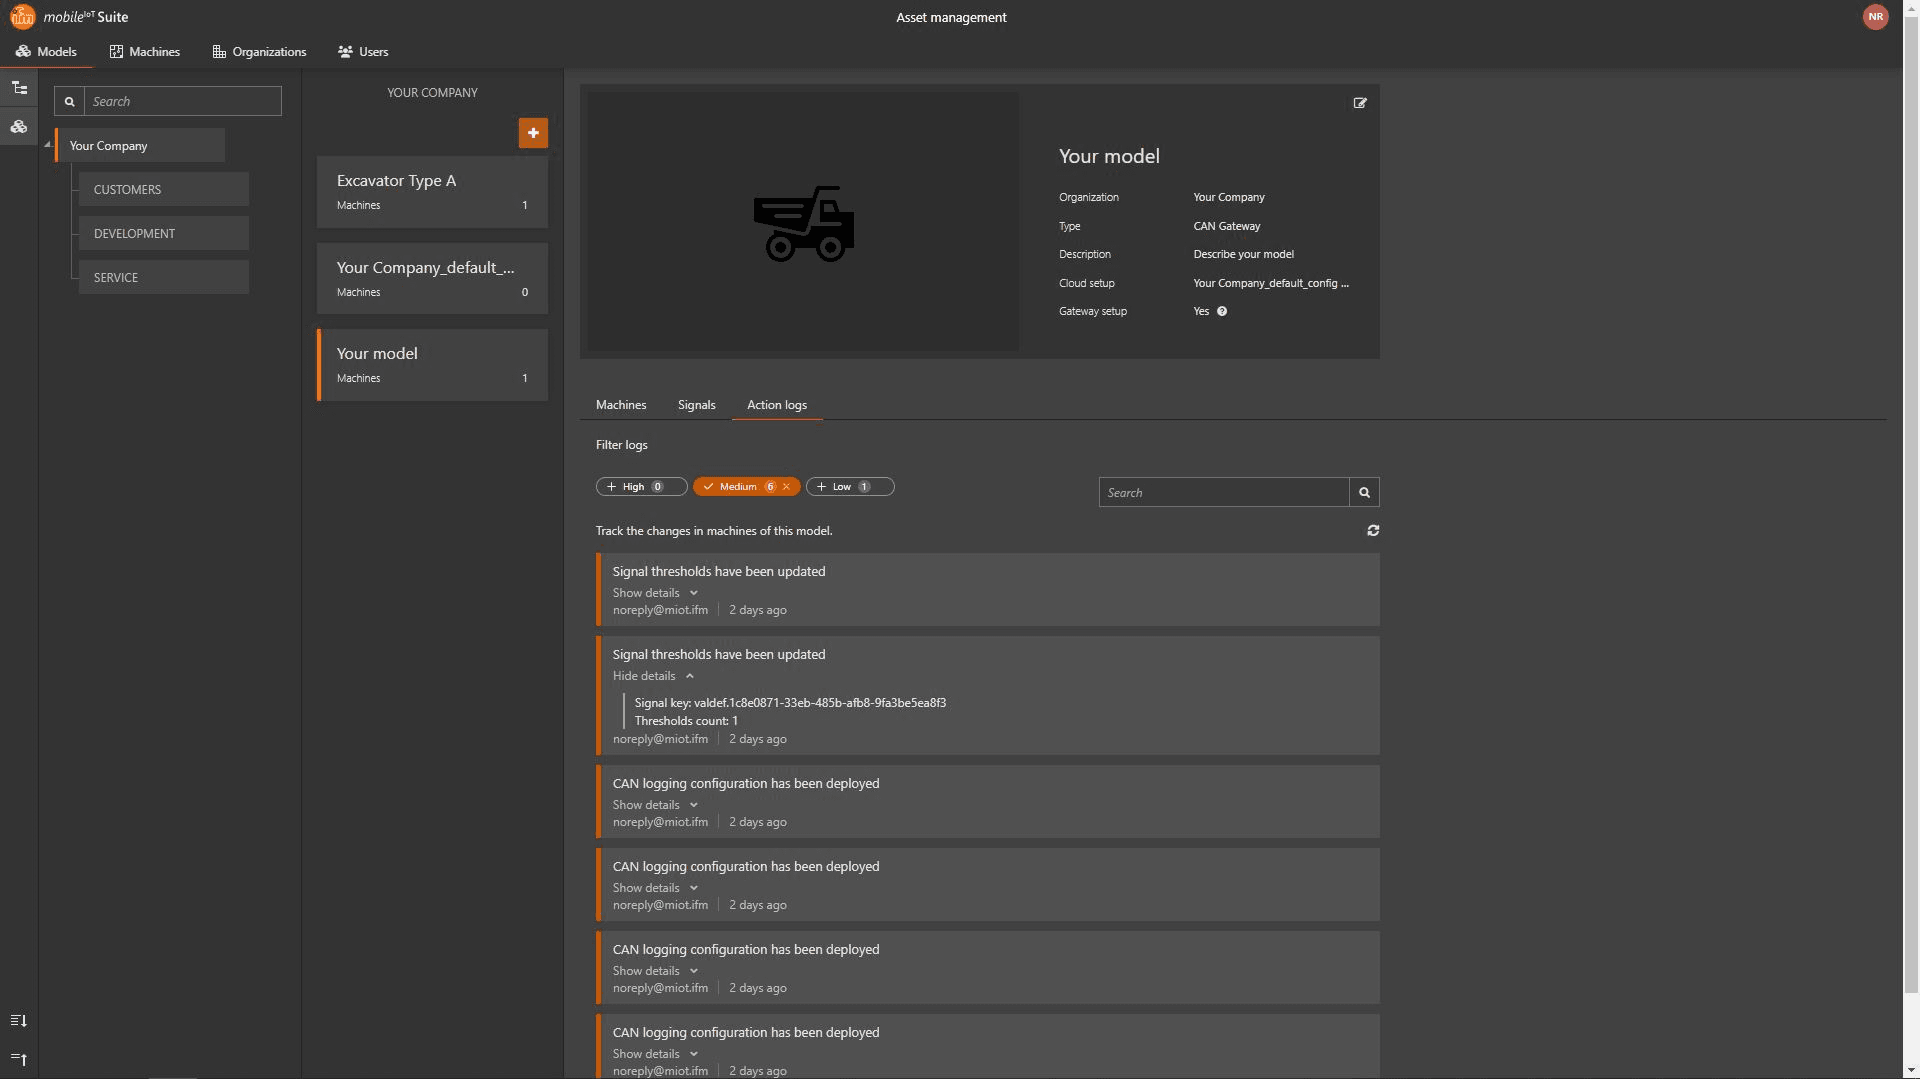
Action Logs