Register a New moneo|cloud instance

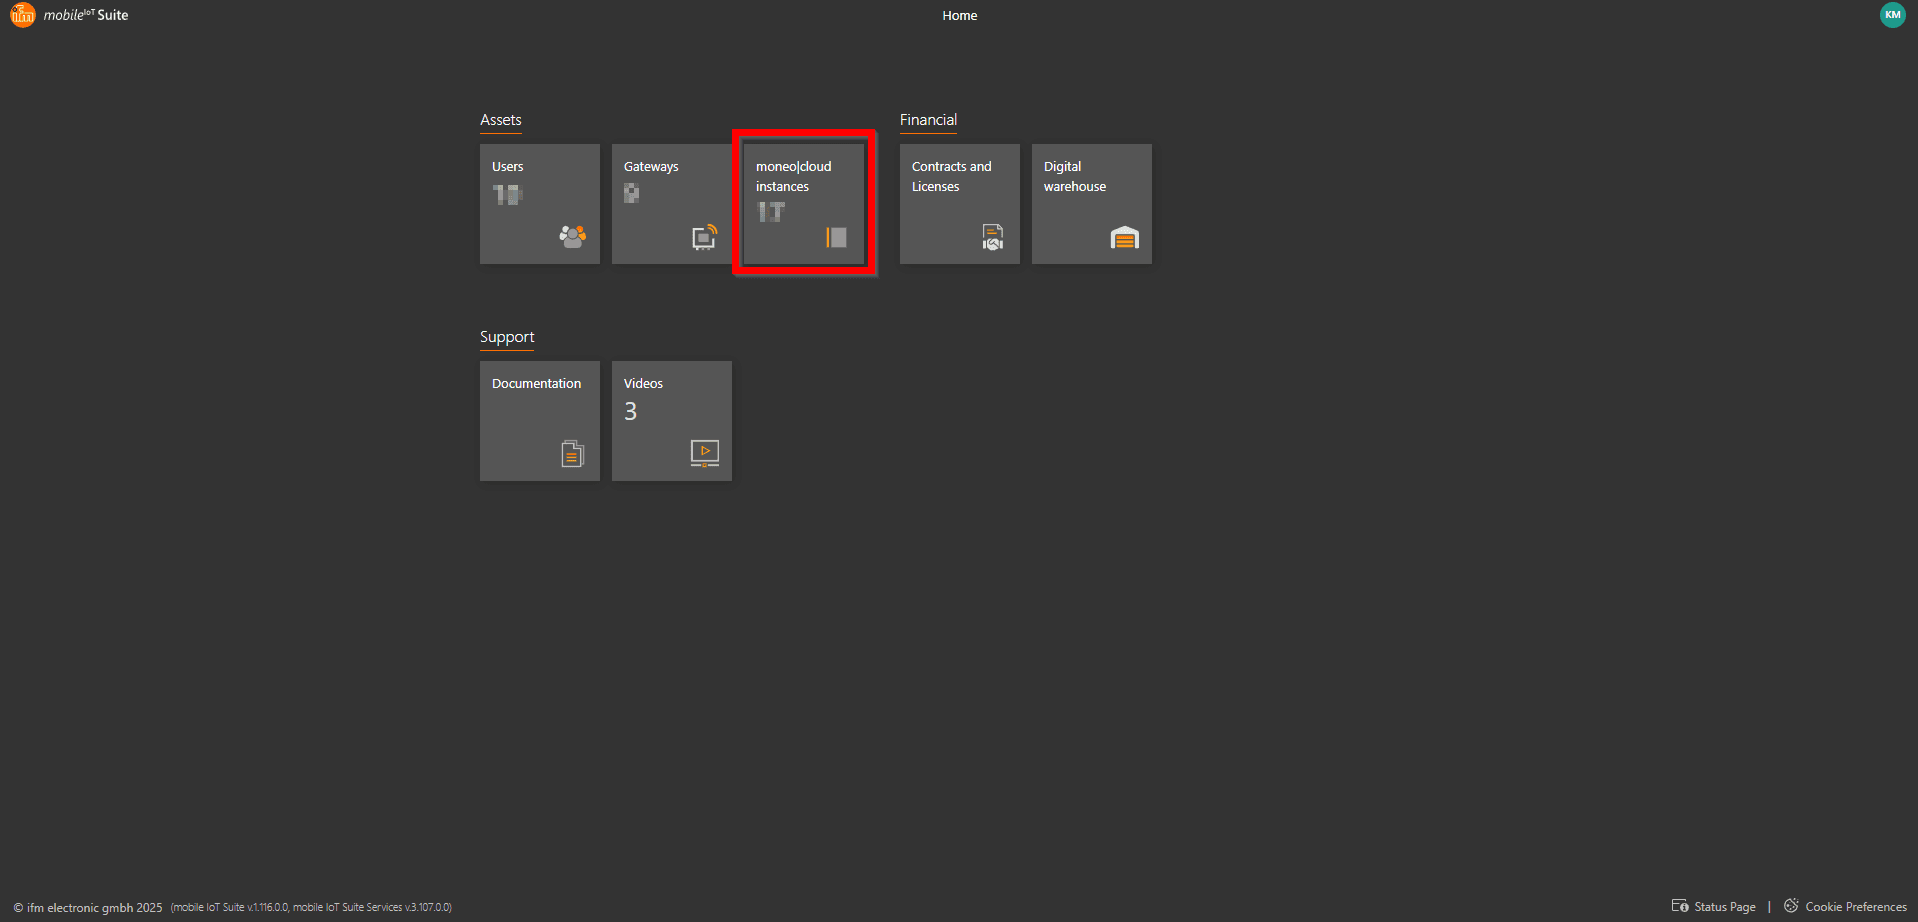
1. Navigate to Instance Management

To register a new moneo|cloud instance, follow these steps:

1. Click on the moneo|cloud instances tile in the application.

2. The instance management view will open, displaying all instances that belong to you.

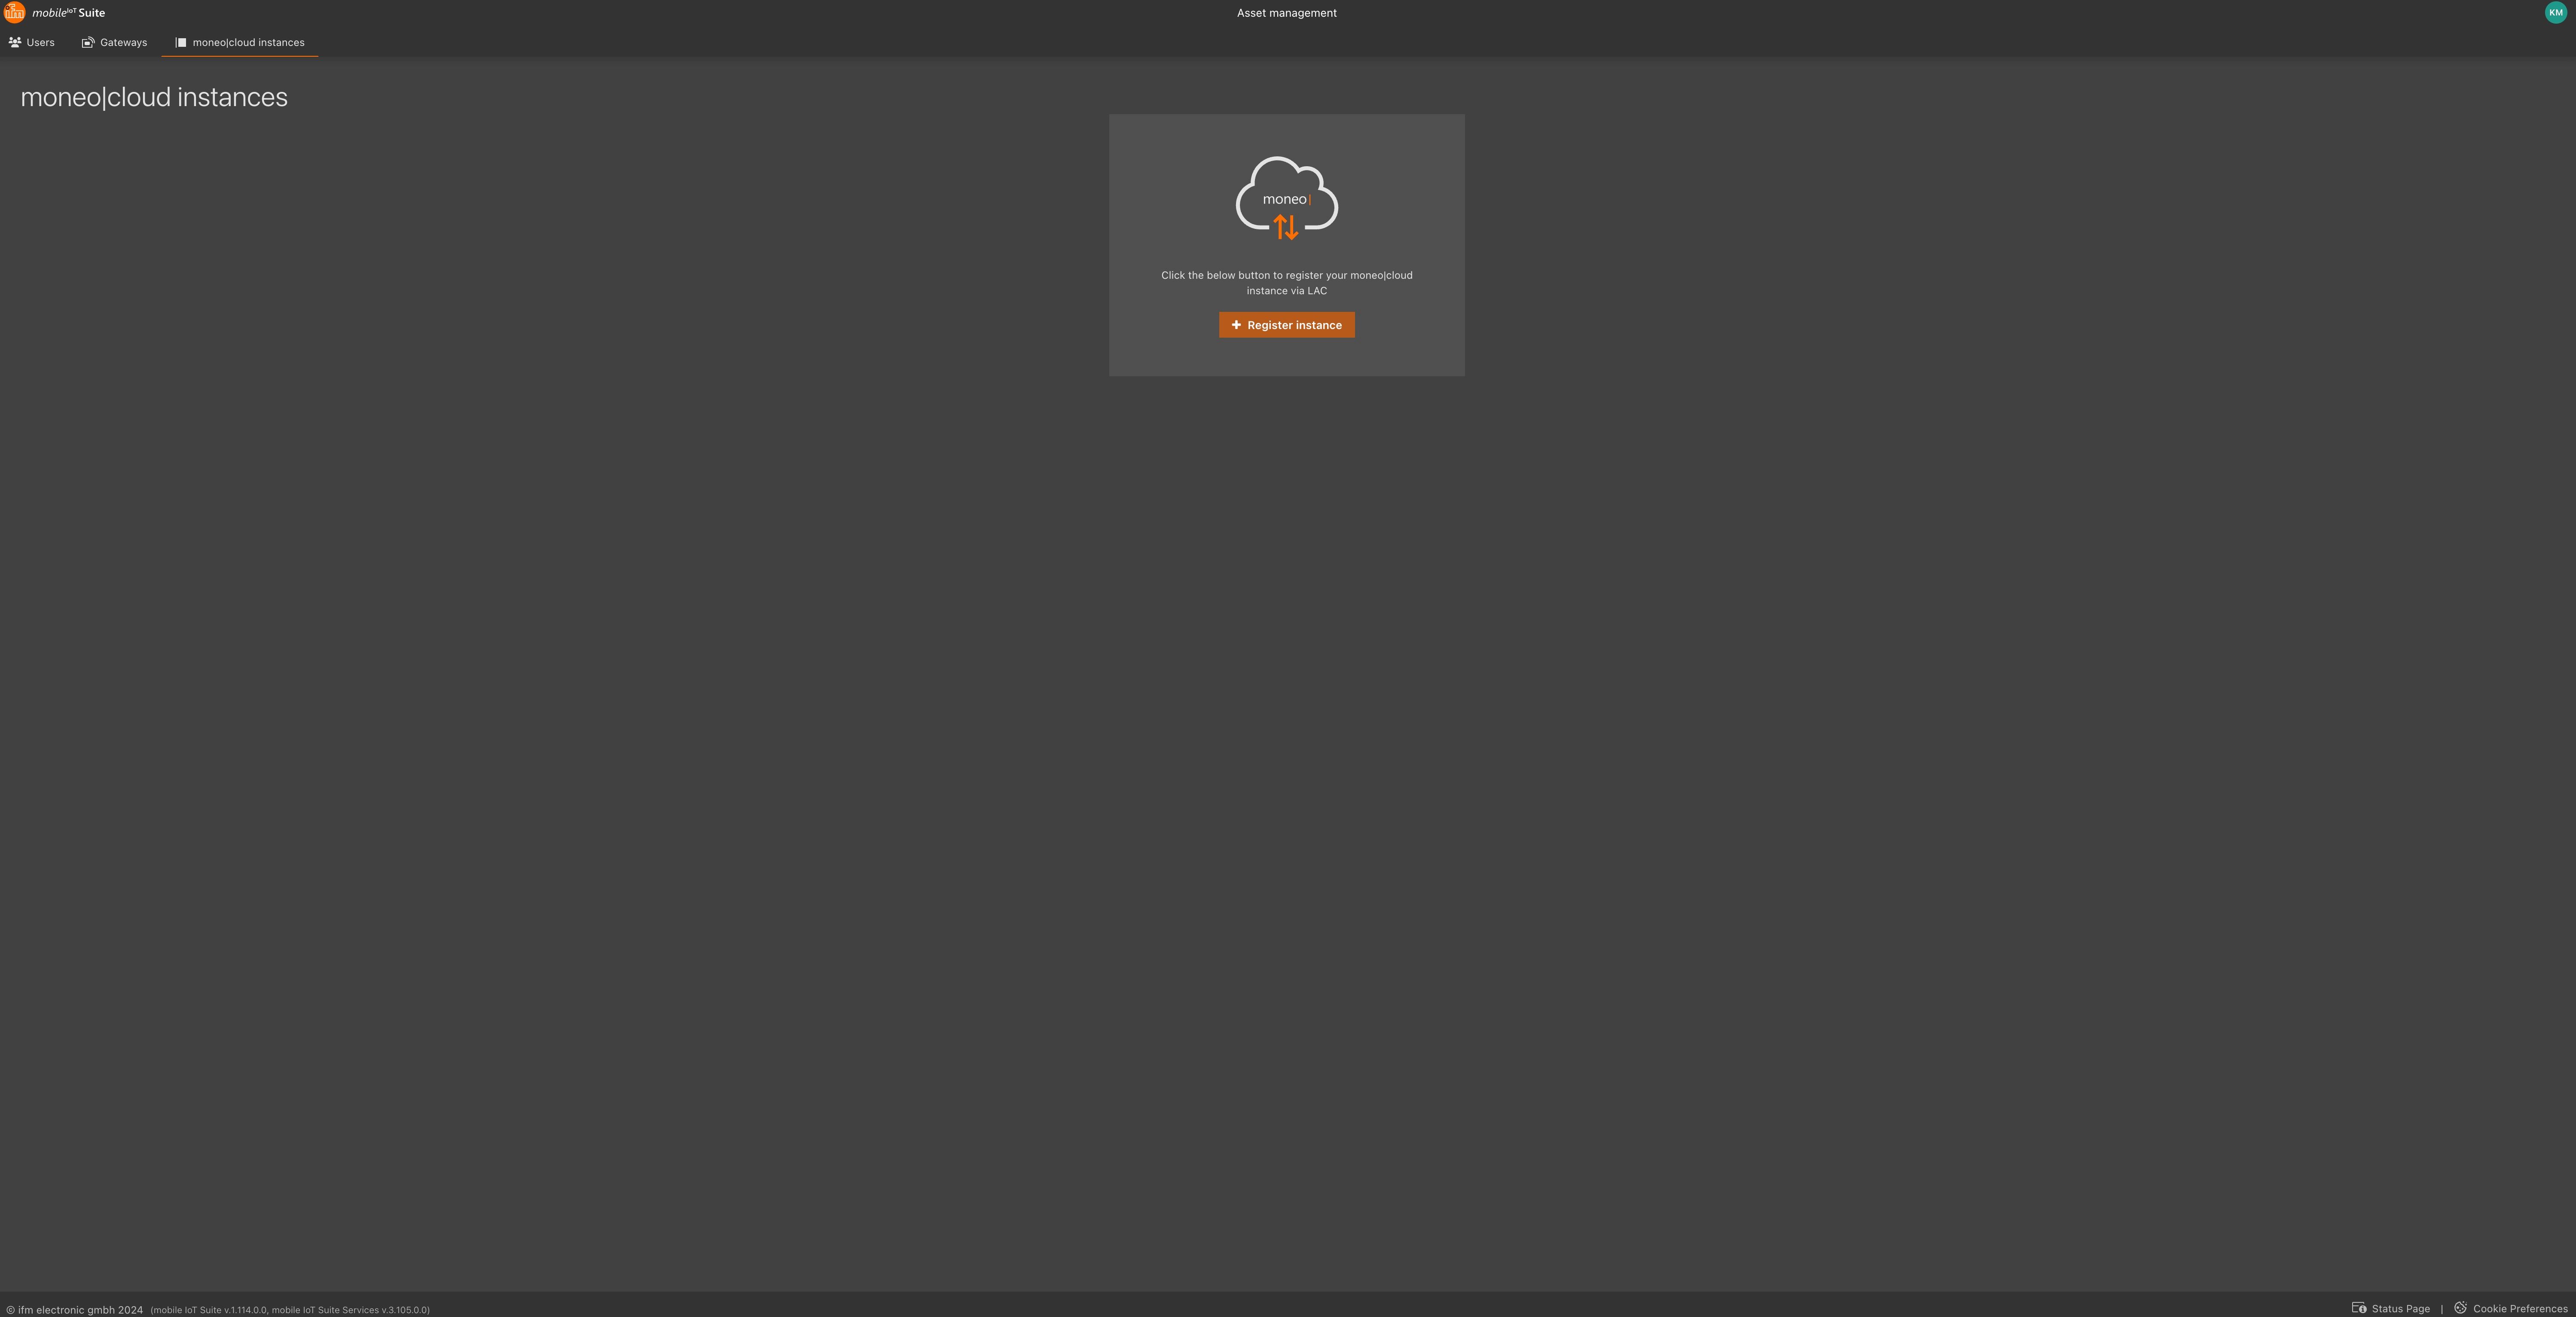
2. Start Registration

Depending on whether you already have instances, you have two options to start the registration process:

  • If you do not yet own an instance: Click the Register instance button in the center of the page.
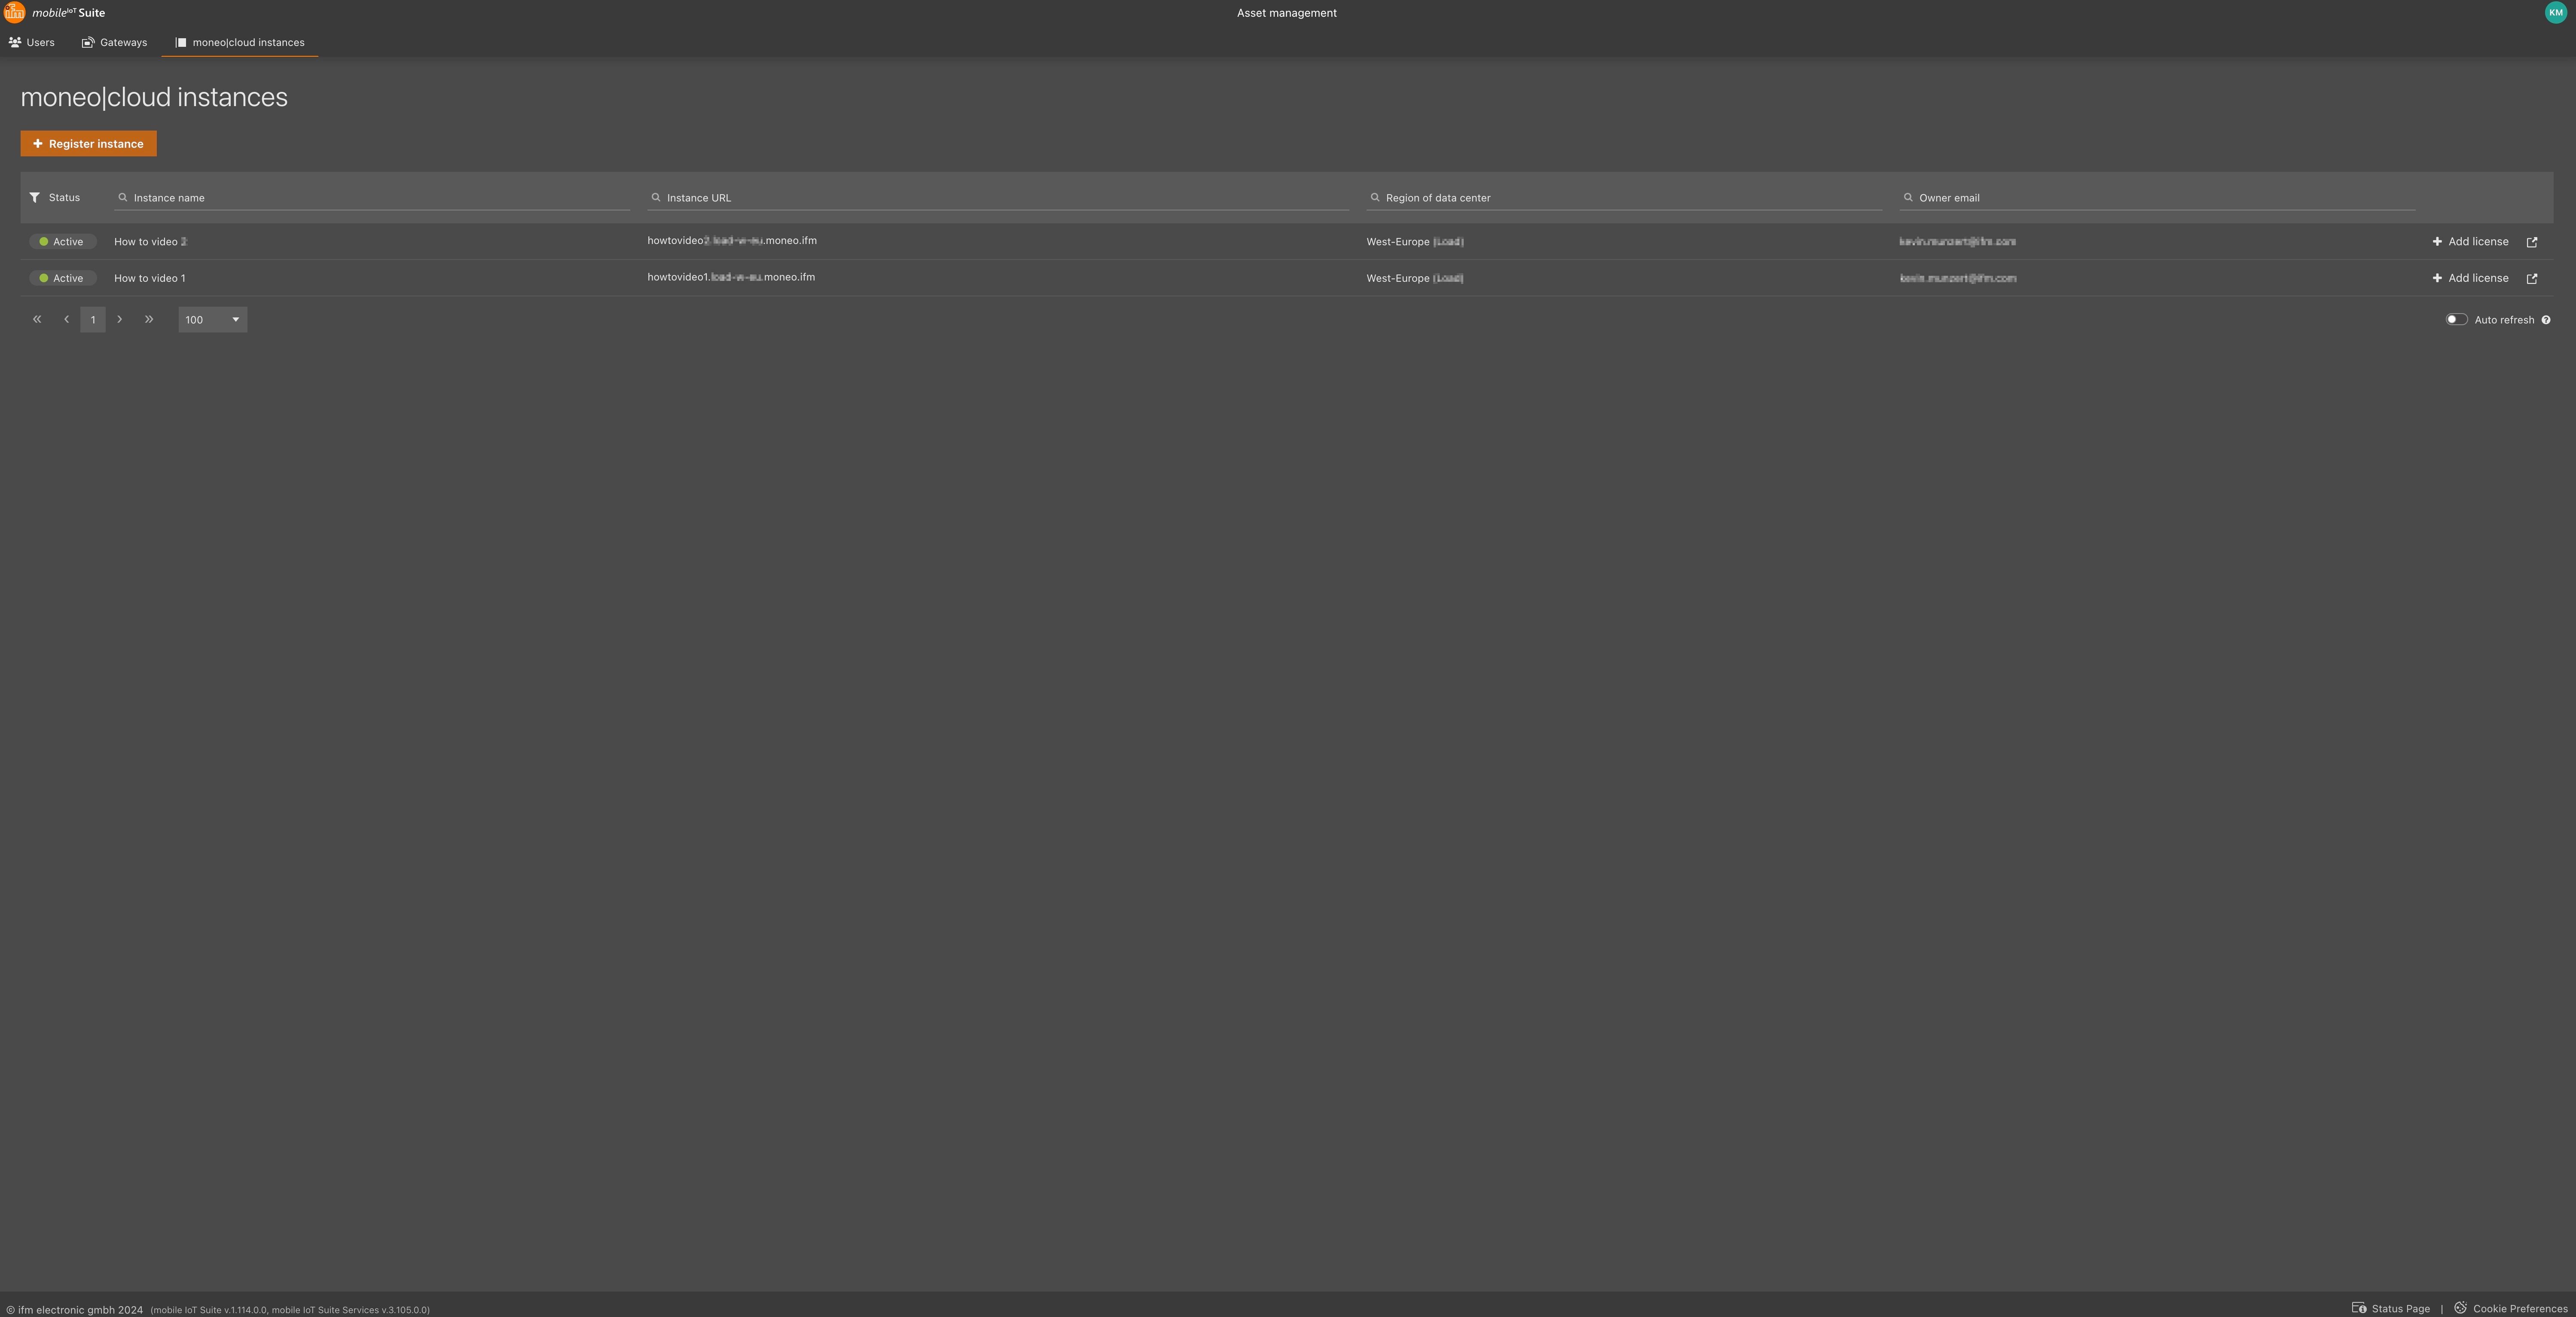
  • If you already own instances : Click Register instance in the upper left corner to add a new one.
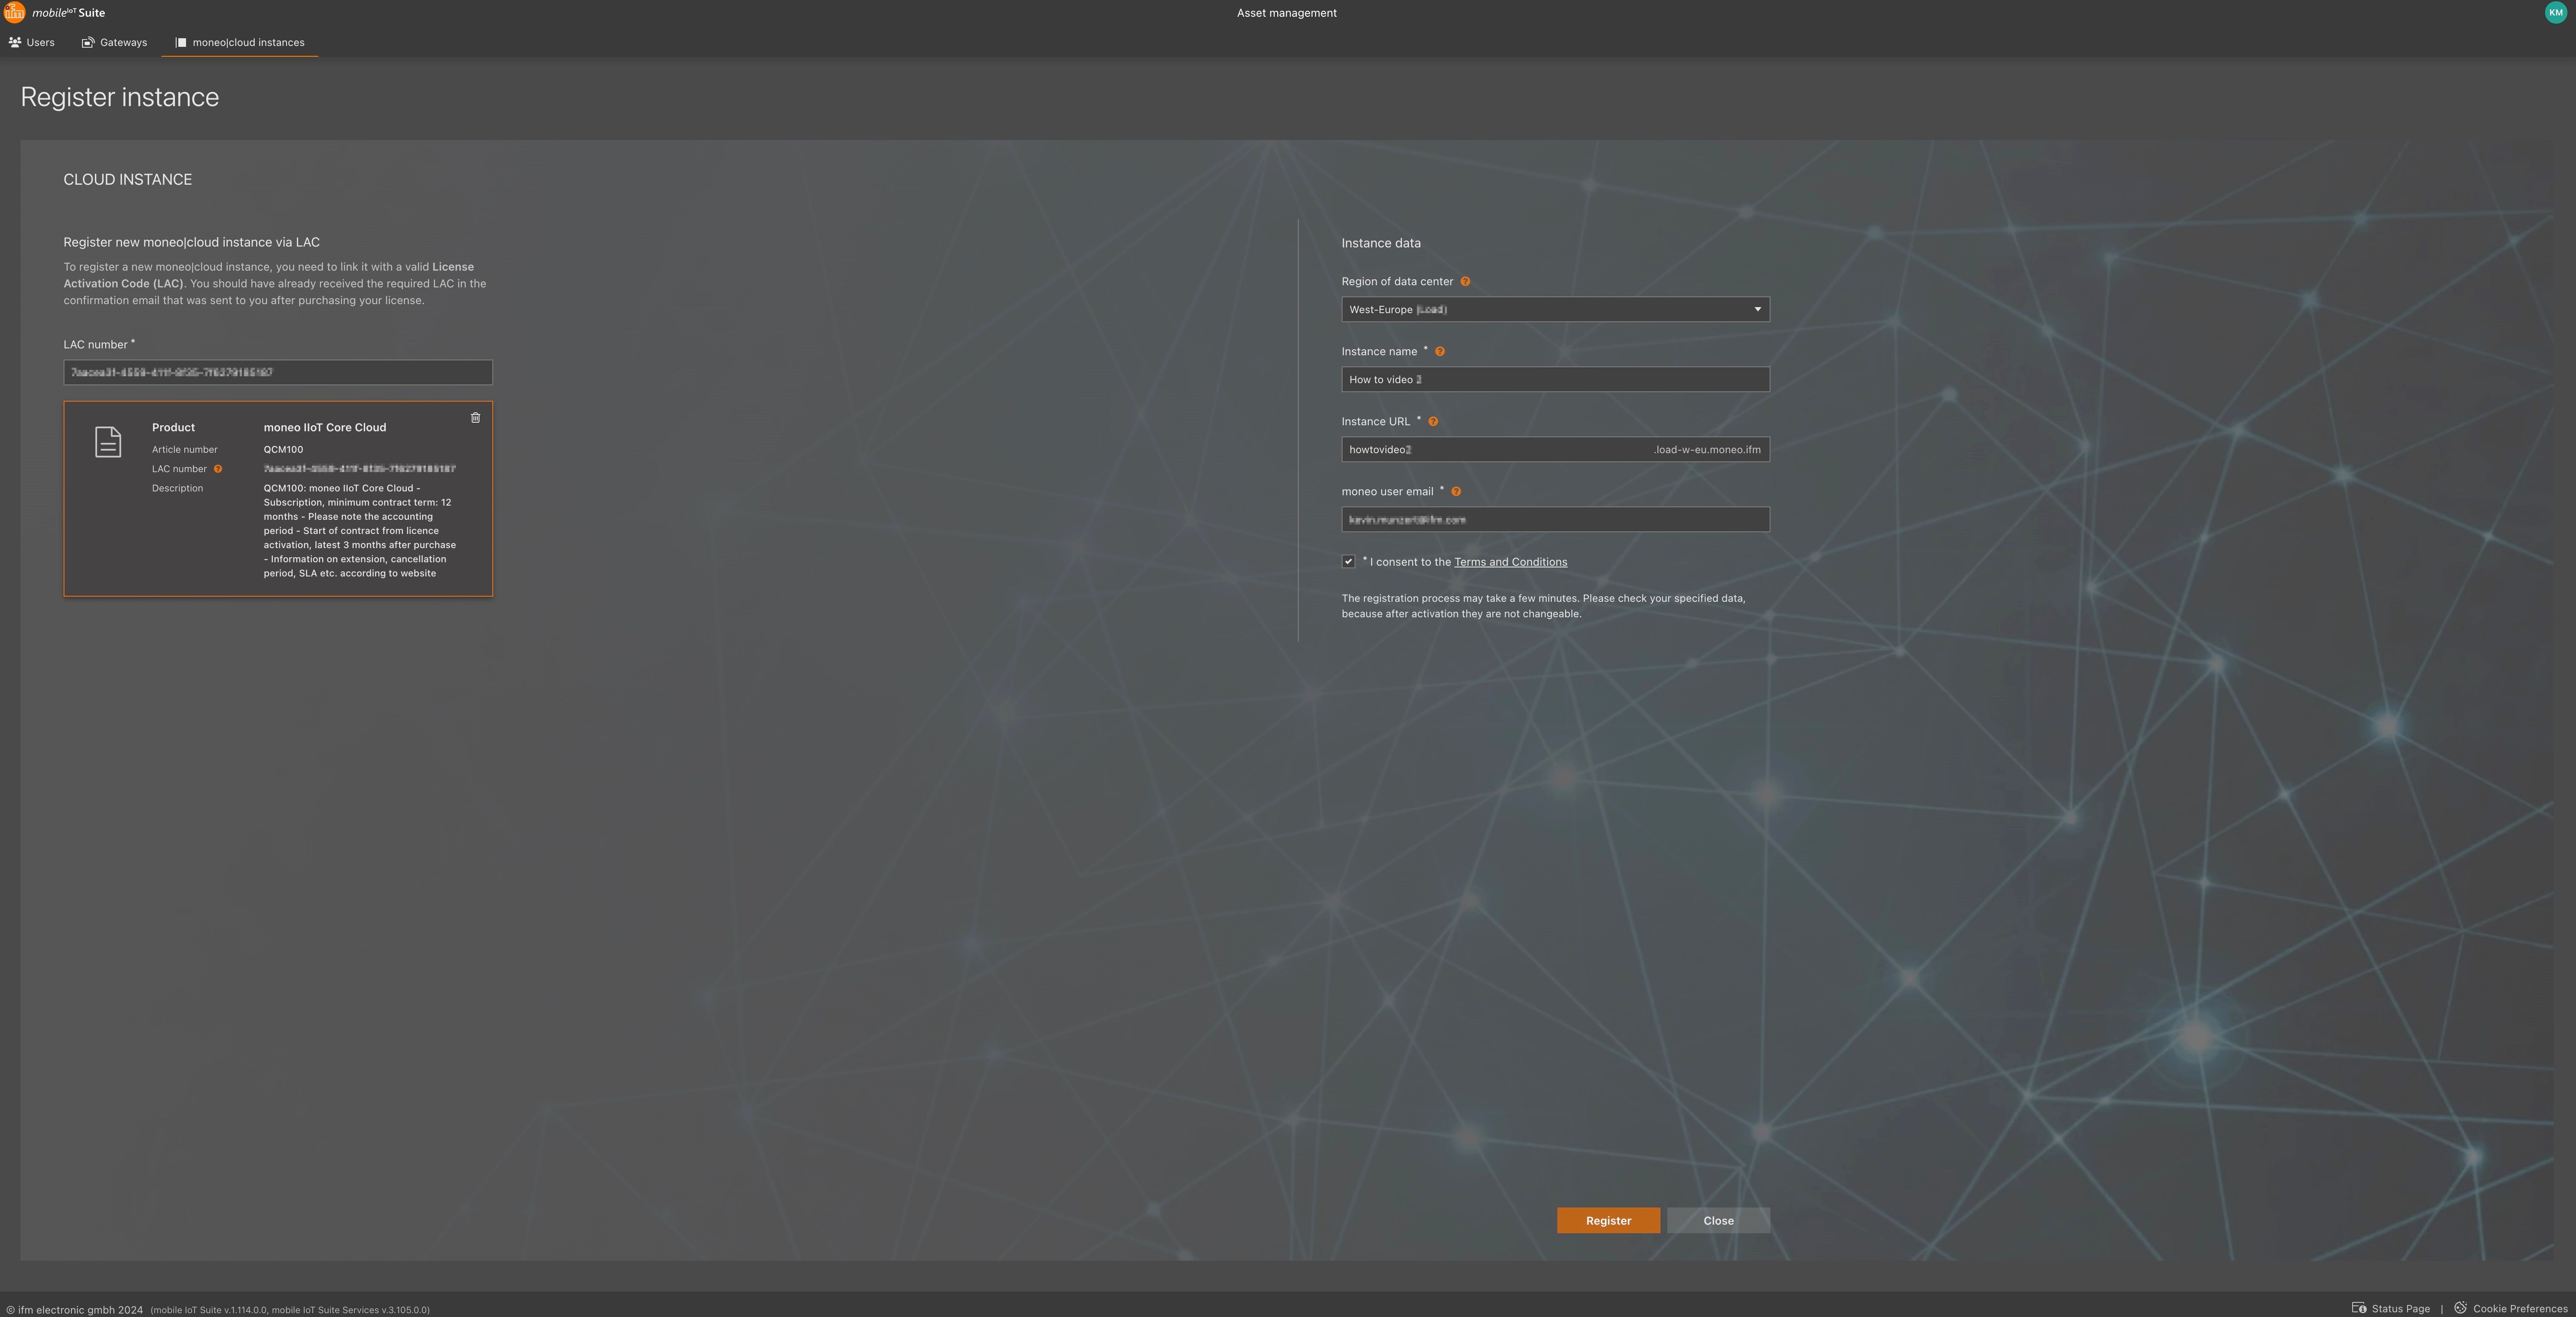
3. Select a Product

A wizard will open to guide you through the registration process.

1. On the left side, select the product you want to register an instance for.

> Note: If no products are displayed, please check their availability in the Digital Warehouse (LINK) .

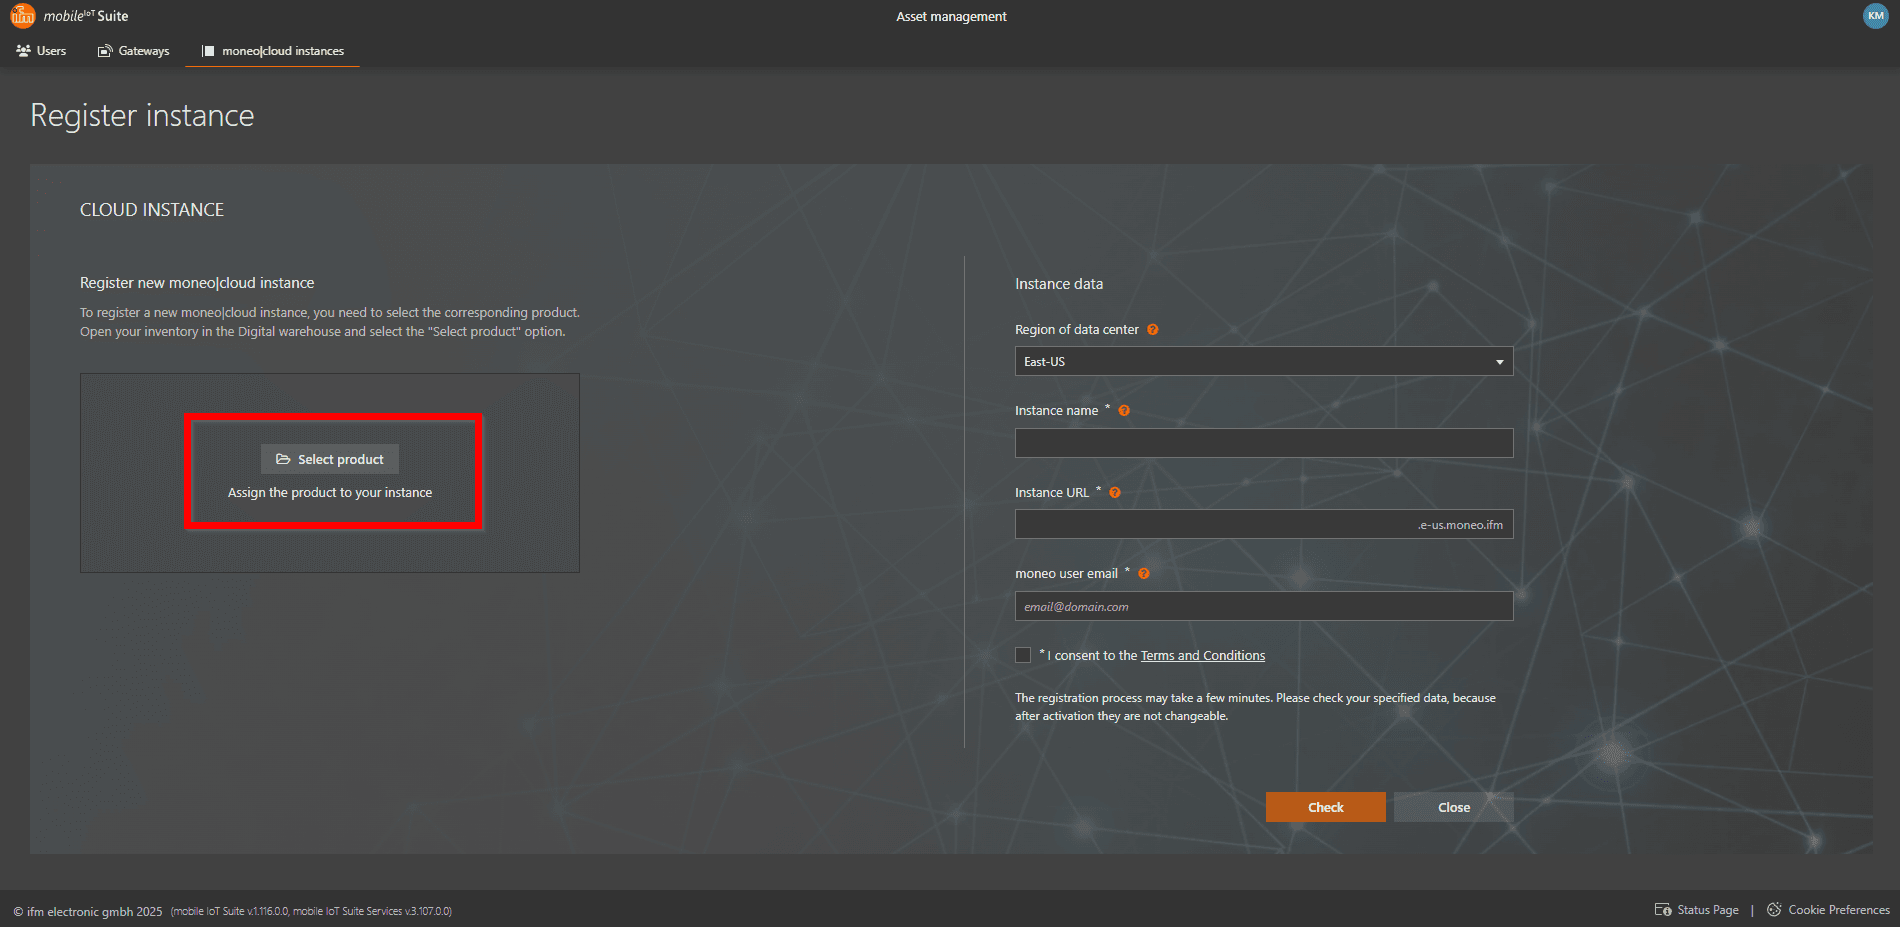
4. Provide Instance Details

On the right side, you will need to provide the following details to create your personal moneo|cloud instance:

  • Region of the Data Center

Select the geographic region where your moneo|cloud instance will be hosted.

> ⚠️ This selection cannot be changed later and may affect data compliance and legal requirements.

  • Instance Name

Enter a name for your instance. This name is freely selectable and typically includes your company name. It helps you distinguish between multiple instances.

  • Instance URL

Define the web address for your instance. You will later use this URL to access your moneo|cloud application in your browser.

  • moneo User Email

Provide the email address of the person who will be the first user of the moneo|cloud instance. This person will receive a login email once the instance is active and can invite additional users.

5. Accept Terms and Conditions

Check the box to accept the Terms and Conditions .


6. Validate and Complete Registration

1. Click the Check button in the bottom right corner to validate your input.

2. Once validation is successful, the button will change to Register .

3. Click Register to finalize the instance creation.


7. Confirmation

A congratulations message will appear, indicating that the provisioning process may take a few minutes.