Termination

Introduction

Each contract can be terminated during the current period, provided the applicable notice period is observed. All relevant information, such as contract duration, notice period, and other details, is displayed transparently within the contract details. Please note that the notice period may vary depending on the specific data plan.

The following step-by-step guide will walk you through the process of terminating a gateway contract.

Step-by-Step Instructions

Open the Gateway Details:

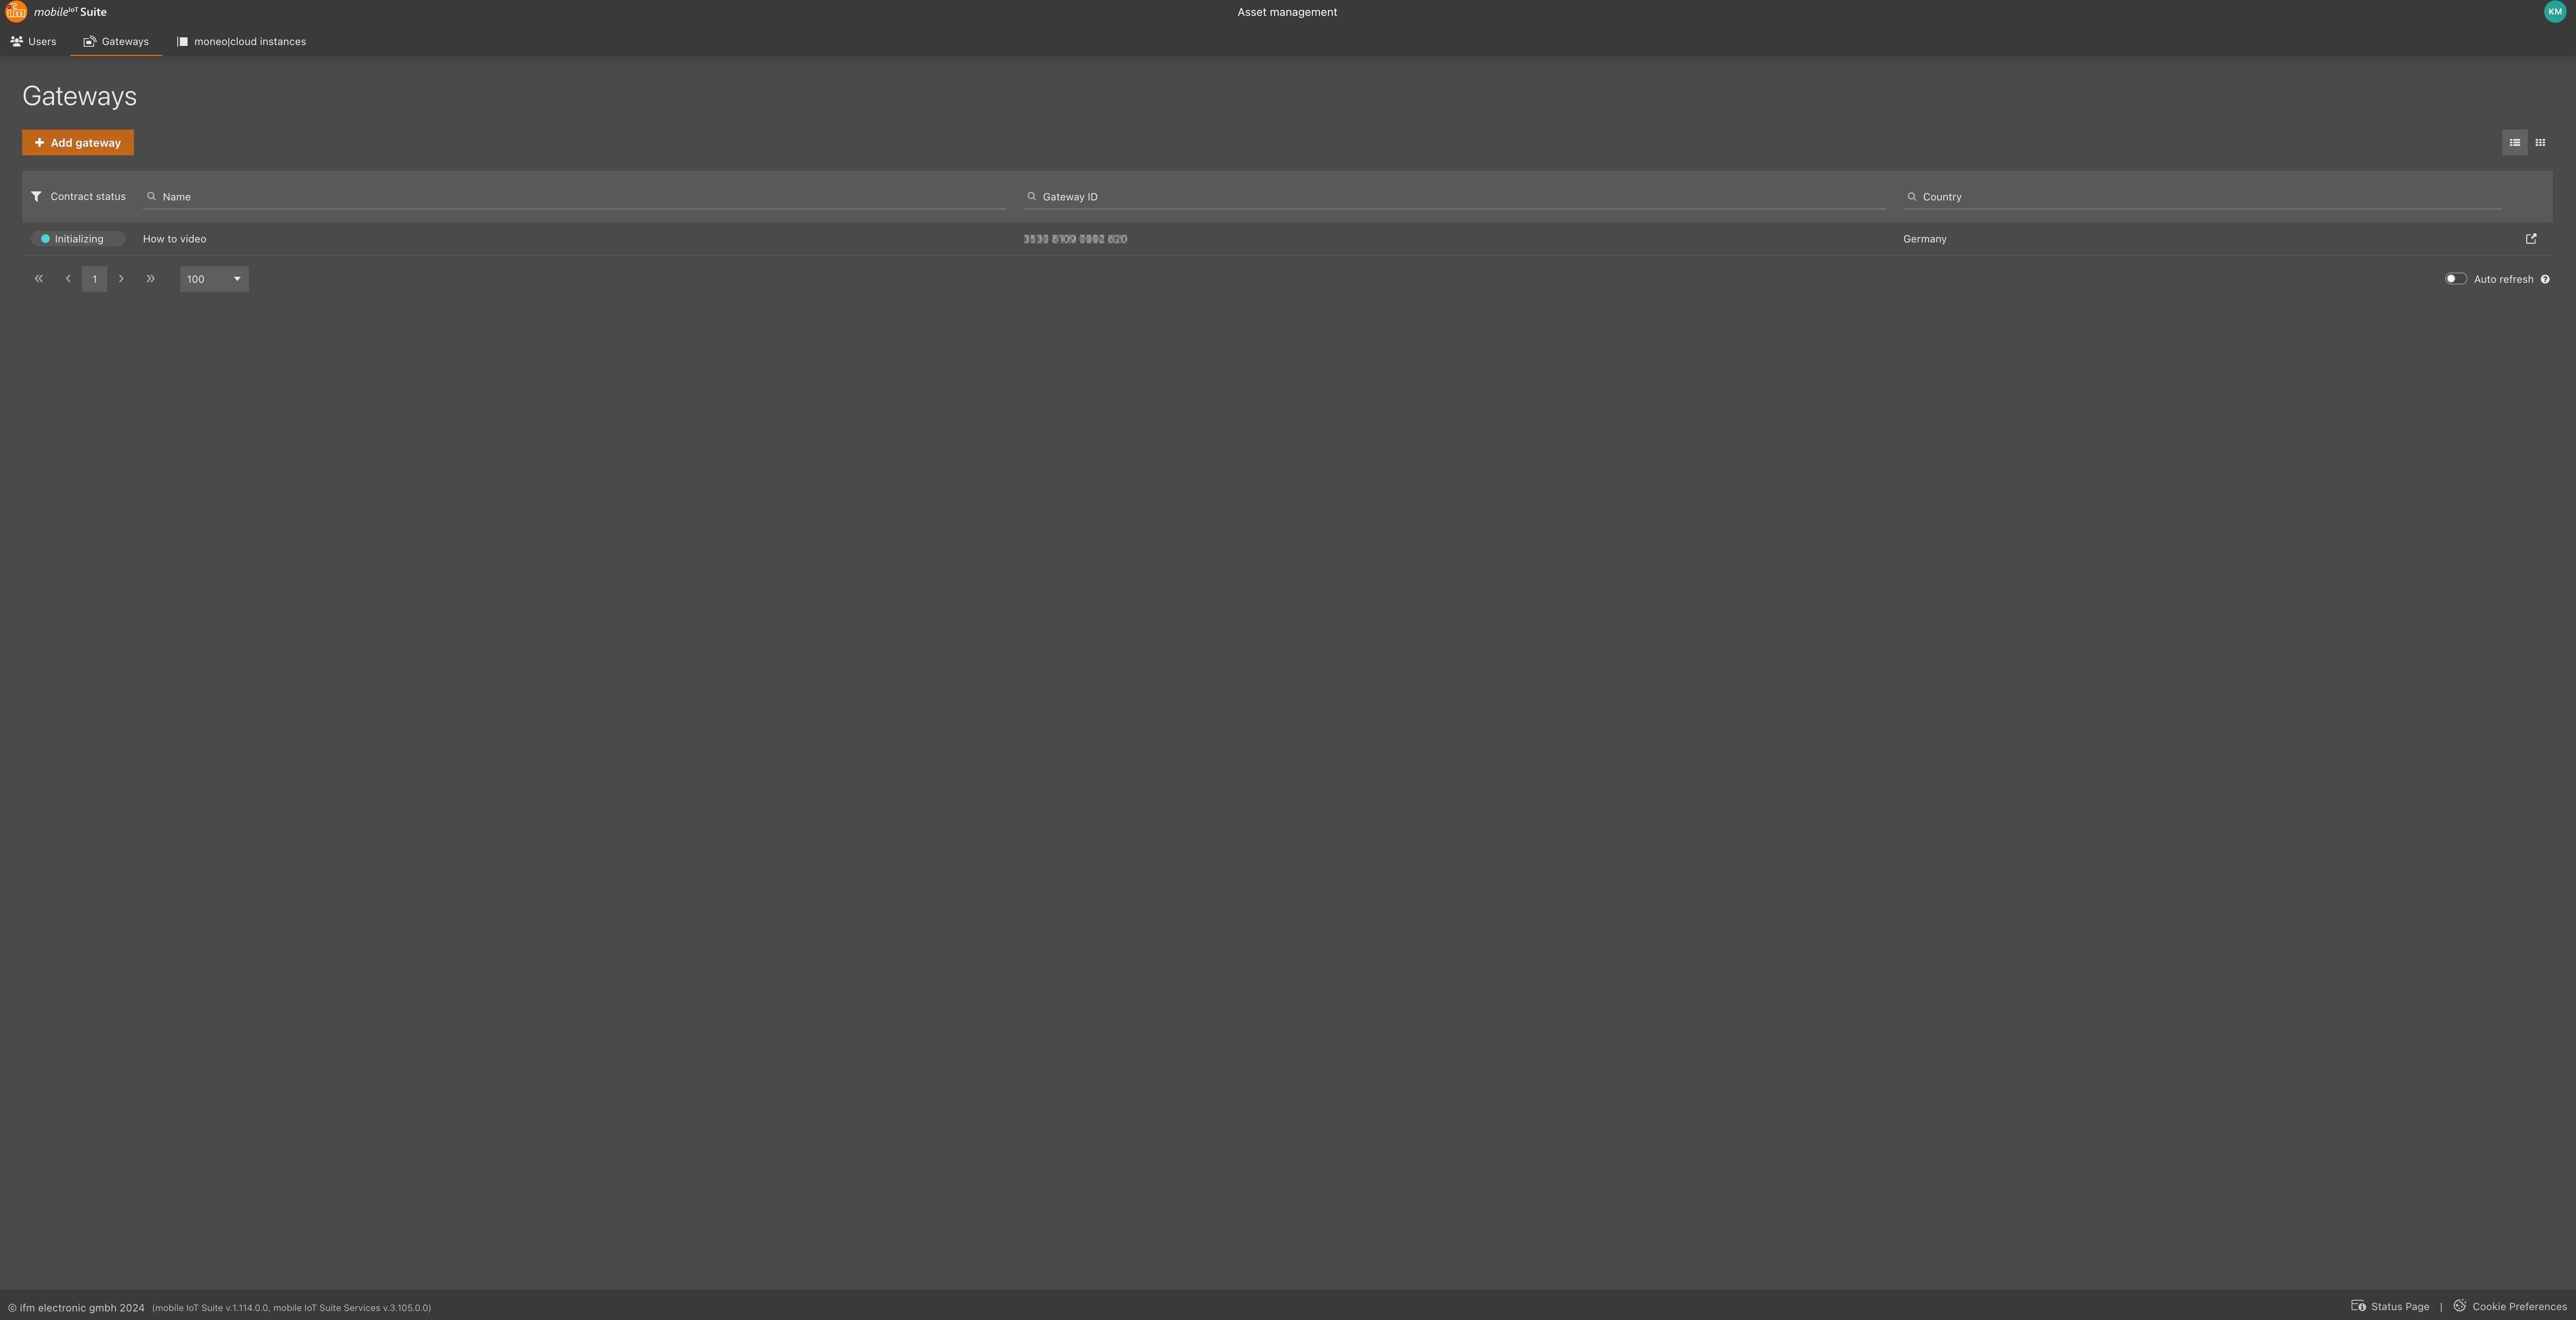
  • Locate the row of the specific gateway whose contract you want to terminate.
  • Click on the icon on the left side of the row to open the gateway properties.

Access the Contract Details:

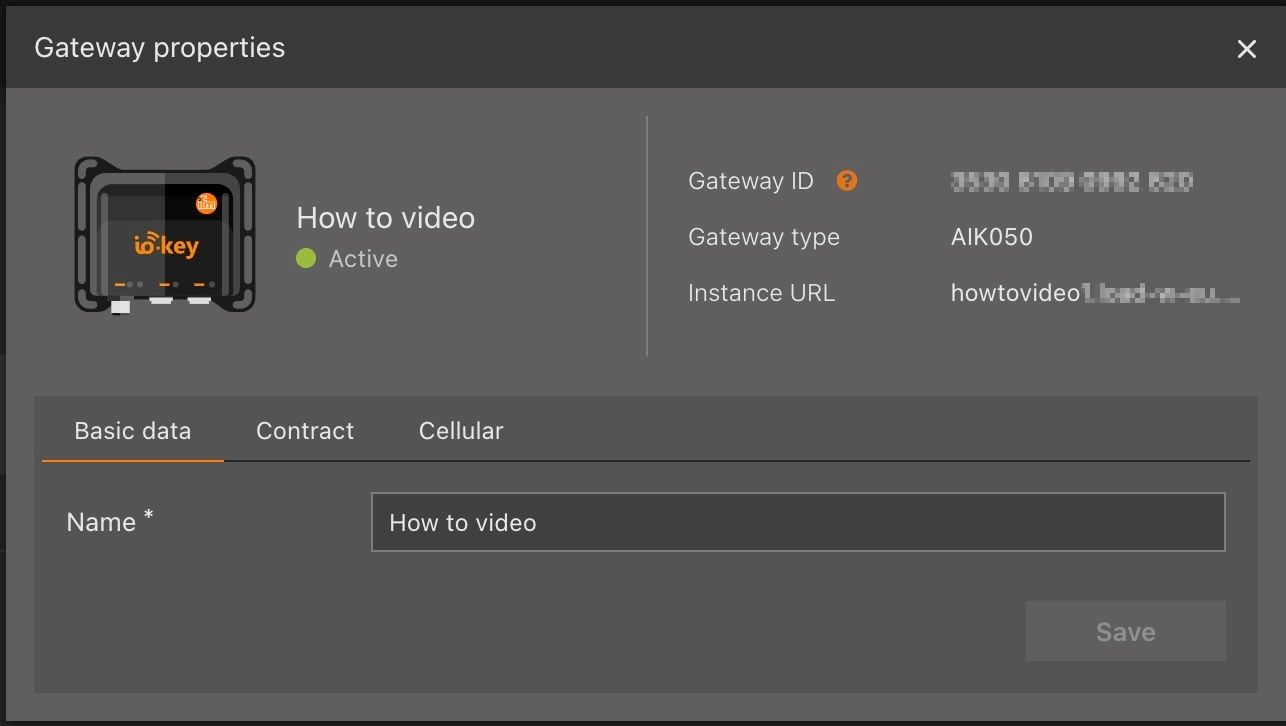
  • A new window will open, displaying multiple tabs.
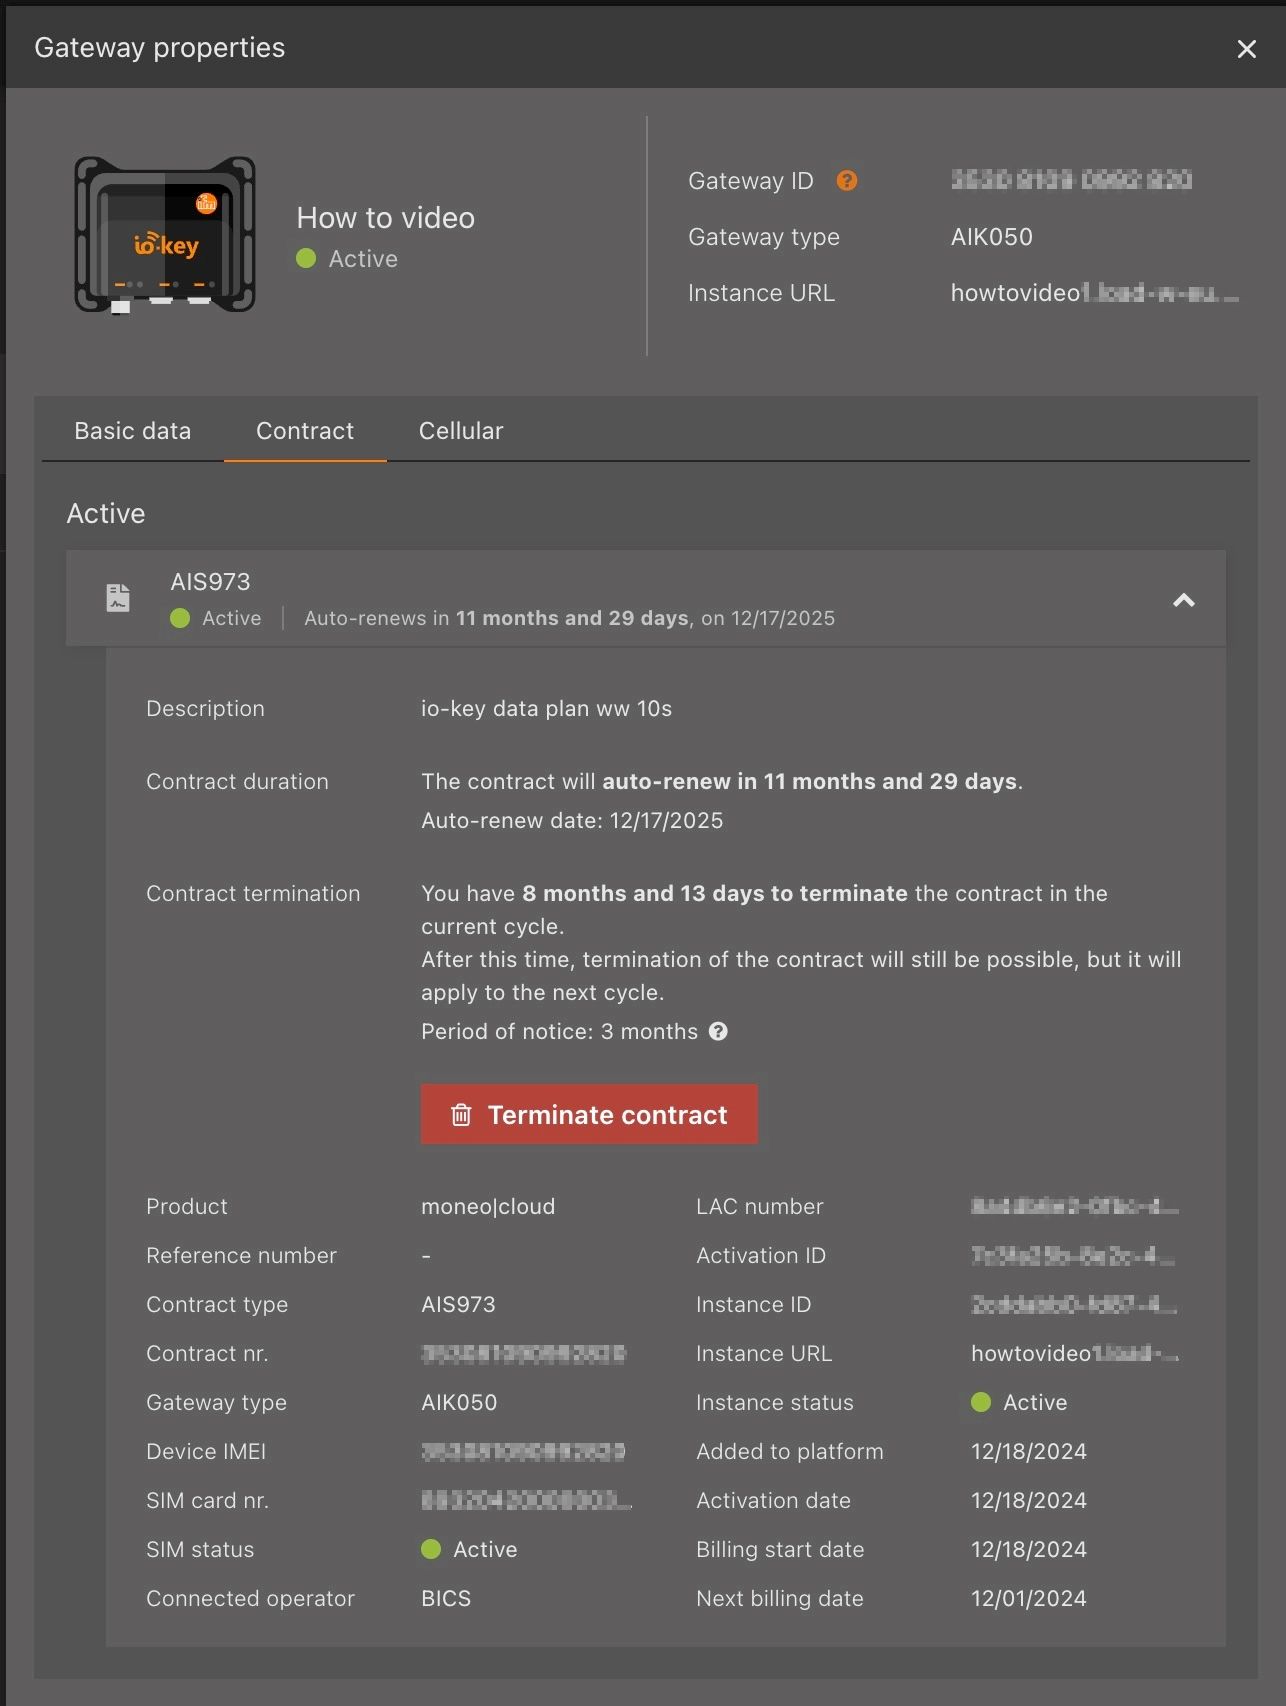
  • Select the “Contract” tab to view the contract details.

Start the Termination Process:

  • In the middle of the contract tab, you will find the termination button. Click it to begin the termination process.

Check the Data Plan and Complete the Termination:

  • The next step depends on the specific data plan:
  • For AIS972 or AIS973 Plans: A reason for termination must be provided. Select the appropriate reason from the list before proceeding.
  • For All Other Data Plans: A summary of the contract details will be displayed. Review all the information carefully.

Confirm the Termination:

  • Confirm the termination to complete the process.

Status Change and Further Processing:

• After confirmation, the contract status will change to “Initialization” while the termination request is being processed by the system.

• Once the system processes the termination, the status will update to “Termination pending”, indicating that the contract now has a fixed end date.

Note: Once the termination is successful, you will receive a confirmation. Be sure to check your notifications or email inbox for further details regarding the termination.