Getting started
Preparation
Access to mobile IoT Suite
First thing is that you will have to have access to the ifm mobile IoT Suite. This Cloud-based solution will open up the world of machine (lifecycle) management, of which the remoteConnect solution is part of. To gain access, please contact your local ifm representative in order to be setup and configured in the mobile IoT Suite.
Hardware preparation
ℹ️ Important Information and Requirements:
- To be able to use remoteConnect,FW 1.7.0or higher is required.
- The devices that we're equipped withFW 1.7.0or higher in production, remoteConnect is the default enabled.
- If an earlier firmware was installed on the gateway and/or the secomea connection was used in the past, the secomea sitemanager will be still switched on.
- Devices withserialnr.2537000and higher are pre-installed with the remoteConnect security keys needed to setup the connection to our cloud services. If you're device has an serialnr.higher than 2537000you can skip the hardware preparation. For the other devices, please look at this guide ifm Docs | mobileᴵᵒᵀ Hardware | CR3171 | remoteConnect security keys
First connection with the CR3171
Connect the device to the power-supply Connect the ethernet interface to the (machine) network that you would like to gain remote access to. To access and configure the device, either use the Ethernet interface or the WiFi interface.
ℹ️INFORMATION
Please note, the Ethernet port of the CR3171 is pre-configured to be in IP 'shared' mode with the IP address192.168.82.1which means that if you connect, make sure your network is setup accordingly, or make a direct connection to the device to initially gain access to the device. In this quick start we won't go deeper into the actual setting up of networks and initiating a local connection to the device, please have a look at our detailed documentation on this here: ifm Docs | mobileᴵᵒᵀ Hardware | CR3171 | WebUI | Ethernet
Checking remoteConnect on the CR3171
Now, make sure that you're device is configured correctly by logging into the CR3171 WebUI, using your preferred web browser. By default, the IP address is 192.168.82.1 Depending on the browser you use, you will see a message as depicted below. This is shown because the certificate on the device to create an https connection is self-signed and cannot be validated by the browser.
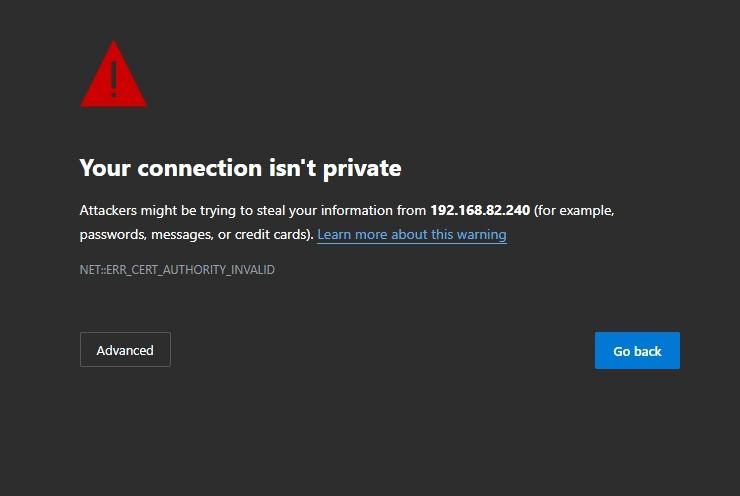
At this point, click `Advanced` (this could look differently on your browser)
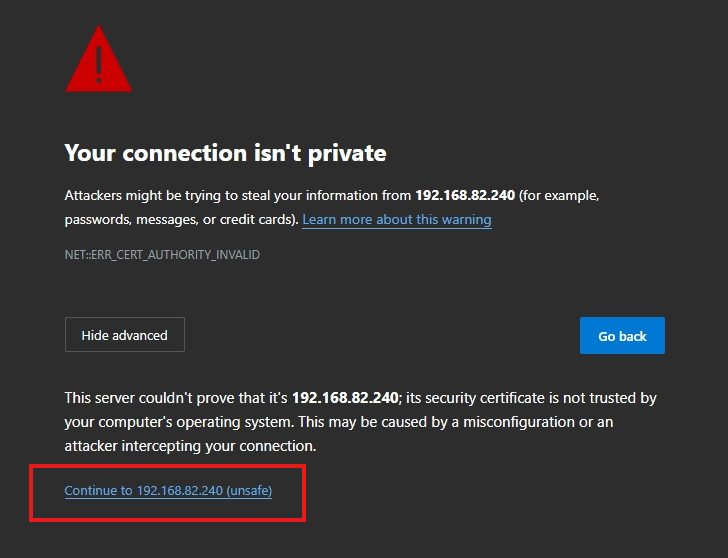
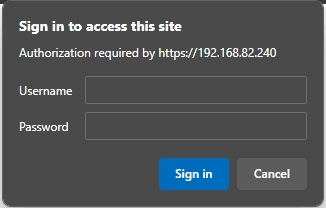
Click on Continue to ..Now enter the (default) credentials for the device ( default: username = admin, passw = ETH MAC)
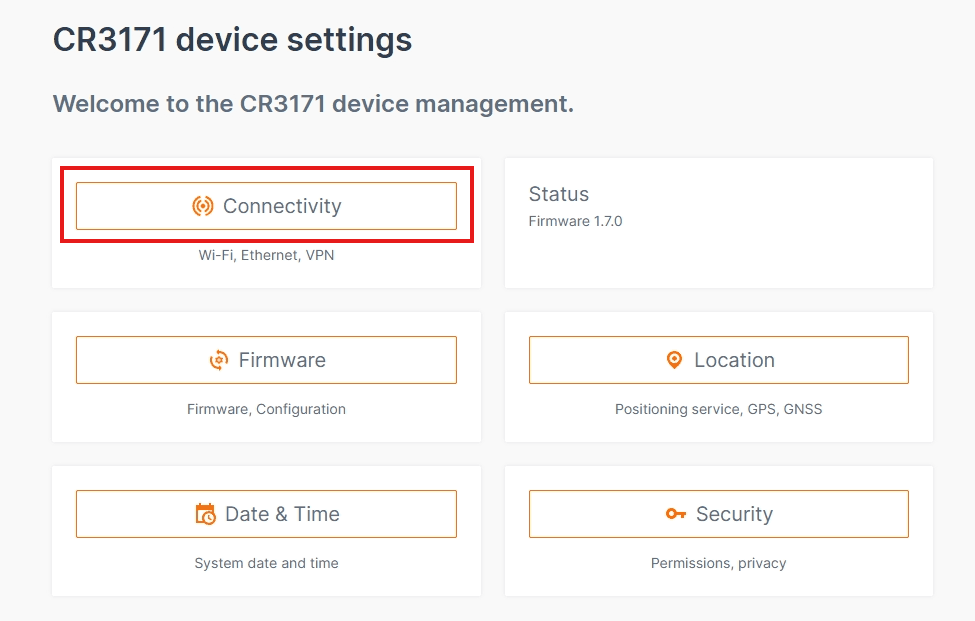
Navigate to Connectivity
Navigate to remoteConnect
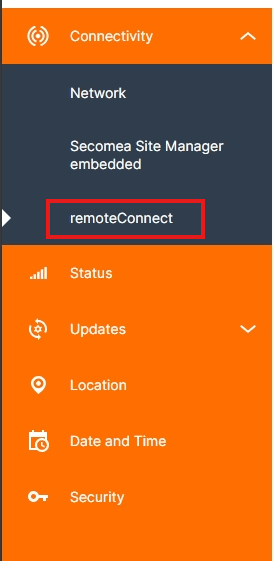
Make sure that remoteConnectis enbled.

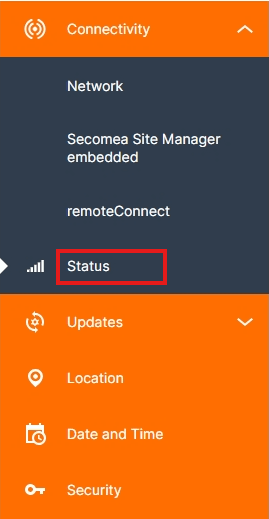
With in the status overview, later on we can monitor the actual connection status, to do so, click in the left-sidebar on Status
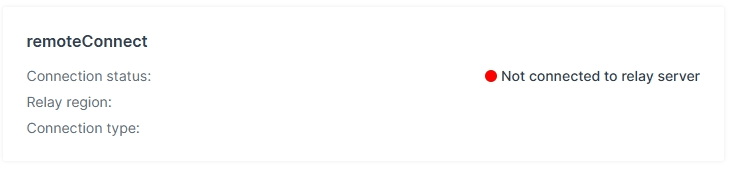
In the remoteConnectsection the current status of a connection is visualized.
Prepare the security keys
serialnr 2537000
Cloud-side preparation
Onboard the device within the mobileIoT Suite
Next step is to onboard the gateway into one of our datacenters ifm Docs | mobileᴵᵒᵀ Suite | remoteConnect | onboard machine
Configure the network on the machine
Making a connection
Navigate to your machine in the mobileIoT Suite
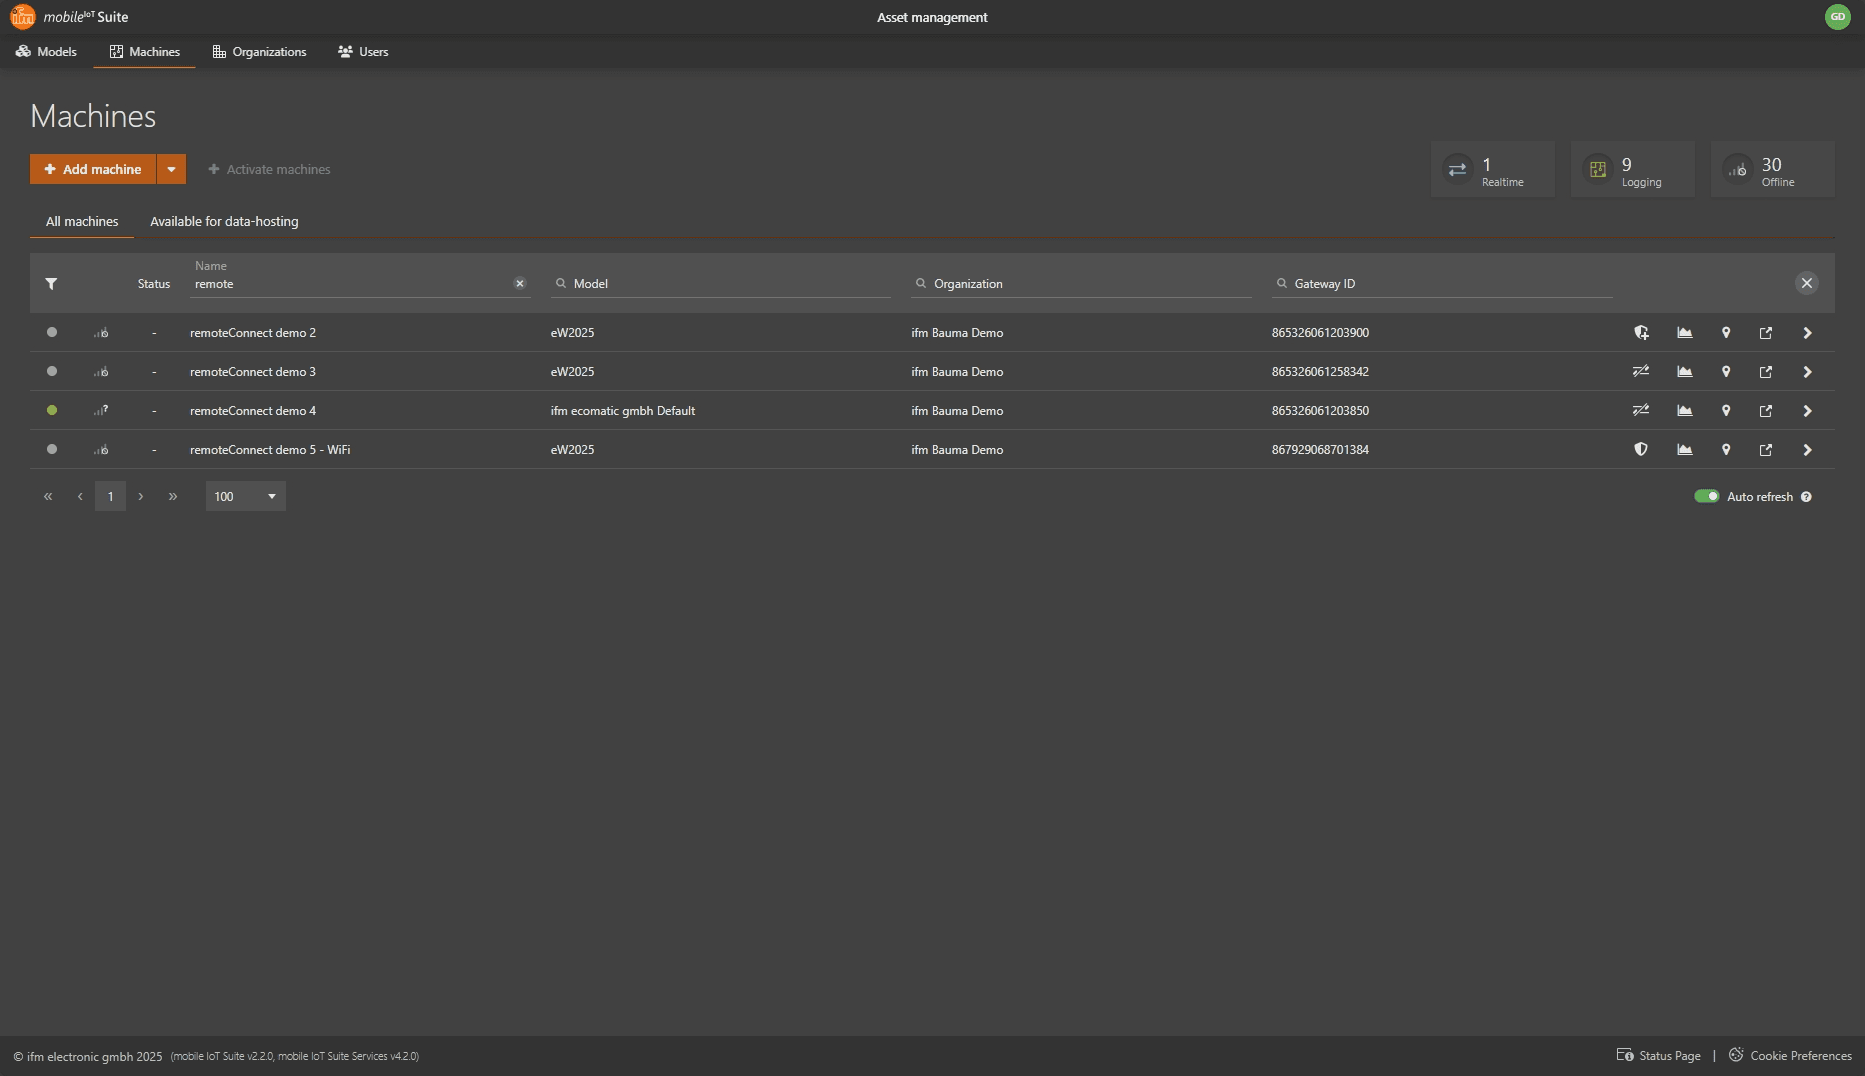
Click on the 🛡️ icon to go into the remoteConnect connection mode

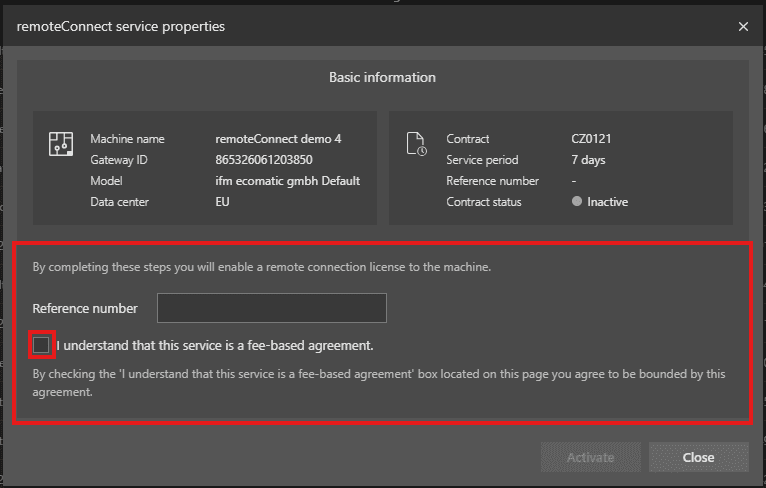
ℹ️ INFORMATION:
TheReference number will be placed on the invoice that will be sent from ifm to you, you can use this freely to reference to a PO number or others.
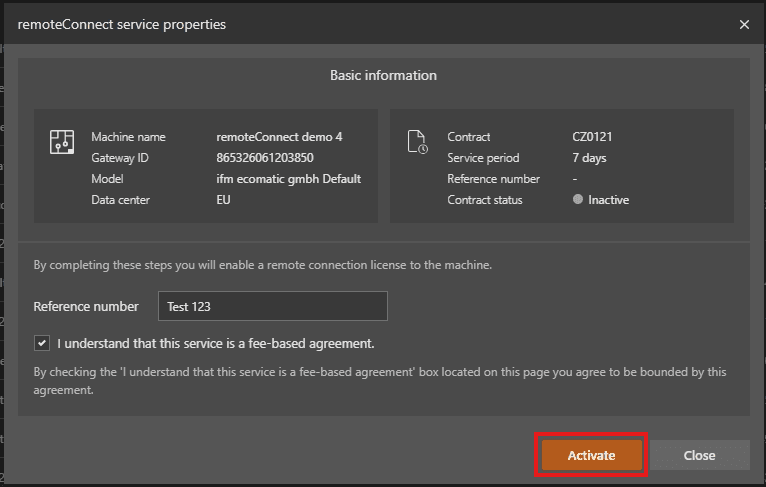
Now hit the Activatebutton
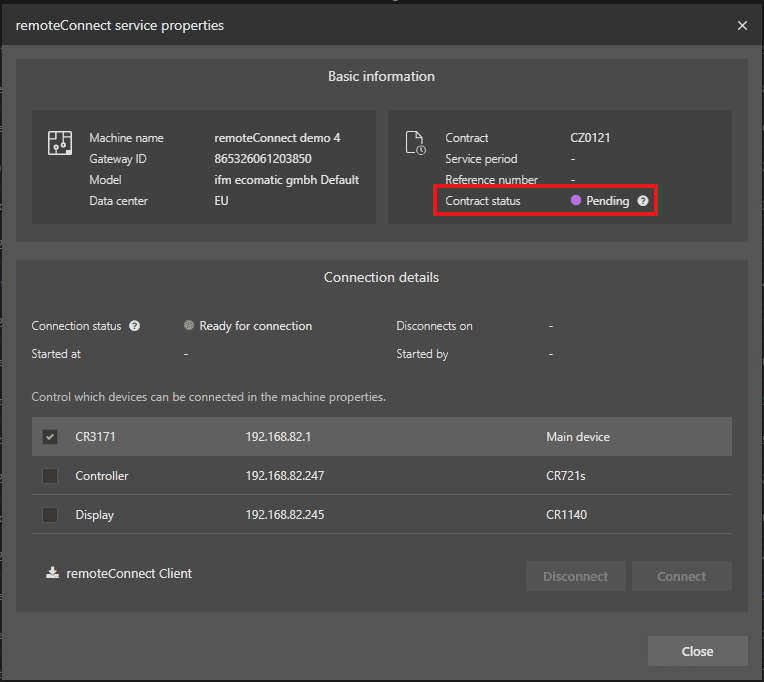
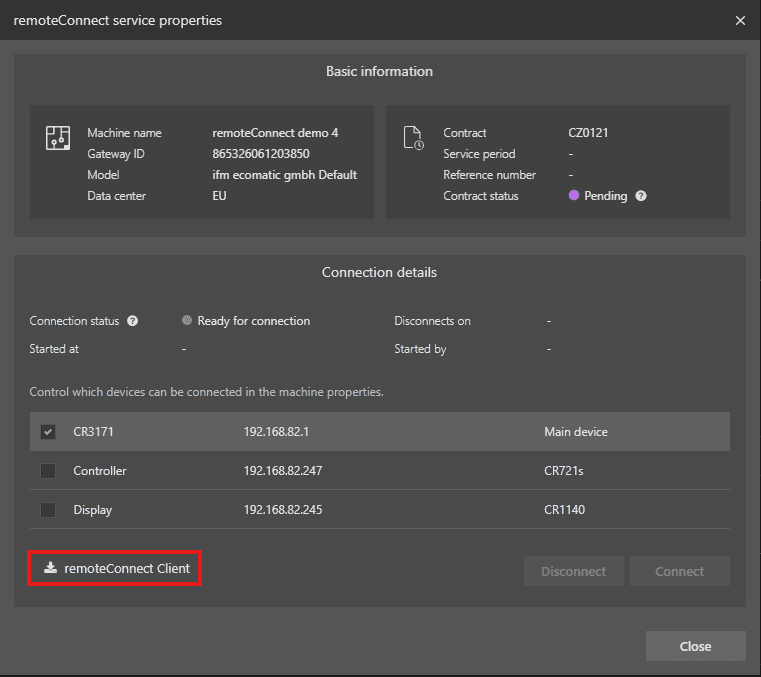
It will take a couple of minutes for our systems to be configured and all the rights and permissions are set to allow an remoteConnect session. In the mean time, the Contract status will show Pending
In the meantime, if you haven't done yet, you should install the remoteConnect client on your computer. This can be done by clicking on the remoteConnect Clientbutton, which will download the client application. Once download, execute the application and it will install the required client on your computer.
ℹ️ INFORMATION :
If you've installed the client, you won't see anything of it on your system. You won't find the application as a listed application, it's rather a background application that waits until the service is started. Then it will pop-up.
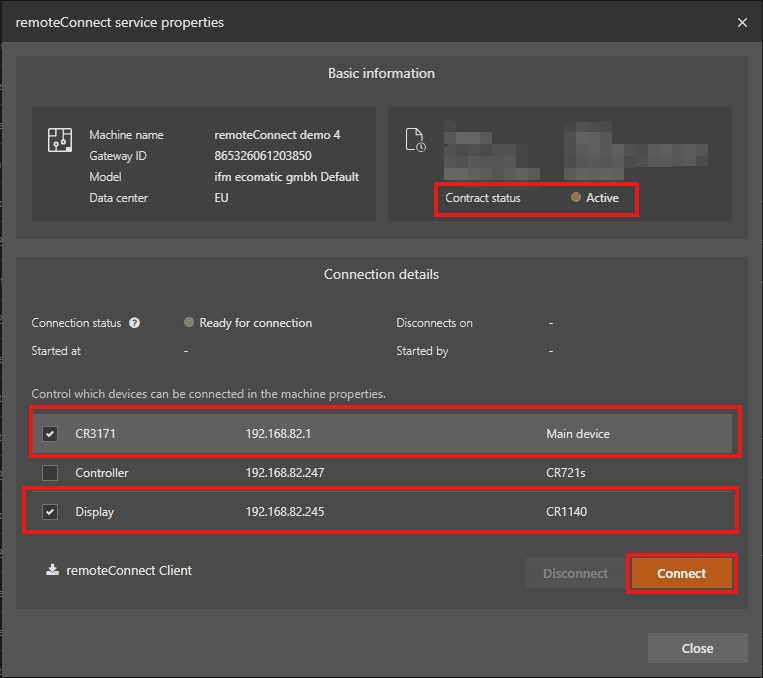
As seen in the picture below, the contract status is now active and ready to go For this session, we ONLY need to connect to the gateway @ 192.168.82.1and the display @ 192.168.82.245Now click Connect
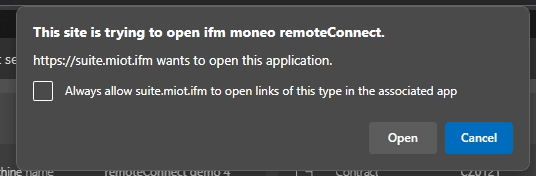
The browser will prompt something like this, which indicated that the browser would like to make a connection to your remoteConnect service running or just installed on your computer. Click Open
In the SysTray of your computer, you'll now find a small ifm logo, which represents the remoteConnect service.
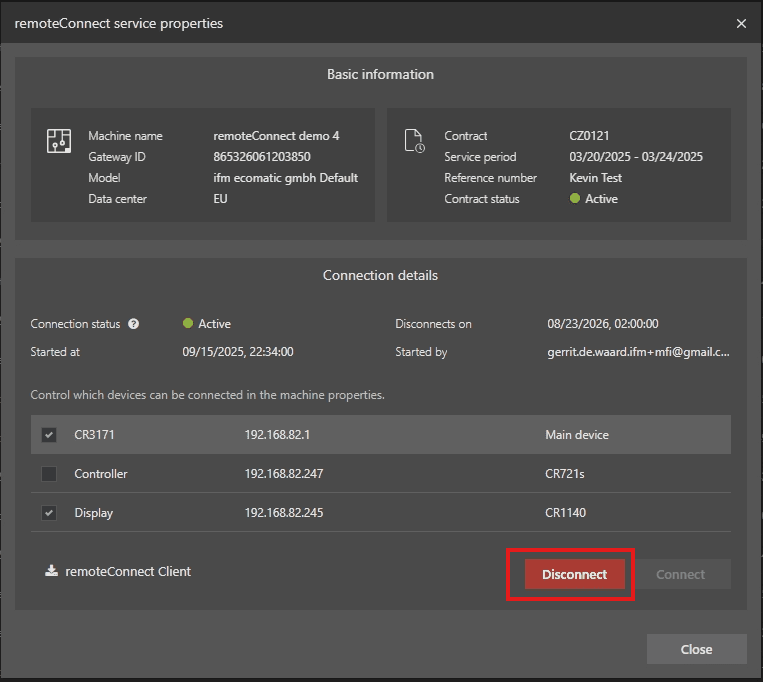
If the connection was established correctly, the mobileIoT Suite will show something like this:
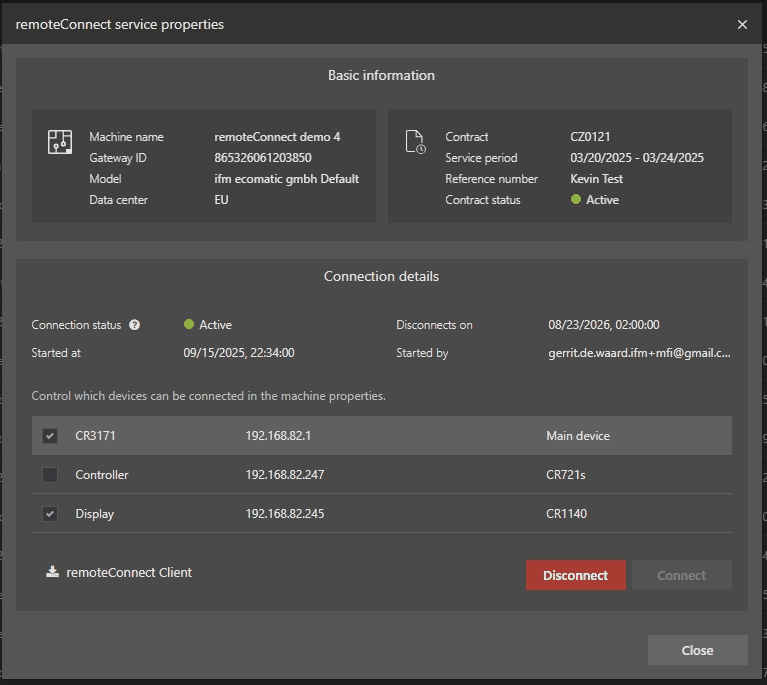
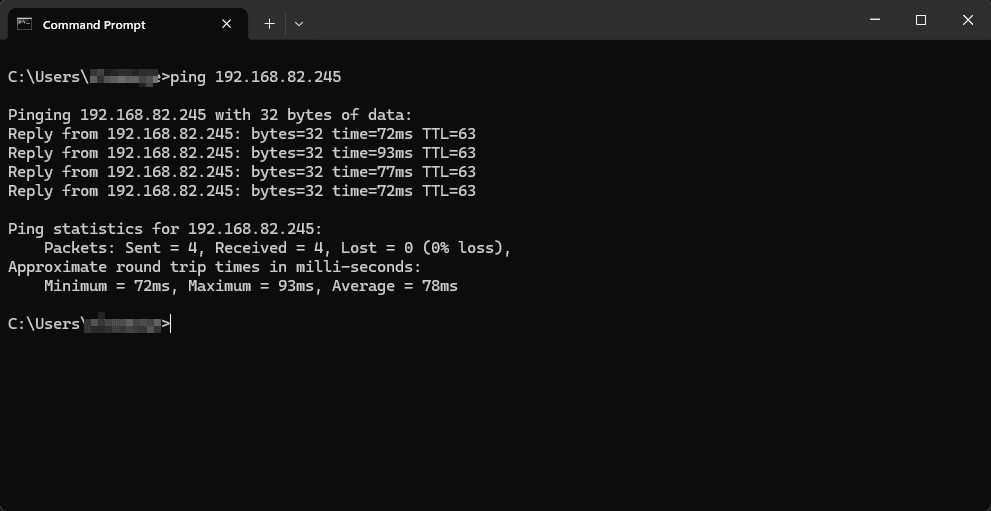
As connection validation, a ping to the device(s) can be done. This will also give you an indication of the latency on the line.
Congratulations, you've successfully established a remoteConnect connection. Now you can use what ever tooling you want use to connect to the components.
remoteConnect works perfectly together with ecologOne, as described here: ifm Docs | ecologOne . With the combination of ecologOne and remoteConnect, one now can make remote updates on ifm components.
Status and closing the connection