Ethernet interface profiles
⚠ IMPORTANT:
The Ethernet profiles are only valid and processed by the device if the Virtual Ethernet-WiFi Bridge is disabled.

General ethernet preferences
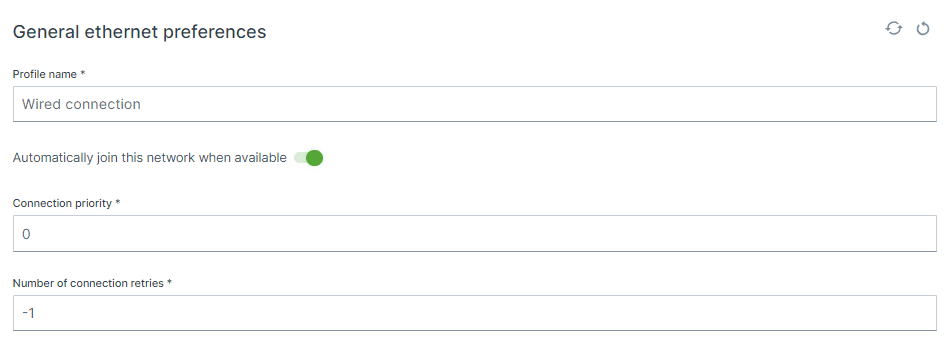
Profile name
default: Wired connection
Automatically join this network when available
Connection Priority
Default: 0Range: 0 .. 1000
Number of connection retries
Default: -1
IP configuration method

Selector
auto
the interface will be configured as DHCP client and therefore will be assigned a IP address from an external DHCP router.
manual
static IP settings will be used,
link-local
a link-local address is a network address that is valid only for communications on a local link, i.e. within a subnetwork that a host is connected to
shared
interface is set to act as a DHCP server.
IPV4 Address
192.168.82.1/24 192.168.82.0 192.168.82.1 - 192.168.82.255
🎯 Tip:
As security measure it is advisable to tighten the allowed IPs on the network as possible, for instance to use/29or 255.255.255.248subnet to only allow 6 address on the network, as 192.168.82.0is the network address and 192.168.82.7is the broadcast address and 192.168.82.1 - 192.168.82.6remains available.
Example - default setting
192.168.82.1/24
Network = 192.168.82.0/24
Host = 192.168.82.1
Static IP range = 192.168.82.2 - 192.168.82.10
Dynamic IP range = 192.168.82.11 - 192.168.82.254
Broadcast IP = 192.168.82.255
Example 2 - Ready for controller and display & secure
192.168.82.247 192.168.82.245
192.168.82.240/29
Network = 192.168.82.240/29Host = 192.168.82.241Static IP range = None as only 6 addresses are available (6/10) = 0 Dynamic IP range = 192.168.82.242 - 192.168.82.246Broadcast IP = 192.168.82.247
more secure: change the (static) IP address of the controller and keep the pool of 6 available IPs. no change needed : set the subnet mask to /28instead of /29, this will the increase the available IP range from 6 to 14, which is less secure but no change is needed of the controller IP address.
Example 3 - higher host IP, lower half of range
192.168.82.100/24
Network = 192.168.82.0/24Host = 192.168.82.100Static IP range = 192.168.82.101 - 192.168.82.108, but also 192.168.82.1 - 192.168.82.100Dynamic IP range = 192.168.82.109 - 192.168.82.254Broadcast IP = 192.168.82.255
Example 4 - higher host IP, upper half of range
192.168.82.200/24
Network = 192.168.82.0/24Host = 192.168.82.200Static IP range = 192.168.82.192 - 192.168.82.200, but also 192.168.82.201 - 192.168.82.254Dynamic IP range = 192.168.82.1 - 192.168.82.191Broadcast IP = 192.168.82.255
IPV4 gateway
DNS servers