Virtual Wi-Fi bridging profiles
⚠ IMPORTANT:
This section is only valid if the Virtual Ethernet WiFi Bridge isENABLED
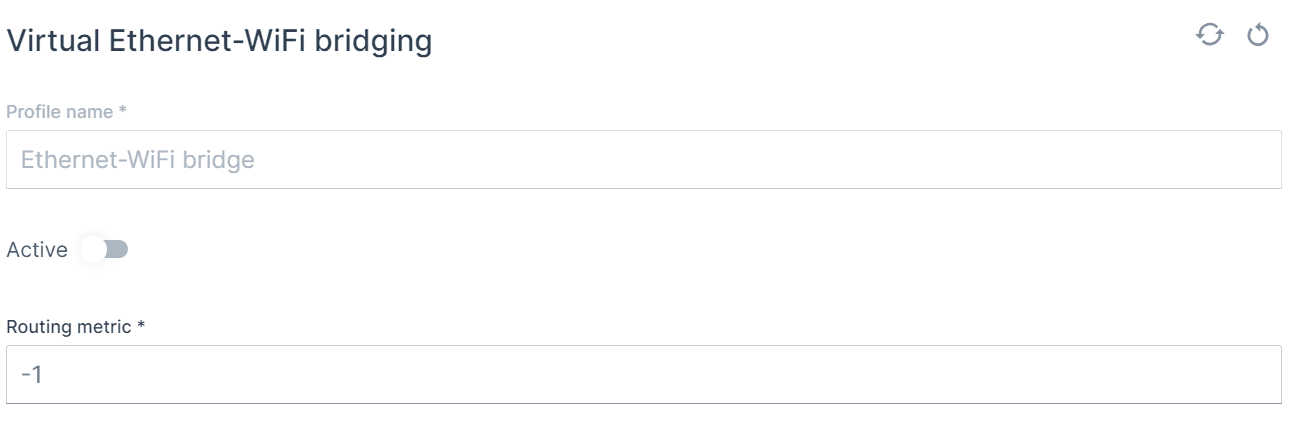
Profile name
Active
Routing metric
default = -1
Operating mode & Security
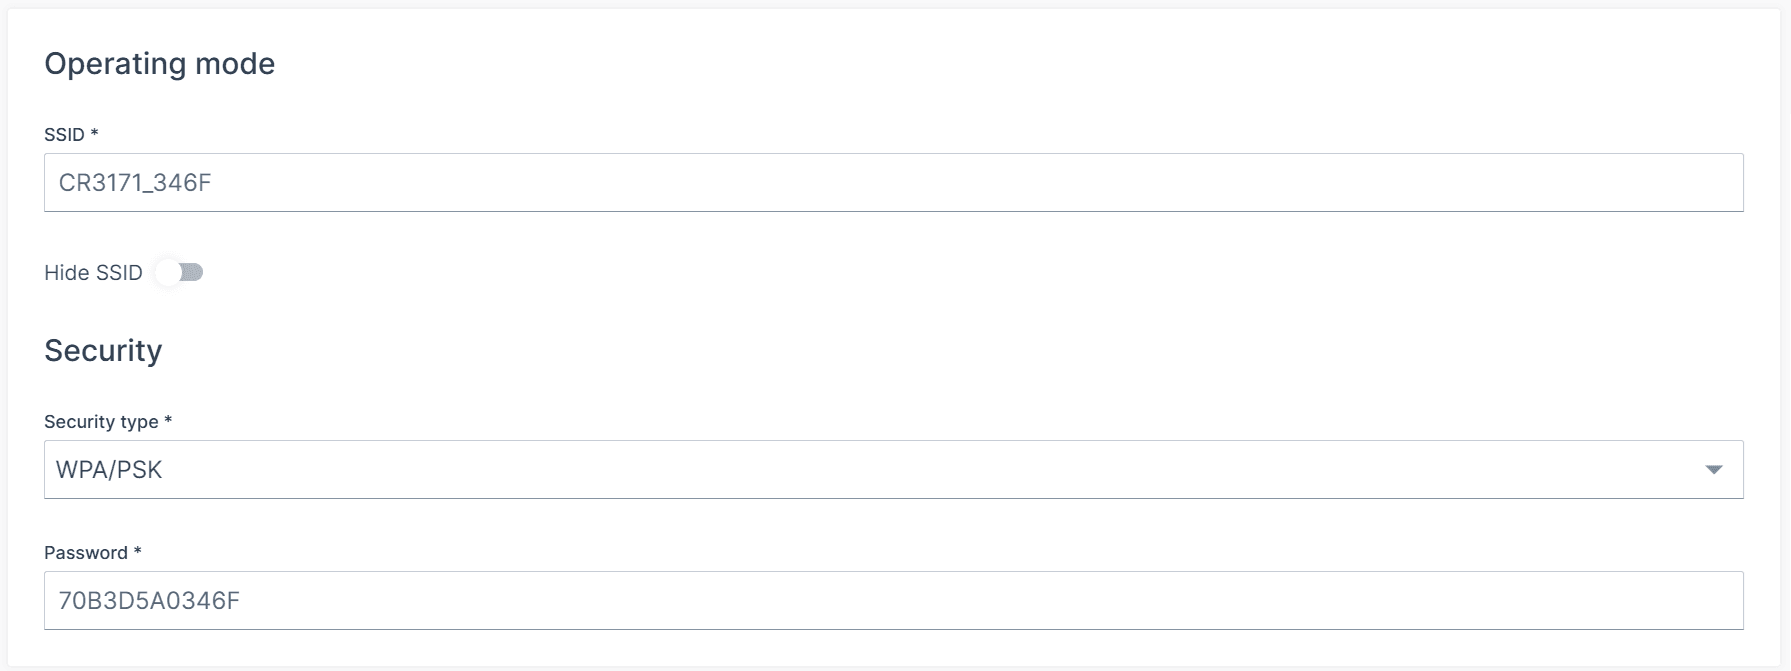
SSID
default: CR3171_<<LAST 4 DIGITS OF MAC>>
Hide SSID
default: OFF
Security type
Options:
unencrypted, No further setting required WPA/PSK SAEOWEWPA/EAP
Password
WPA/PSK Pre-Shared Key
SAE
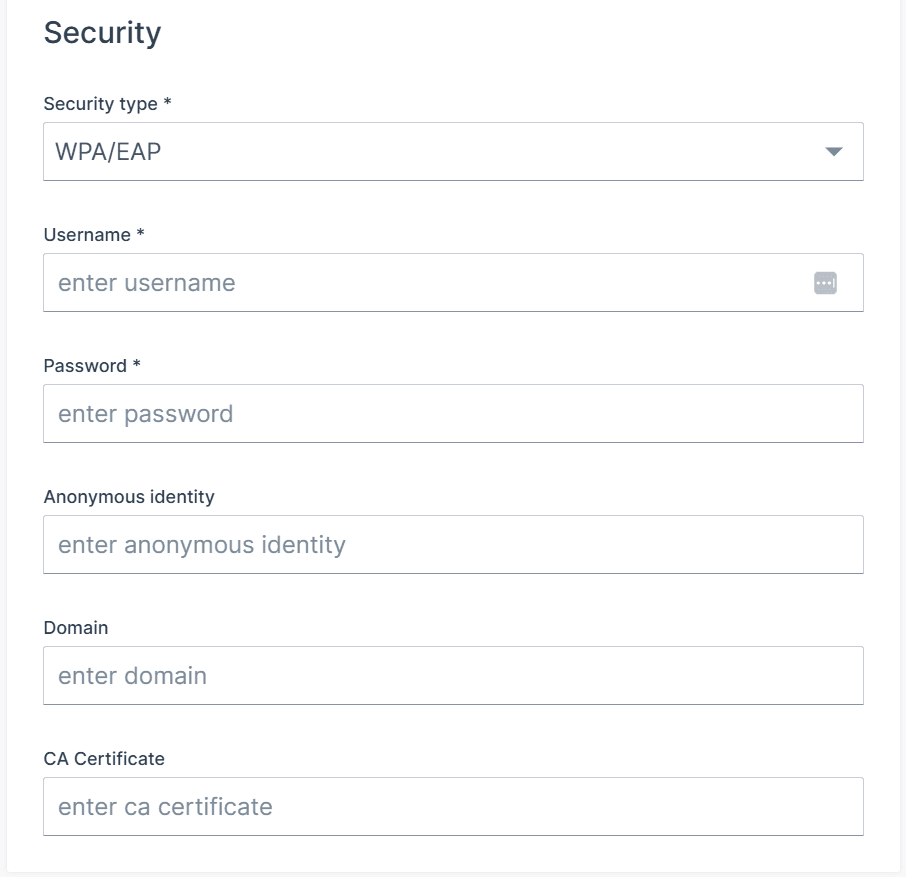
WPA/EAP
Username
WPA/EAP EAP
default: <empty>
Password
WPA/EAP EAP
default: <empty>
Anonymous identity
WPA/EAP EAP
default: <empty>
Domain
WPA/EAP EAP
default: <empty>
CA Certificate
WPA/EAP EAP
default: <empty>
Band and IP configuration method
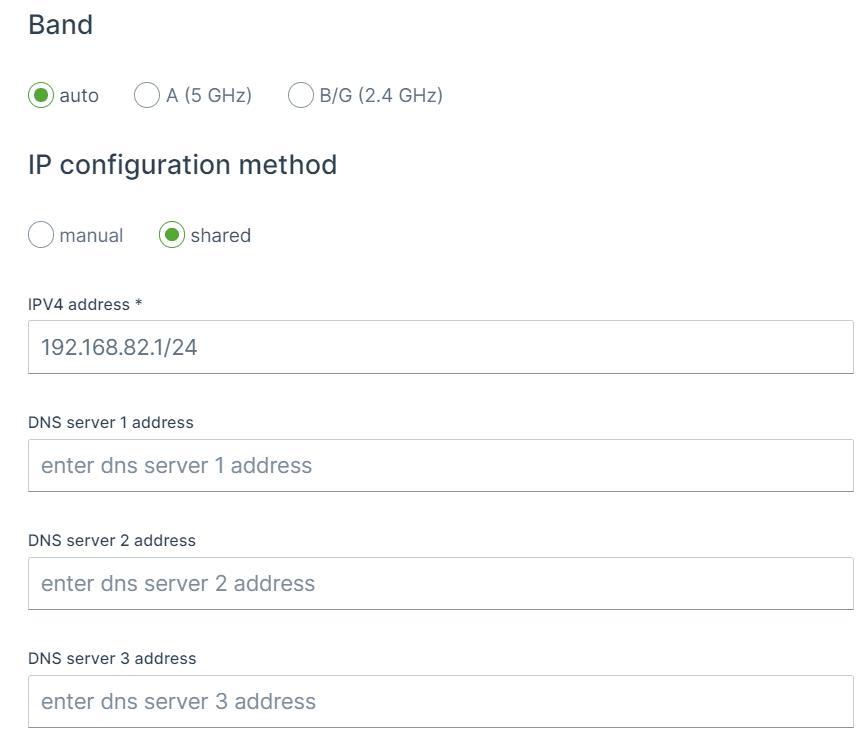
Band
Options:
autoA (5 GHz)B/G (2.4 GHz)
Channel
IP configuration method
manual, static IP settings will be used, shared, the default, interface is set to act as a DHCP server.
Shared
Manual
IPV4 Address
192.168.82.1/24 192.168.82.0 192.168.82.1 - 192.168.82.255
🎯 Tip: As security measure it is advisable to tighten the allowed IPs on the network as possible, for instance to use /29or 255.255.255.248subnet to only allow 6 address on the network, as 192.168.82.0is the network address and 192.168.82.7is the broardcast address and 192.168.82.1 - 192.168.82.6remains available.
Example - default setting
192.168.82.1/24
Network = 192.168.82.0/24
Host = 192.168.82.1
Static IP range = 192.168.82.2 - 192.168.82.10
Dynamic IP range = 192.168.82.11 - 192.168.82.254
Broadcast IP = 192.168.82.255
Example 2 - Ready for controller and display & secure
192.168.82.247 192.168.82.245
192.168.82.240/29
Network = 192.168.82.240/29Host = 192.168.82.241Static IP range = None as only 6 addresses are available (6/10) = 0 Dynamic IP range = 192.168.82.242 - 192.168.82.246Broadcast IP = 192.168.82.247
⚠ The Broadcast IP unfortunately collides with the IP address of the controller, for this there are two solutions:
more secure: change the (static) IP address of the controller and keep the pool of 6 available IPs. no change needed: set the subnet mask to /28instead of /29, this will the increase the available IP range from 6 to 14, which is less secure but no change is needed of the controller IP address.
Example 3 - higher host IP, lower half of range
192.168.82.100/24
Network = 192.168.82.0/24Host = 192.168.82.100Static IP range = 192.168.82.101 - 192.168.82.108, but also 192.168.82.1 - 192.168.82.100Dynamic IP range = 192.168.82.109 - 192.168.82.254Broadcast IP = 192.168.82.255
Example 4 - higher host IP, upper half of range
192.168.82.200/24
Network = 192.168.82.0/24Host = 192.168.82.200Static IP range = 192.168.82.192 - 192.168.82.200, but also 192.168.82.201 - 192.168.82.254Dynamic IP range = 192.168.82.1 - 192.168.82.191Broadcast IP = 192.168.82.255